
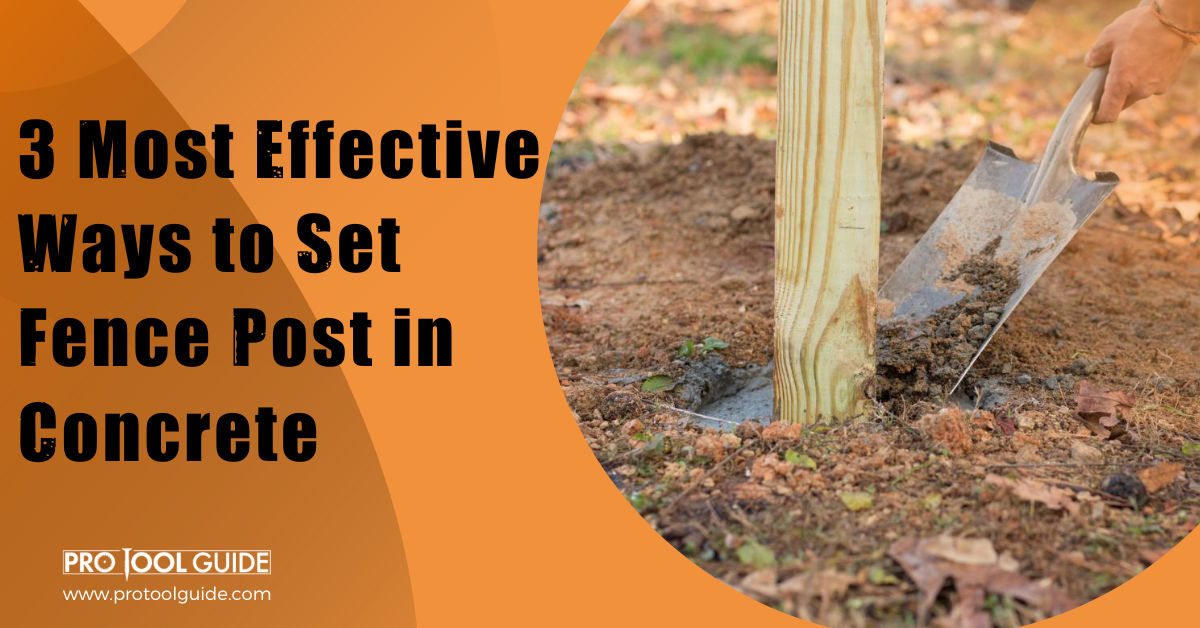
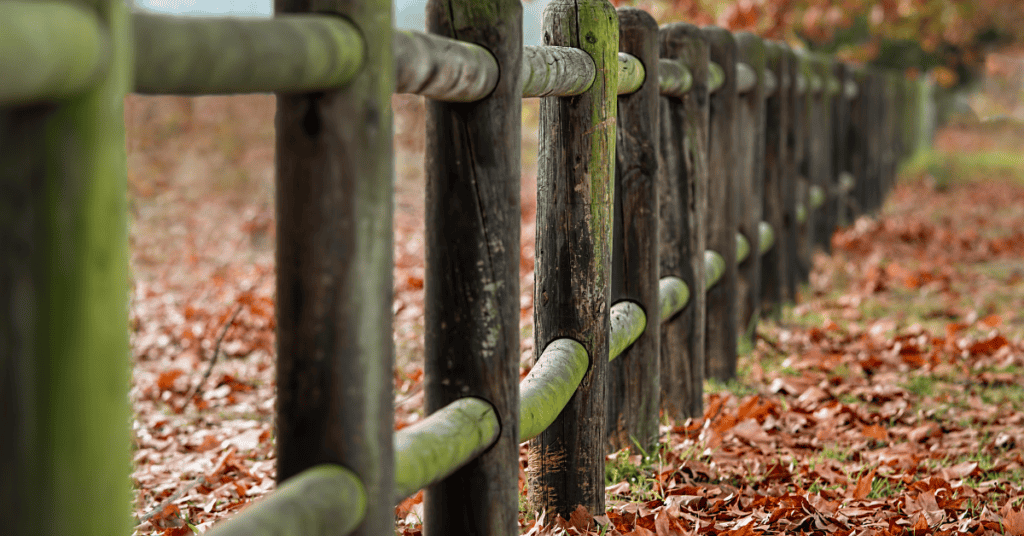
Fences are made from different materials of varying shapes and heights. They also provide different levels of privacy and restriction to an area. However, one thing they have in common is the use of fence posts. These posts are vertical bars that run through the fence to the ground, holding the horizontal fence bars together and providing support.
The fence posts are usually fixed to the ground in several ways; however, the use of concrete is one of the most popular methods. Concrete provides a solid base for the fence post. Setting the fence post on concrete may seem simple, and it is, but it involves some minor details that can have a huge effect on the durability and longevity of the fence.
Aside from the obvious pouring concrete into a hole, there are other ways to set your post firmly. The job here is to bring these other ways to light so you can select the most suitable for your concrete fence post project.
Ways To Set Fence Post in Concrete
Not every way will produce effective results, and we understand this here; that is why we’ll only be looking at effective ways to set your post in concrete.
1. Concrete in a Hole
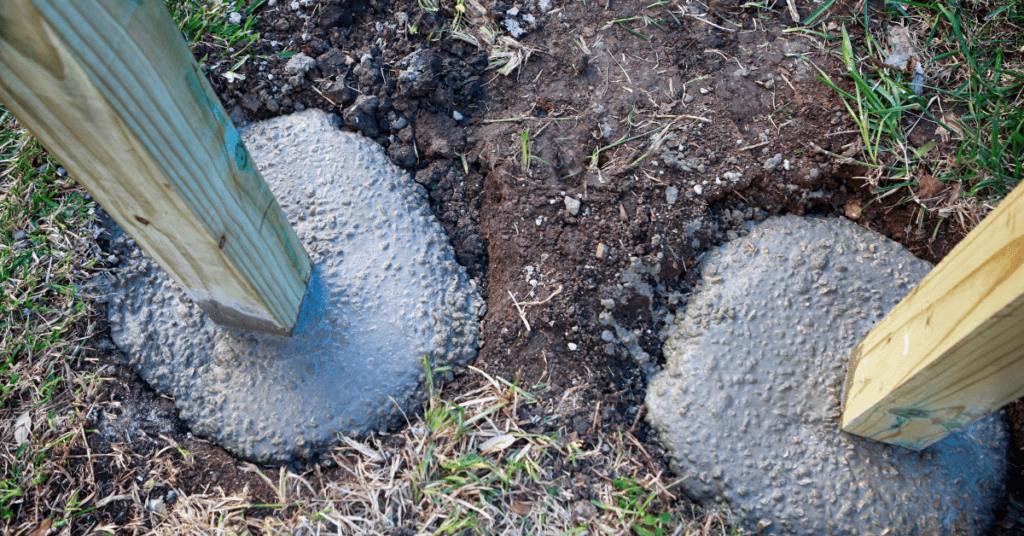
Pouring concrete in a hole with the fence post standing upright is by far the most popular type of setting post in concrete. It requires a lot of digging but can be achieved with minimal experience.
Materials Needed
- Shovel
- Concrete mix
- Post
- Gravel
- Carpenter’s level
- Dust mask
- Bucket of water
- Auger
Steps to Set Post with Concrete in a Hole
If you want to set a fence post with concrete in a hole, you’ll need the materials listed above and then follow the steps below. A single hand is capable of completing this task; however, an extra hand is never a bad idea.
Step 1: Dig a Sizeable Hole
Mark the spot where you want to set your fence post and use your shovel or auger to dig a hole in the marked spot. The width of the hole should be at least three times the width of the pole, while the depth should be ⅓ of the total length of the post. After measuring the depth, add 6 inches for the gravel space. The reason for the depth and width is so you can fill in enough concrete to hold the post. Dig the hole and remove the soil.
Step 2: Pour Gravel
Pour gravel up to 6 inches high in the hole to keep the post away from the soil. Not only will this provide a solid base for the post, but it’ll also keep the base of the post away from wet soil, which can hasten its degradation. Ensure the top is flat enough to ensure a level fence post.
Step 3: Place the Post in the Hole
Place the fence post inside the hole and ensure it is as close to the center of the hole as possible. Use the carpenter’s level to adjust the post so that it is upright and not slanting. Brace the fence post to keep it steady. Ensure the brace is away from the hole. If you have an extra hand, you may not need to brace for support. You can have the assistant hold the post in place as you fill it with concrete.
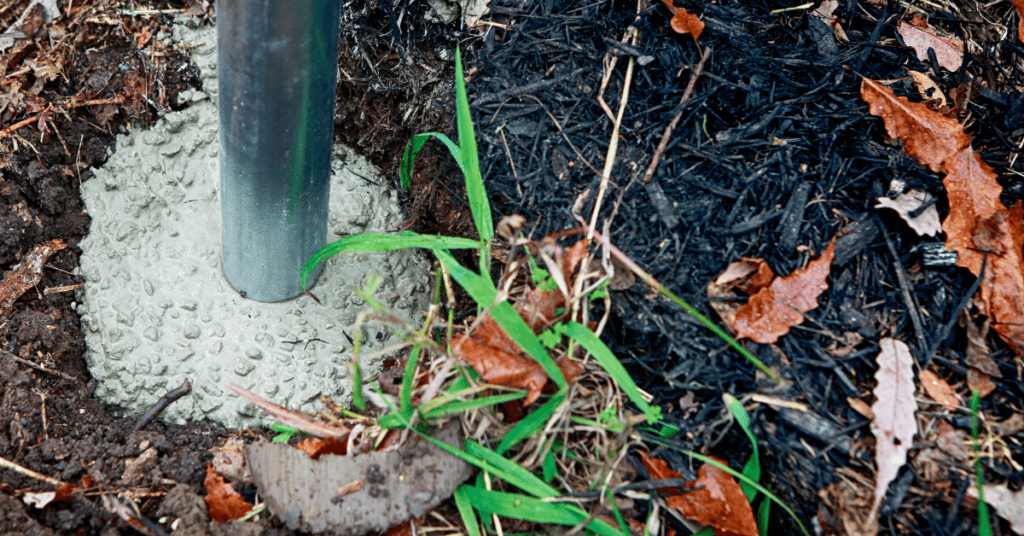
Step 4: Pour the Concrete Mix
Pour your quick-setting concrete mix into the hole, filling up all the corners. Ensure you do not raise or shift the post while pouring the mix as you want the mix around the post, not under the post. Pour the mix till it is 3 inches below the ground level.
Step 5: Add Water
Add water to the concrete mix in the ratio of 1 gallon to a 50-pound bag of concrete mix. Add the water on top of the mix inside the hole and allow it to seep into the mix. For holes deeper than 30 inches, it is best to pour half of the hole and add water before adding the mix to the required height and then water to set.
Step 6: Quickly Align the Post With a Lever Again
Immediately you add water to the concrete mix, use a carpenter’s level to adjust the post, and ensure its alignment has not shifted and it is still upright.
Step 7: Fill with Sand
Fill up the remaining 3 inches with the topsoil you removed when digging the hole and tamp it with a material with a flat surface or even your feet.
Step 8: Allow to Set
Depending on the weather, allow the post for a day or two, and leave it to set and harden. After a day or two, the concrete would’ve hardened, and the post will be strong enough to withstand being nailed upon.
Also Read: 5 Smart Ways to Set Long-Lasting Fence Post Without Concrete
2. Using Brackets in a Container
One of the biggest issues with setting fence posts in concrete is the damage the concrete does to the part of the wooden post it touches. So, to prevent this problem, metal brackets can be used so that the wood does not come in contact with the concrete. Here the rail end of the metal bracket is put into the concrete while the open end sits above it.
Materials Needed
- Fence post
- Concrete mix
- Shovel
- Auger
- Bracket
- Gallon of water
- Carpenter’s level
- Deep container
Steps to Using Brackets
Instead of setting the post inside the concrete, the bracket is set inside and this allows you to easily replace the post when it is bad. Here’s how to do this:
Step 1: Select the Container
This container will carry the concrete, so you need to be particular about it. Choose a deep and strong container that will not easily break.
Step 2: Dig the Hole
Mark the post position and dig a hole with the auger while removing the sand with a shovel. The hole should be the size of the container.
Step 3: Put the Container in the Hole and Fill it with Concrete
Place the container in the hole you dug and pour your quick-setting concrete mix inside the container till it’s filled up. Add the appropriate water quantity to the top of the mix and allow it to seep into the mixture. A 50-pound bag will require 1 gallon of water. You may need to pour concrete into half of the container and then mix it with water before filling the container up. This will be useful for deeper containers.
Step 4: Quickly Put the Tail End of the Bracket into the Concrete
Immediately after you add the water, you want to quickly press the rail end of the bracket into the mix. Waiting for a long time will make it impossible to put the bracket inside. Ensure the top of the bracket is above the concrete.
Step 5: Use the Carpenter’s Level to Adjust the Bracket
To ensure an upright post, the bracket needs to be set properly. The carpenter’s level will help you achieve a level bracket and, in turn, level the fence post when it is fixed.
Step 6: Allow the Concrete to Set
This is a quick setting concrete that will solidify in a couple of hours, but it’ll take up to 24-48 hours to set properly.
Step 7: Screw the Post to the Bracket
The last step after the concrete has been set is to screw the end of the post to the bracket tightly.
Read More: How to Tile a Concrete Floor? | Complete DIY Process
3. Concrete and Fence Post in Container

This method is similar to the previous method mentioned, but instead of the bracket, the post is put directly inside the concrete in the container.
Materials Needed
- Shovel
- Auger
- Concrete mix
- Gallon of water
- Carpenter’s level
- Deep container
Steps to Setting Concrete and Fence Post in Container
Here are the steps to follow if you want to set your fence post in concrete inside a container:
Step 1: Select a Container
Choose a deep and strong container, preferably made of metal, so it doesn’t break under the pressure of the concrete.
Step 2: Dig a Hole
Use the auger to dig a hole in the ground that is the size of the container. The container should be able to fit into the hole with as little room around it as possible and the top, level with the ground. Use the shovel to remove the sand from the hole.
Step 3: Put the Container into the Hole and Place the Fence Post Inside
Drop the container inside the fitting hole you’ve dug and put the post inside the container, ensuring it is as close to the center of the container as possible. Have an extra hand hold it in place or brace it where an extra hand is not available.
Step 4: Pour the Concrete Mix and Add Water
Pour the quick-setting concrete mix into the container all around the post. Fill the container till about 3 inches below the top. Add the appropriate water quantity to the concrete mix and allow it to seep into the mixture to start the reaction. Deeper containers may require the mixture and water to be applied in batches. One gallon of water should be added to a 50-pound bag of concrete mix.
Step 5: Adjust the Post with a Carpenter’s Level
Use the carpenter’s level to quickly adjust the post, so it is standing upright and not bending to the side. An upright fence post will bring stability to the fence. You want to do this immediately; you add water before it starts solidifying.
Step 6: Allow to Set
Allow the mix to set for about 24 to 48 hours before extra weight like the fence parts are added to the post.
You May Also Read: How to Screw Into Concrete With a Hammer Drill?
Summary
There are different ways to achieve similar results of setting your fence post in concrete. These different ways come with varying advantages as some are easier to do while others provide more efficient and durable posts. Whichever way you choose to look at it, having such an option is a huge plus.

 By
By


