
You may have considered renovating your outdoor space with a little bit of background landscaping. And then you constructed a patio. Patios stand out as a centerpiece in the backyard. The room is located adjoining the main house and leads from the kitchen, perfect as a dining or an entertainment area.
Now that you have a patio ready, you also need a patio cover. But why pay someone to build the patio cover when you can do it yourself just by following a few easy steps? Let us get started with the step-by-step guide on how to build a patio cover that is cheap and easy to DIY and installs.
Build a Patio Cover – Step by Step
1. Get the Materials to Start the Construction

You need to keep in mind two things when constructing the patio cover- the look and the fit. The material that you select should fit into your patio structure.
If you wish to give the cover a slope, then rule out the shingles. Tar roof may not be an ideal option because of its heavy smell. Instead, use corrugated metal roofs because of its advantages. It is light in weight, resists high wind, and is sound structural.
Corrugate metal helps to decrease the incline of the slope to just a little over 10 percent. So you can install the patio cover to start from the edge of your roof and slope it evenly to one foot down. This means that if the patio starts at a height of 8 feet, it slopes down to 7 feet leaving ample space of more than 6 feet between the ground and the lowest frame.
Listed below are the lumber materials used in the constriction:
- 2” x 6” x 10’ boards for joists – 11 nos.
- 2″ x 8″ x 10′ boards for beams – 3 nos.
- 1″ x 6″ x 10′ boards for metal roof nailers – 10 nos.
- 4″ x 4″ x 8′ treated for patio cover posts- 3 nos.
2. Begin the Construction Process

Before you begin, lay the corrugated metal sheets and the ten-foot board in the backyard roughly in the pattern you may have pre-decided on.
Step 1: Install the ledger board.
The 2″ x4″ solid frame is perfect to attach the ledger board and binds the cover and the roof frame. Pre-drill holes of 1/8″ at a distance of 6 inches in the ledger board to give the deck screw a start. Attach the ledger board along with the 4″ decking screws.
Step 2: Dig the post holes.
Digging the post holes can be a bit tricky. Here is what to do. Stand up a couple of posts at the edge of the roof and use a bubble level to ensure that it is perfectly straight. Measure 9 1/2 feet on the joist boards and lay them on the ground. Mark one end on the straight post and the other marking on the place where you need to dig the hole. Do this on both the edges of the ledger board and lay two joist boards of ten-foot between them.
Use angle iron or square to create the corner square. Mark the spots to lay the three post holes. The middle post hole should be at the spot where the two 10 footboards just meet. Measure from corner to corner. This will ensure that both the measurements are the same. Mark the center for the post holes and an 18″ circle around it to dig an 18″ deep hole.
You can dig the holes using a simple shovel. A garden hole works perfectly to compact the dirt and tamp it down to the bottom of the hole.
Step 3: The posts should be even.
Once you place the three posts, their tops should be even. Then work on ways to attach the rest of the frame to the post that is now standing straight. Here is what you can do about it.
Lay a board on the patio slab and then set a bubble level on the boards’ end. Take the end of the board towards the hole to make the 4″ x 4″ stand upright. Then lift the board using the bubble level until it is level to make a mark on the 4″ x 4″ post. Lay the post down and measure seven feet from the top. This is the difference between the marks that tells you how much tall the post should be. You then attach the 2″ x 4″ on the end to get the right height.
Step 4: Assemble the frame.
You can assemble the frame on the ground itself. Here are the steps to follow.
Cut four braces at a 45-degree angle. You can cut it from the 2″ x 10″ board of 10-foot length. Use a ruler to measure the board’s width, mark the length from the boards’ end, and cut from the spot to the board corner to get a triangle piece of wood.
Square the pieces to help with assembly. Now with the cut braces lay the frame in the position that you desire. Pre-drill the screw holes with the 1/8″ bit to avoid any cracks. The braces should be re-drilled to 1/4″ to let the screws sink deep.
To prepare the joist use the 2″ x 6″ ten-foot-long wood- 11 in nos. Cut at an angle and a 1/2″ notch towards the top end and cut seven inches at an angle from the other end so that it matches the header of the frame. You should make another template without the notch for the further end that will ensure that all the lengths and angles measure the same.
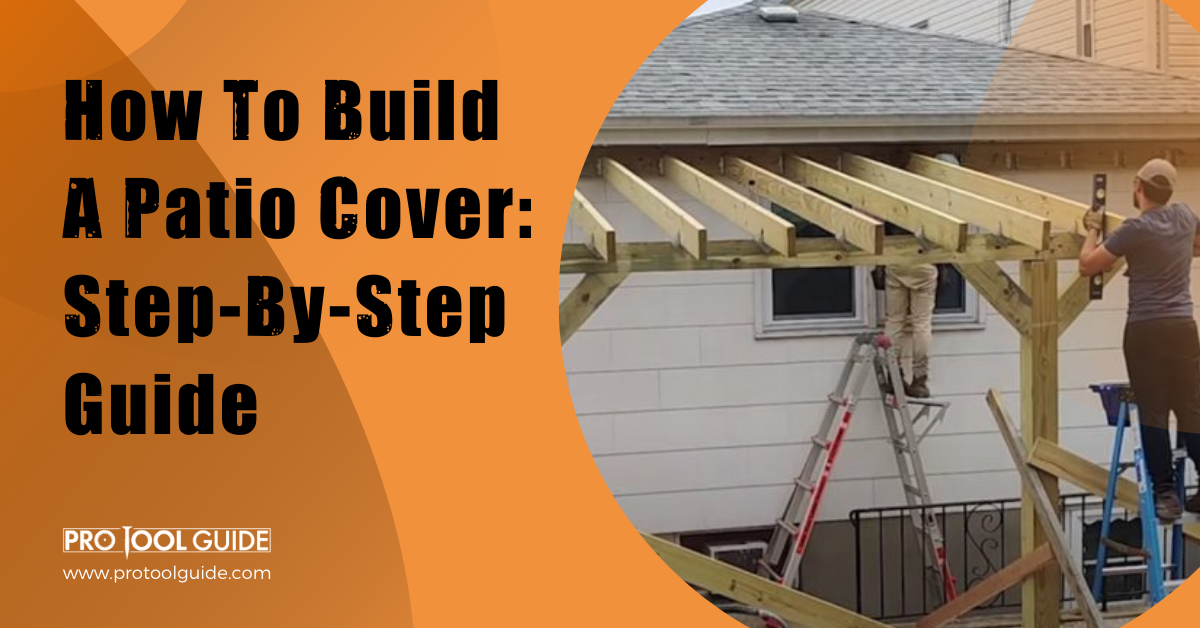
Step 5: Raise the frame.
Attach a single framing nail to the 2″ x6″ board of 10 feet length to the frames outside which should be a board length away from the bottom of the frame on every side. Attach a 10-foot board in the middle and lift it from the end. The elevation helps to save you some energy. Next, attach the joists towards the right and left sides and secure the corners while installing the remaining part of the joists.
Step 6: Pour concrete.
Now that the frame is attached to the joists and the joists are attached to the board, it is important to check that the frame is level across the top. For this, lift the posts a little and toss a bit of drip concrete to ensure that the bubble read is perfect. Lift and move the post holes to make the poles straight.
Let the things settle a bit and pour some concrete into it again. Once you pour concrete, get a block of scrap wood and use it as a trowel to smoothen the concrete surface. Leave the concrete to settle down.
Step 7 – The last step
Attach the 1″ x 6″ boards on the top of the joists and screw the corrugated metal roof on it. Put a sealer bead along the metal sheet’s edge before you overlap them.
A rubber washer, 1/4″ bolt head metal into wood screws, and the 1″ magnetized drill adapt socket should be perfect to put the metal corrugate sheet in place.
That is all about all that you need to do to build a patio cover. However, before you rush to start with the project here are a few important things to keep in mind.
3. How to Purchase the Materials?
- Be flexible in purchasing the materials. Your state laws and the availability of the materials in your local store could be different from the above guide so you may want to modify the plan accordingly.
- Shop around a bit to get the best materials for a bargain price. Be smart and do not fall into the trap of aggressive and pushy store associates.
- Finally, make sure to check if you need any local building permits to build the patio cover. The best should be to get in touch with the licensing and permit office to understand your states’ building requirements.
Conclusion
Laying a patio cover needs patience and precision. Each of the steps listed above, if followed properly, will give your patio cover an aesthetically appealing and professional finish.