
Cracks around doors and windows are not only unsightly but also cause a lot of damage. And these damages can be mild to severe, costing you a lot in energy cost and building integrity.
Cracks happening around your home are not limited to doors and windows as they can appear almost anywhere. A quick fix you can apply is covering the cracks with caulk.
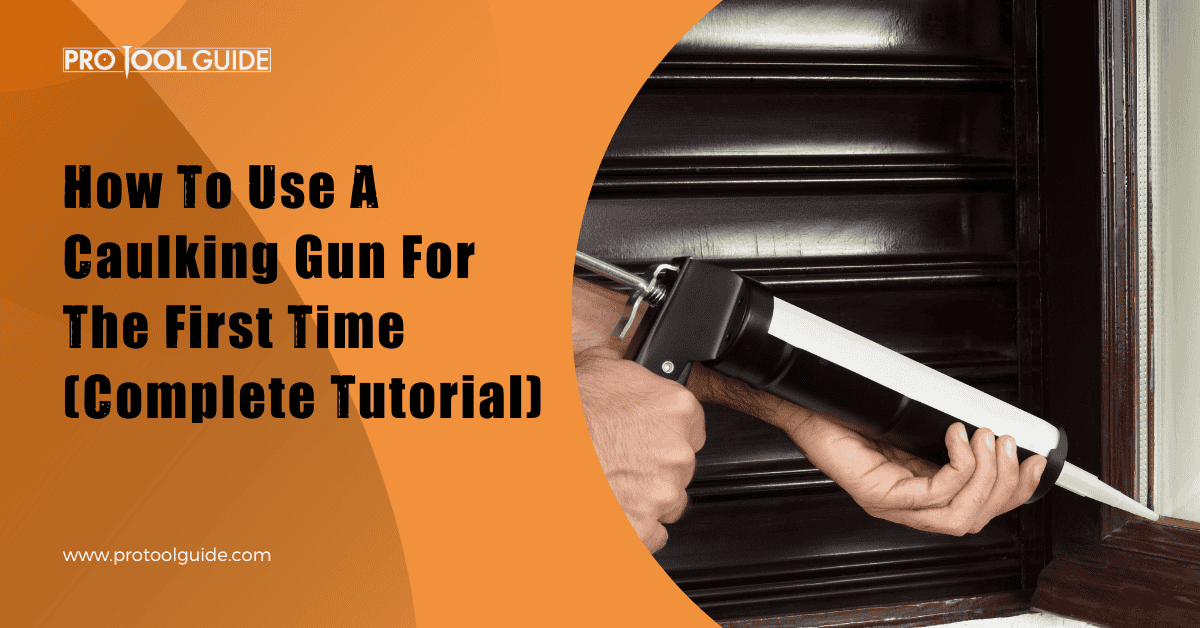
A caulking gun is used to apply caulk from its can onto the cracked surface. It is easy and effective, and that is why it is widely used among DIY lovers and even professionals. While most people know about this gun, they may not know how to use it. Because of its simple design and use, many people shy away from asking for help.
It is not an intimidating power tool, so everybody should know how to use it, right? No, it is okay not to know how to use a caulking gun; many people don’t. The good thing is that you can learn it in a few minutes even if you’ve never seen or used it before.
Cracks in different parts of your building can allow air from outside inside your home, causing an increased energy cost. The cracks can also allow water into your window sill or frame, causing the window to rot. Small openings like that can also be the avenue for molds to get into your home.
Closing these leaks is essential, and the caulking gun makes it so much easier to do. This guide discusses how to seal the opening with caulk using the caulking gun.
Types of Caulk
There are different types of caulk available for use, and before we see how to use caulk to repair cracks, we should know the types available. Here are some of the different types of caulks available and their best use cases:
Acrylic Latex Caulk

This is arguably the most popular type of caulk available, and one of the reasons is its price. It is the most affordable you’ll find in your local store. It is best used indoors and away from areas that see a lot of moisture and sunlight. It can be used on masonry, dry walls, and wood.
Pure Silicone Caulk

If you’re looking for a durable caulk with a watertight structure for use in areas like sinks and bathtubs that see a lot of moisture, you’ll hardly do better than this pure silicone caulk.
Pure silicone can last for several years without damage, but its use is limited to smooth surfaces without pores.
Bonus Read: 6 Best Cordless Tool Set & Combo Kits
Asphalt Caulk

This type of caulk is used on shingles but is not suitable where there is a lot of sunlight. Use it indoors or under the shade.
Butyl Rubber Caulk

This is similar to asphalt caulk in durability and water resistance. However, it does one better than asphalt caulk as it can handle sunlight and thus can be used on rooftops and chimneys. It can also last for years without damage.
Vinyl Latex Caulk

Similar to the acrylic latex caulk; however, it is more durable and waterproof. This makes it useable outdoors.
Tools/Materials Needed For Caulking Gun
You do not need a lot of tools/materials to use a caulking gun to repair cracks.
- Caulk can
- Caulking gun
- Scissors
- Putty knife
- Painters tape
- Wire brush
Steps to Using a Caulking Gun
Here is a simple guide you can follow to learn how to use a caulking gun to apply the caulk in cracks:
Prepare the Site

Clean the area around the cracks thoroughly, making sure you remove the old paint, dirt, old caulk, mold, and rust. This preparation will ensure the new application sticks to the material well and doesn’t get damaged within a short period.
You can use a putty knife or wire brush to remove the extra materials on the surface of the cracks. You can apply a caulk softener and leave it for about 15 mins to make it easy to remove. Clean the crack with disinfectant and alcohol before finally wiping it with a rag soaked in warm water. This will clear any dirt that may be inside the crack.
Use painter’s tape around the cracks to make the application more precise. This will ensure you do not pour the caulk over the crack area.
Select a Suitable Caulk Type
Choosing the right caulk type from the several available shouldn’t be a big challenge, but many people still struggle with it. The right caulk depends on several factors, including the location of the crack, size, and the material with the crack, among other things.
After considering these factors, you can then select the most suitable caulk for it. Some caulk types do well indoors, away from moisture and sunlight, whereas others will thrive under harsh conditions outdoors.
Load the Caulk Gun

Caulk guns come in different forms, but they all have similar working principles. Power caulk guns can go for as high as $200, while regular ones are sold for around $15.
Press down the release trigger at the back of the gun and drag the long iron steel back while still holding the release trigger down. The curved end of the iron steel should be facing up while the teeth should be facing down.
Place the caulk can inside the gun’s cabin with the flat end going in first and resting on the flat end of the gun’s cabin. Drop the caulk can in so that the nozzle end enters the opening at the tip of the caulk gun. Push the steel rod in, by piercing the tube and holding it in place. It’ll also help the trigger to work when engaged. Let go of the release trigger after adjusting the long iron rod.
Open the Caulk

You can cut the Caulk and puncture the seal using several methods. Some caulk guns even have pre-made tools for cutting the caulk tube and puncturing the seal. Some have a small hole close to the release trigger where you can insert the tube at an angle to cut it. You can then use the tiny rod in from of the gun to poke the seal and open it.
Where these tools are not available on the gun, you can use a pair of scissors to cut the Caulk tube open and use a nail to puncture the seal. Cut the nozzle at a 45-degree angle to ensure smooth and measured application.
Remember the size of the tube cut should match the area of application. If you’ll be working on a tiny area and need smaller applications, you should cut the tube small and vice versa.
Be careful when making this cut at the nozzle, as some mistakes can prove costly. It is better to make a smaller than required cut where you can cut again than making a bigger cut.
Test Run the Gun

After loading the caulk into the gun, you should test your set-up on a small piece of paper first to be sure everything is working as it should. You can gauge the application thickness and uniformity here and understand how to hold the trigger and for how long, among other things.
Hold the gun firmly at a 45-degree angle and put the nozzle close to your test paper. Press the trigger down and hold it as the caulk comes out. Test the speed to ensure the right amount of caulk.
Move too fast, and you’ll get a thin spread, move too slowly, and the thickness will make it difficult to spread. Sometimes, it may take a couple of triggers squeezes for the caulk to start coming out.
Use the Gun to Repair Cracks

Now that you’ve tested your set-up and everything seems to be working fine, you can go ahead with repairing the cracks. Start calling at a 45-degree angle by positioning the nozzle close to the crack or opening and pressing the trigger down. Ensure an even pressure on the trigger and move the nozzle at an even speed for a good spread across the surface.
The trigger will automatically retract when it reaches maximum depression. Having a good grip and steady control of the gun will help you apply more evenly with fewer blubs. Caulks solidifies pretty fast, so try as much as possible to cover a crack in one go.
You May Read Also: 7 Best Cordless Glue Gun in 2023
Even Out the Caulk
After the application, it is normal to find some areas with less caulk than the others. When you even it out, you’re ensuring the spread of the caulk throughout and even inside the crack. You can use the tip of your hands or the end of a metal spoon depending on the angle of the crack.
Go over the caulk in one smooth movement to flatten and spread the caulk properly. Clean off excess caulk from the surface. And remove the tape around the crack.
Allow to Dry
Even though caulk dries quickly, you need to allow it for up to 24 hours for complete dryness to occur. After the application and dressing, leave the caulk to dry and seal the crack or opening. After it is dry, you can paint, finish or leave it as it is.
Things to Consider When Caulking Gun For The First Time
Here are a few important factors, including do’s and don’ts for caulking:
- While caulking is versatile and can be used in several scenarios, there are some cases where you’re better off using other sealants. Some of these are; filling nail or screw holes and filling the butt joints of boards, among others.
- The tubes are reusable as long as you do not need a smaller hole than the last cut. Make a bigger cut, and you can use the tube again.
- Pour concrete mix dust on the wet caulk after application to mask the application on concrete.
- Store the remaining caulk with the nozzle attached. Keep it in a cool and dry place.
Summary
Learning about the caulk gun and how to use it for caulking should put you at ease. As you have seen, it is quite easy to use this gun as it requires no prior experience and only a few extra tools. Covering up cracks quickly before they become a problem and cost you more is beneficial.