

Most buildings come plain and simple but achieve a classy look from carefully added features. Added features like crown molding in buildings help increase their attractiveness and style. Most modern houses use crown molds to bring out the style.
Crown mold is a material made from wood, MDF, or plastic, among others, and attached to the top of the wall. Its style depends on the mold used and can come with different mold patterns. The curves on this crown mold make cutting it to fit your walls a bit tricky. You do not want to damage it while trying to cut it.
Do not let this discourage you, however, as following the right direction makes cutting the crown mold a piece of cake. You may need to cut the crown mold to fit into a small wall portion or to be attached it with another mold to fit into a longer wall portion. Fixing the crown mold requires cutting it to size. So learning how to cut it is inevitable if you want to install crown mold yourself.
Interior decorations like baseboards and crown molds have quickly become mainstays in building design because of how they accentuate certain parts of the building. Crown molds are not only for aesthetics alone as they also help to cover some unsightly parts.
Crown Molding Angles

Before we talk about learning to cut these molds, we need to understand the angles involved so we can set our saw correctly. Crown molds make different angles with the wall. Three common angles for crown molding are 38°, 45°, and 52°, with the 38° angle being the most common among the three.
The miter and bevel angle on the saw will vary for the different angles for crown molds. The process of cutting remains the same, so all you need to do is adjust these settings accordingly and make your cut.
Sides To a Crown Mold
Before we jump right in, you need to know the sides of the crown mold. The part that touches the ceiling is known as the top part, while the side touching the wall is known as the down part.
Another easily confusing concept is the corners. There is the inside left, inside right, outside right, and outside left corners of a crown mold. To understand this, think of the walls. The part that meets to form 90-degree angles is the inside corners, while the outside corners form around 270-degree angles.
When you place the board correctly, with the top part touching the ceiling and the down part on the wall, the left and right parts are easy to identify. This information will come in handy when cutting the mold. With that out of the way, let’s see how you can cut crown molds.
6 Steps to Cut Crown Molding
There are different ways to cut crown molding for your wall. You can also use different cutting tools such as the table saw and miter saw. Here’s your step-by-step guide to cutting that crown mold:
Step 1: Measure the Wall
Take your tape and measure the starting wall. The starting wall is where you want to start the crown mold installation. It is advisable to start at the least visible area so you can finish at the most visible part and improve your chances of getting a better alignment. Start with the inside corner of the wall.
Step 2: Measure And Mark the Mold
Using your wall measure, you can now measure the crown mold and mark areas for cutting. Depending on the size of the wall, some may have to be cut down to fit the wall, while others will require more than one mold to be joined to complete a single wall. Mark on the bottom side of the mold. Determine if you want to start with the inside right or inside left.
Step 3: Cut

Cutting the mold requires tact and carefulness. Miter Saw produces the best results since it can easily make angled cuts. Others like the circular saw can do the job, but precision is limited here.
To make an inside right cut, place the bottom of the crown against the fence and the top resting on the table. The crown mold should be placed by the left of the blade and the saw angle set at 45 degrees. Make a clean cut through the mold.
To make an inside left cut, place the top of the crown against the fence with the bottom resting on the table. The mold should be placed by the left of the blade and a 45-degree angle set on the blade. Cut through the mold.
To make an outside right cut, place the top of the crown mold against the fence and the bottom resting on the table. The piece should be by the right of the blade, and the blade angle should be set to 45 degrees.
To make an outside left cut, place the bottom of the crown against the fence and the top resting on the table. The piece should also be placed by the right of the blade and the blade angle set to cut 45 degrees.
Step 4: Finishing

Use a coping saw to cut out a piece from the back of the mold so that it fits properly. Sand rough cuts to give it an even, smooth feel and ultimately a more fitting alignment. The mold should fit on the contours with minimal holes, so test it out using a scrap piece.
Step 5: Repeat Process
Repeat the process for all the walls, from measuring to sanding the molds. This will leave you with a complete set to cover the insides of a room. With this, you can go to installation.
Step 6: Installation

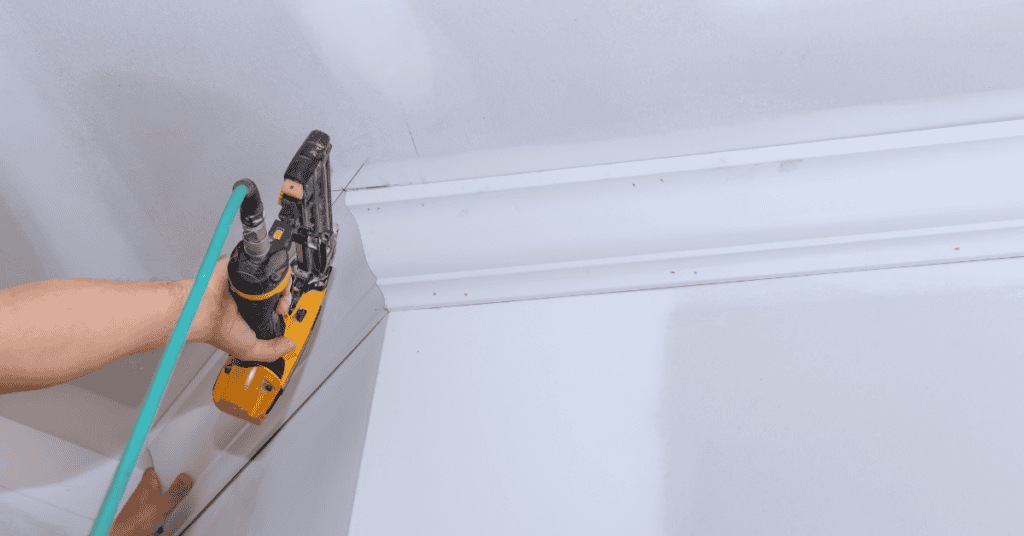
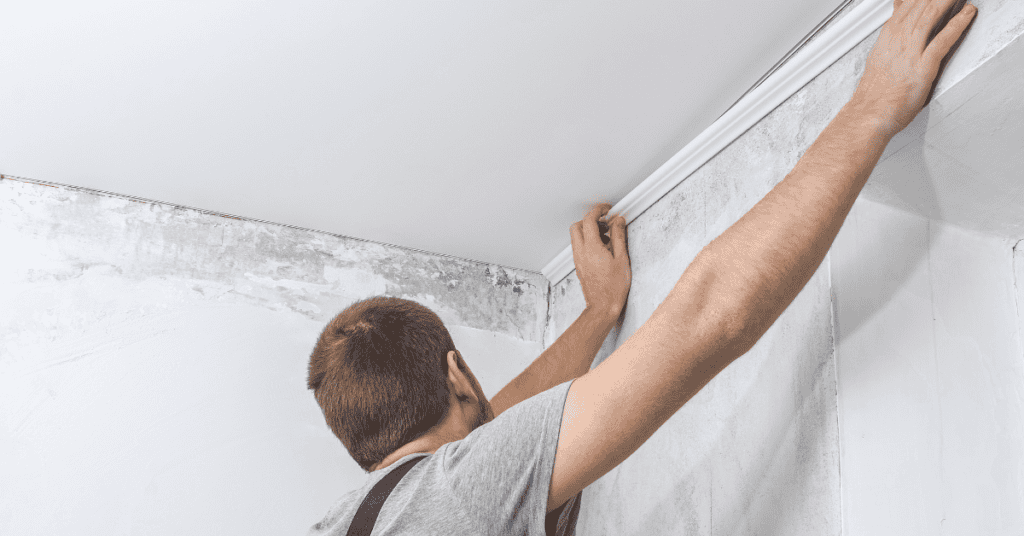
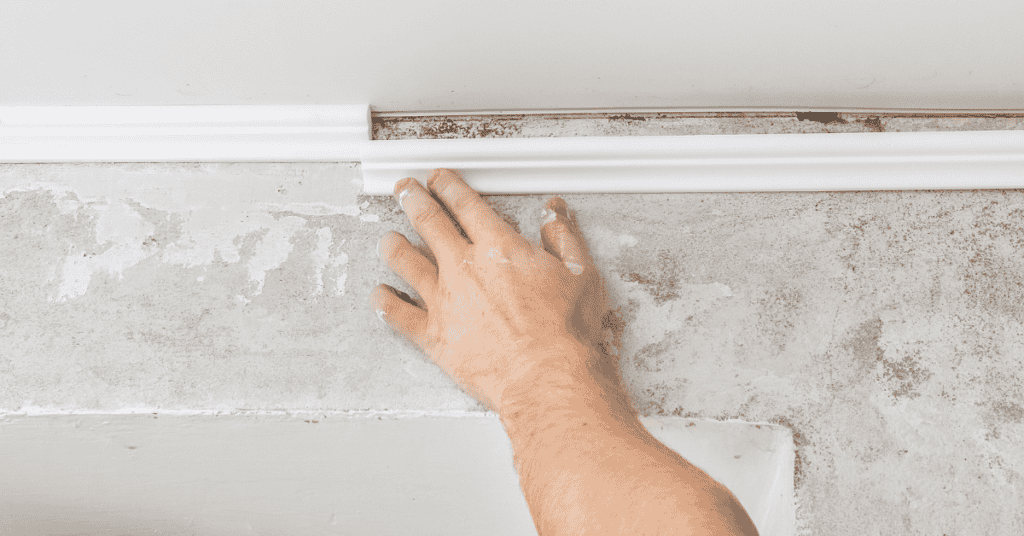
Installing crown mold is a whole new process entirely but will be easier if you make the right cuts. The crown mold will fit snugly and prevent cracks. Run adhesive on the top and bottom parts of the mold and on the ends where another mold will be attached.
Start from the first inside piece you cut and attach it to the wall. Use finishing nails to hold the piece while the adhesive sets. Attach the next piece till you’ve completed the interior. Everything should fit properly if you cut the pieces well. Check for gaps in the wall and fill them up with caulk from a caulking gun.
Extra Tips to Cut Crown Molding Perfectly
- The compound miter saw is the easiest way to cut crown molds as it does the bevel cut and 45 degrees cut at the same time. You do not need to prop the crown up after making the 45-degree cut. Compound miter saw can be expensive, so borrowing or lending can also be a viable option. Simple miter saws can also be used where getting a compound miter saw is difficult.
- The wall angle will determine the crown angle with custom cuts required where the wall angles all vary.
- Follow protective guidelines when working with saws and power tools to prevent injuries.
- You will need extra hands, especially when dealing with longer mold pieces. Doing it alone can cause it to break or lead to poor installation.
Summary
If you think your interior looks fantastic, wait until you add crown molds to it. Crown molds instantly raise the appeal and value of a building, and you can add them to the building yourself if you know how to cut them.
Cutting crown mold with a compound miter saw gives the best results, but a simple miter saw and the box can do the job just fine. Depending on what you can lay your hands on, you can make good cuts that create fitting molds.

 By
By


