
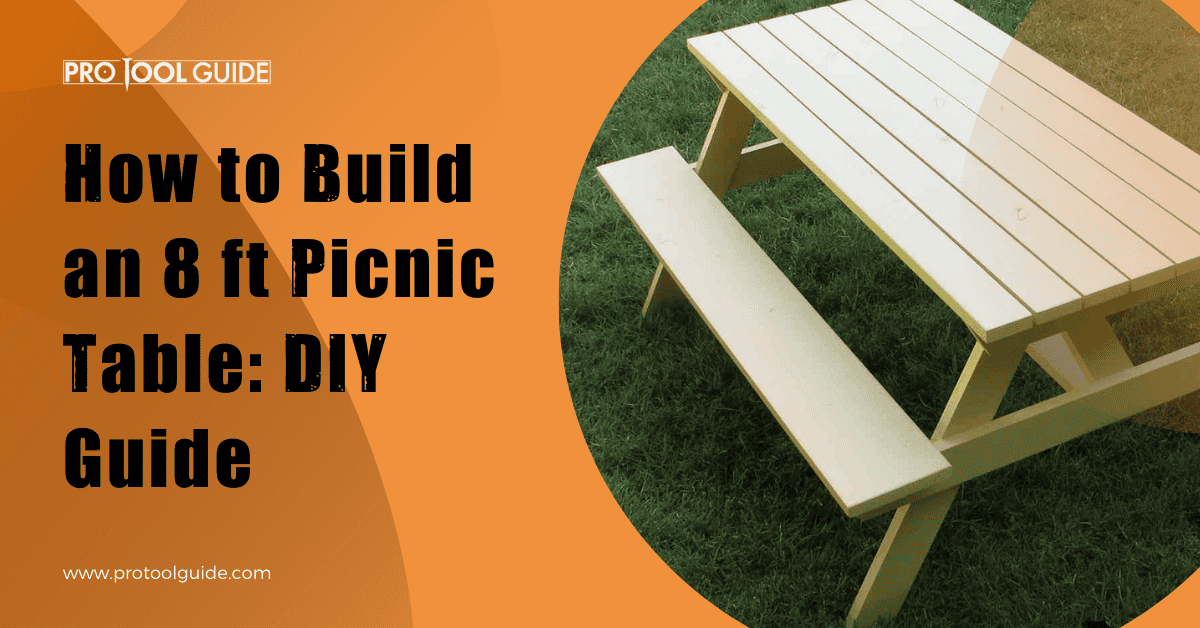
Planning a picnic with family and friends? Then check out this 8 ft. picnic table DIY guide perfect to seat 8 or 10 people, with 2 of them seated at each end of the table.
Here is why we love this 8 ft. picnic table-building guide.
- The 8 ft. size is perfect when out on a picnic with a large gathering.
- The efficient and detailed plan minimizes wastage with less cutting and scarping the wood.
- It is easy to build with basic woodworking knowledge.
- The craft can be customized to suit the space and need.
How to Build a 8 ft Picnic Table: Step by Step Guide

We have laid down a step-by-step guide to take you through the entire process of how to build a 8 ft. picnic table.
As a word of caution, read through the entire instruction before cutting any piece of wood or starting with the building. This will let you verify the list of materials and steps to avoid any costly mistakes in the latter half of the project.
1. Power Tools Needed in the Construction
2. Materials And the Quantity Required
- 2″ x 6″ @ 12′ – 1 qty. – For the four table legs
- 2″ x 6″ @ 10′ – 3 qty. – Two bench support placed horizontally and for one bench
- 2″ x 6″ @ 8′ – 7 qty. – One bench and a tabletop
- 2″ x 4″ @ 12′ – 1 qty. –Tabletop support and braces
- 2″ x 4″ @ 8′ – 1 qty. – Diagonal and center bench braces
- 3/8″ x 3.5″ Galvanized Carriage Bolts, Washers, and Nuts
You can make the picnic table with any lumber species.
3. Building Guide
Here are the steps to build and assemble the 8 ft. picnic table.
Step 1: Tabletop – Cut and assemble
- Take out five of 2x6s of 8 ft. and cut five pieces of 2x6s 7’10” length.
- From the 2×4 12′ cut three 2x4s of 28 inch and then cut a bevel on each of the ends of the three 2x4s.
- Lay the 2x6s on a flat surface and side by side to each other ensuring that its best side faces down. There should be 1/8″ space between the 2×6.
- On each of the end of the tabletop, position two of the pre-beveled 2x4s ensuring that they are 9″ from each of the ends. The third one should be at the center.
- Using the 2.5″ galvanized deck, attach three of the 2x4s to the board of the tabletop. You will need two galvanized screw for each of the planks.
- The 2×6 braces should not be flush with the tables’ edges but should be centered so that the 2×6 plank hangs from the 2x4s on each of the sides equally. All the 2x6s should square and line up at the ends before you put in the screws.
Step 2: Leg and the bench support – Cut and assemble
- Mark a 23-degree angle using a speed square on an end of the 2×6 12′ and then cut it. When you do this then you will be left with a leg angle of 67 degrees.
Mark another angle of 23 degrees that should be parallel to the first angle that you created. · Measure a length of 31″ from the previous angle and cut on the long point. Cut it.
- The first leg acts as your template using which you will have to cut the next three legs using the same 2×6 12′.
- Cut two pieces 28″ long from the leftover part of the 2×4 12′. These work as the tabletop. Notch the ends.
- Mark 4″ from each of the ends on the top edge of any one of the 2x4s. This is the position of the top of the picnic tables’ legs.
- Place these legs on the 2x4s and then secure them well on the edges using the 2.5″ galvanized deck screws. You will need two of these.
- Once you assemble it, all the leg assembly parts will be fastened together permanently using carriage bolts. Ensure that you understand the exact placement of the carriage bolts, which will take care that the deck screws don’t get in the way.
- Cut two 60″ pieces from the 2×6 10′. This will act as the bench support.
- Measure 16″ up from the bottom end of every leg and then make a mark here, which is the height of the bench support.
- With the marks you made in the last step line, the top of the bench supports 60″ and center it in between the legs. This will take care that the same amount of 2×6 extends past every leg.
- Use two galvanized deck screws of 2.5″ to secure the legs and the bench support temporarily.
- Drill holes of 3/8 “through each of the boards where each of the pieces connect. The pieces then need to be secured together using the 3/8″ x3.5” nuts, washers, and galvanized carriage bolts.
- The holes that help to secure the bench legs to the support above should be drilled at 2 ¼” from the top part of the upper support. This works such that when you attach the leg assembly on the tabletop branches, the carriage bolts do not come in the way.
- Repeat all the steps above for the remaining assembly of the leg.
- Now flip the table for it to be in a top and upside-down position and attach the legs to each side of the tabletop braces on each ends using the four 3″ galvanized screws.
Step 3: Diagonal support attachment
- Cut out two 24″ pieces from the 2x4s 8′ that are remaining. You need to cut it in such a way that it makes a 45-degree bevel on each of the ends. These works as diagonal braces.
- Now, from the bench support inside the middle to the tabletop bottom make a 17″ mark. You will also need to make a 17″ mark on the tables’ underside from the bench support inside the plane to the center board which is on the underside of the bench.
- When you attach the 24″ braces long points, this should line up with the two marks. In case they do no line up then tilt the legs assembly till the marks line up well. This is an important step to ensure that the tabletop and legs are at a perfect 90 degrees.
- Secure the braces temporarily with the 2.5″ galvanized deck screws and with the carriage bolts.
Step 4: Bench seat adding to the picnic table
- Now that the diagonal braces are secured and in place, it is time to flip the table to an upright position. Cut the seat board of 7″ to 10″, four in numbers, from the 2×6 10′ and the 2×6 8′. You will need to cut two pieces from each.
- On each of the sides of the table center, two bench seat boards should be placed between the 2×6 bench supports which are two in number. This bench seat board should take an equal amount on each end and on both sides of the picnic table. They should be at a distance of 1/8″ apart.
- Once the placement looks satisfactory, and the 2×6 bench seat board looks perfect, it is time to secure these to bench support. You can use 3″ deck screws two in number on each of the ends.
- You now have two remaining pieces of the 2x6s from which you will have to cut two 16″ pieces that are to be used to support the center bench.
- Locate the bench seat center and place one of the 16″ bench support upright under the bench. Now attach the seat support to the seat board with the help of deck screws of 3″.
- Cut out four-seat braces from the 2×4 material that is remaining. This should be one inch lesser than the double 2×6 bench seat width.
- With the 10″ seat braces the center bench support of 2×6 should be sandwiched and secured to the bench seat. This should be done from the bottom using 2.5″ deck screws for each of the braces.
- Now add the missing deck screws and the remaining carriage bolts that you have.
Conclusion
We hope to have laid down all the steps that go in the construction of the 8 ft. picnic table. While there are many wood species that you can use for the construction of this outdoor project like cedar, redwood, cypress, white oak, teak, etc. ensure that you understand the advantages and disadvantages of each wood variety to make the right choice.

 By
By


