
Wooden boxes are the perfect storage equipment anywhere in your home, from your kitchen to your shed. These boxes come in different shapes and sizes, depending on your preference for storing home appliances, gardening tools, and available equipment. The boxes indoors can be huge for aesthetics and functionality. Still, when it comes to outdoor storage boxes, one major problem is that they are prone to water damage.
Storage boxes are not limited to indoor spaces alone. Still, if you use them outdoors to keep equipment, they must be waterproof. It is done to protect the materials inside and prolong the box’s lifespan. The porous nature of wood makes it easy to soak up moisture from rainfall, with the water seeping it to damage whatever you’re storing inside or soaking the wood and damaging the box. How do you fix such a dilemma? Waterproofing the storage box will make it suitable for outdoor usage.
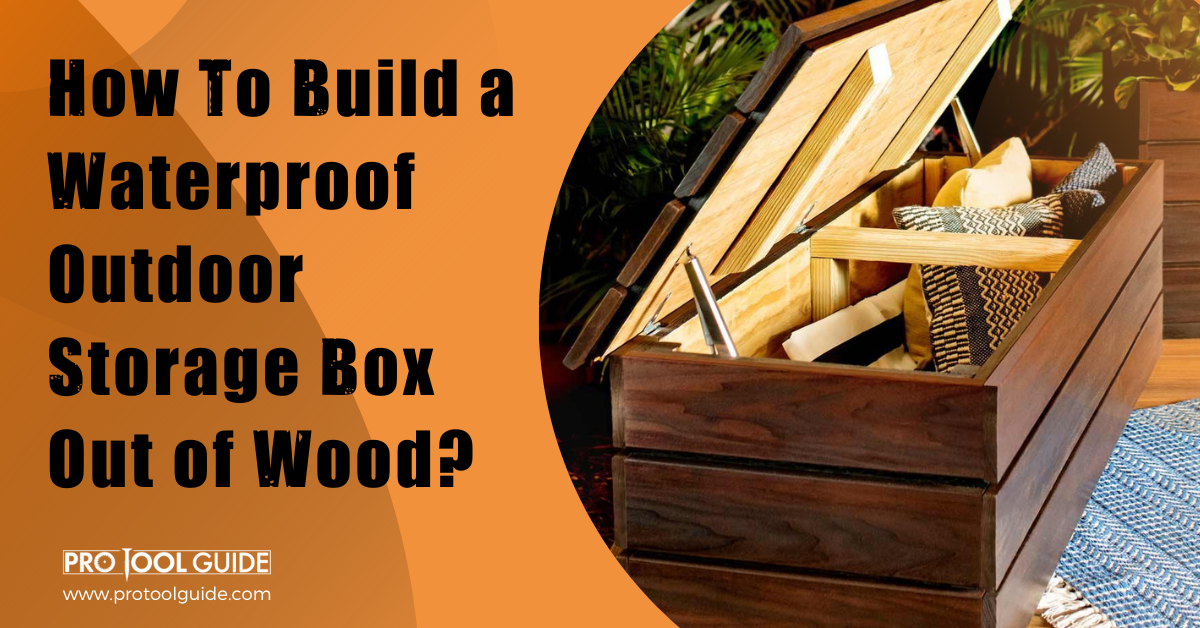
What does waterproofing a storage box mean, and how do you build a waterproof box? This guide will answer this question by showing you how to make a waterproof outdoor storage box using wood. In addition, the guide will include all the supplies needed and the steps to follow.
Supplies You Need

You’ll need tools and materials to build a waterproof outdoor storage box. Here’s a list of all you’ll need to build this box:
- Lumber: you need wood that can withstand harsh weather without damage
- Hinges: for the doors to the box
- Screws: for the hinges, so the size is dependent on the size of the hinges
- Protective sealant or varnish: oil-based sealants are more suited to this project
- Drill bit
- Paintbrush
- Sandpaper
- Caulk/wood filler
- Wood glue
- Primer/ paint
- Nailer
- Nails
- Miter saw
- Kreg jig
Steps to Build a Waterproof Outdoor Storage Box
With the supplies ready, you can build this waterproof outdoor storage box. Still, before then, you must realize the process is easy and takes a few hours to complete. So, without further ado, here’s how to build that box:
1. Prepare The Area

Select a spacious location to build this box, as the more space you have, the easier and less dangerous it is to build. You also want to ensure the location is well-ventilated since you’ll be dealing with sealants with a strong odor. Ventilation is vital to reduce the strong smell of the paint, primer, and sealant you may use. Use open spaces or locations close to a window, as light is also essential.
2. Prepare The Wood

This process involves cutting the wood down to size using the miter saw. The measurements depend on the size of the storage box you want to build. For this guide, we’ll use 54 x 34 mm lumber pieces, 24 x 48 mm lumber pieces, 3mm and 5 mm MDF, and 18 mm pine.
Measure and mark with a pencil and cut with the miter saw to get all the desired sizes in place. Ensure the first few pieces are the correct sizes and that they fit before cutting other pieces since it may require more than 50 individual pieces of wood, depending on the size of the box. The end of the cladding is cut at 45° angles while all others are straight. The 45° cuts ensure that the slants look like a continuous loop of wood and edges do not show, which improves its aesthetics.
Sand the cut wooden pieces using 150-grit sandpaper or a sanding block to smoothen the surface and make it ready to receive the finish. It would help if you also stained the wood pieces at this point, as it gets harder for the stain to reach all the corners of the wood when assembled in a box.
3. Build The Box

Assembling over 50 pieces of wood is the next step in building this outdoor storage box that will not be damaged by water. Start by drilling the pocket holes for screws. You can do this by attaching the Kreg jig to the base of the wood where you want the pocket hole and drilling through the guide holes to create holes for screws. Always ensure to drill in the direction of the longer piece of timber remaining where the joint is weaker.
Use screws to hold the two pieces together using the pocket hole joints. The more screws you use, the stronger the joints; however, you do not want to screw too close to another screw as this can cause the wood to break. Start by assembling the frame to get a bit of context and reduce confusion. It is easy to get confused with the tens of wooden pieces, so making the frame first will clear the part for the other pieces to come together.
The base needs an additional frame so attach the frame pieces accordingly with the longer pieces to the longer frame, shorter pieces to the shorter frame, and the remaining wood to the middle of the box. Next, raise the box above the ground by attaching off-cut timber to the frame. By keeping the box off the ground, you prevent the box from staying in water puddles which can damage the wood.
With the frame in shape, you can quickly add the outer wood by placing the first slat to the structure’s base and nailing it into place. Repeat the step until you’ve covered one side of the box while ensuring it is straight and fits perfectly. You want each slat to touch the other and remove any space between, making it easier for water to seep through. Next, build the lid separately using the slats and frame while ensuring the measurements fit the top of the box.
Complete all the sides ensuring the 45° cut angles lap perfectly with the adjoining slat on the other side to create a continuous loop. Next, cover the inside of the box by nailing a board across its face. Do this for all the sides of the box, including the base and the inside of the lid.
4. Attach The Lid

To attach the lid to the box, you’ll require the hinges and screws. Doing this alone can be stressful, so get help if you can. An easier way to achieve this is by screwing the hinges to the lid before attaching it to the box. The position of the hinges should be below the lid frame and on top of the box frame.
Since the hinges will sit on the frame, it may not be easy to close properly, so you may have to reduce the wood in the frame area on the box. Use a chisel to chop off parts of the wood so the hinges can fit in. You can make assessing the box easier by attaching a hydraulic hinge to each side of the box. The hydraulic hinge will hold the lid in place when open, so you can go through the box’s contents without worrying about the lid.
5. Paint
Paint the box with the desired color using the paintbrush to wipe the paint over the wood. Apply the first coat and allow it to dry before applying a second coat to accentuate the look and make the box attractive. Allow the paint to dry for 24 hours or more, depending on the type of paint.
6. Apply Varnish
Varnish seals the paint and ensures the wood does not soak moisture. Only apply varnish when the paint is completely dry, and start with a thin layer of varnish that you apply with a back-and-forth stroke of the paintbrush dipped in varnish. Allow the first varnish coat to dry completely before applying the successive layers, which may take about 10-14 hours, depending on the varnish and environmental conditions. You may need to apply up to 3 varnish layers to seal the wood.
Gently sand each varnish layer to remove bubbles and imperfections before applying the next layer; however, only sand after the varnish has dried. Then, use a vacuum to remove all the dust and be ready for a few more coats.
7. Allow Varnish to Dry
It may take over a week for the varnish to dry fully, but you can carefully start using the outdoor storage box in 24 hours. First, leave the varnish to dry in a well-ventilated area away from direct sunlight and extreme weather conditions. After which, you can go ahead to enjoy your waterproof outdoor storage box.
Tips For Building Waterproof Outdoor Storage Boxes
Here are extra helpful tips you should remember when building your waterproof outdoor storage box:
- Dispose of all rags and clothing that have come in contact with varnish properly, as they can catch fire without ignition. Dispose of them in a closed container made of metal and filled with water. This is extreme but essential for your safety.
- Wear protective nose masks to keep dust from sanding away and reduce the inhalation of harmful chemicals from the paints, and sealants or varnish.
- Apply varnish on a dry day with as few weather fluctuations as possible. Avoid applying varnish early in the morning before the morning dew or just before sunset.
Summary
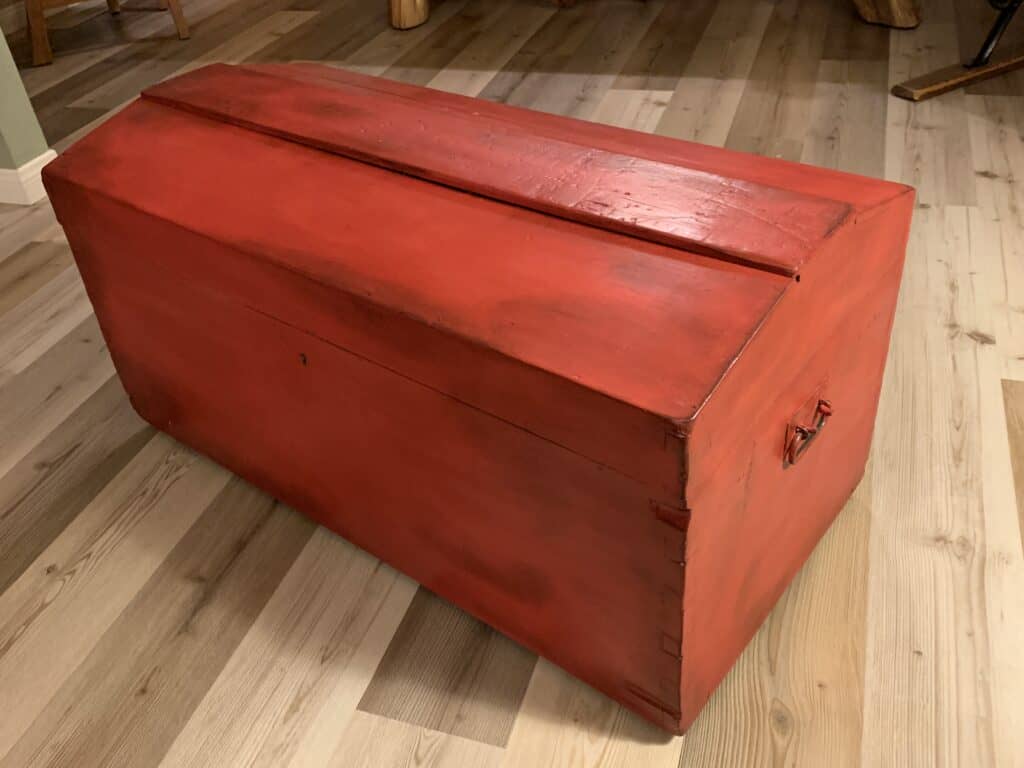
Sealing the wood with varnish is the exact way to waterproof your outdoor storage box and prevent moisture from damaging the wood or the materials inside. However, building the box to be watertight will also improve its resistance and keep the box in good condition. If you’re building the box from scratch, you can utilize plans that can keep the boards tight and remove spaces. However, if you’re working with an already constructed box, you may have to add a board where the slats are not fitting enough.

 By
By


