
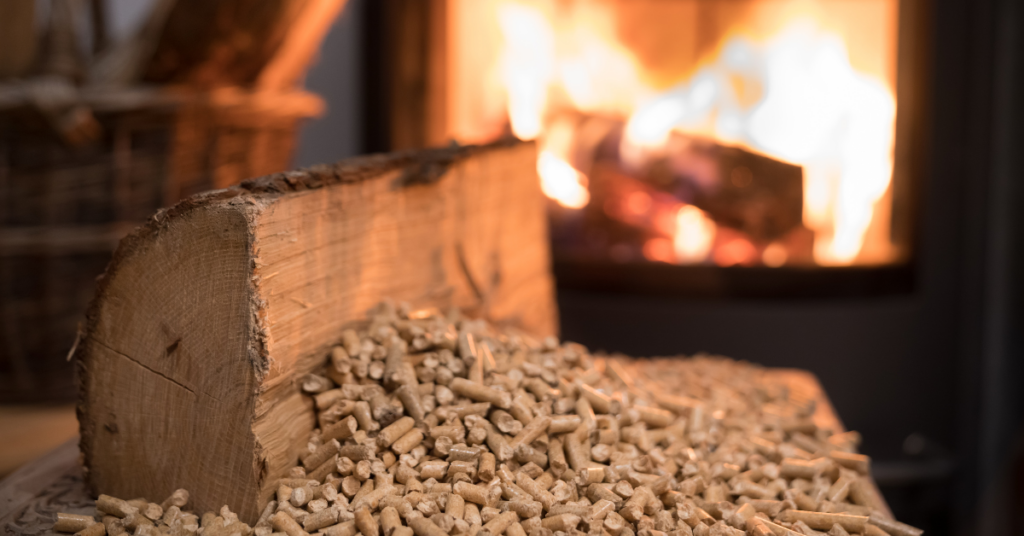
Wood pellets have grown in popularity in the search for alternatives to fossil fuel with their high power output and low emission, giving it an edge among other options. People looking for effective and affordable heating solutions are turning towards wood pellets in their droves. The reason for this is plausible, considering the numerous benefits it brings.
Wood pellets are made from sawdust and other wood wastes, making them sustainable and good for the environment. The wood shavings are compressed into small pellets that can be heated as fuel.
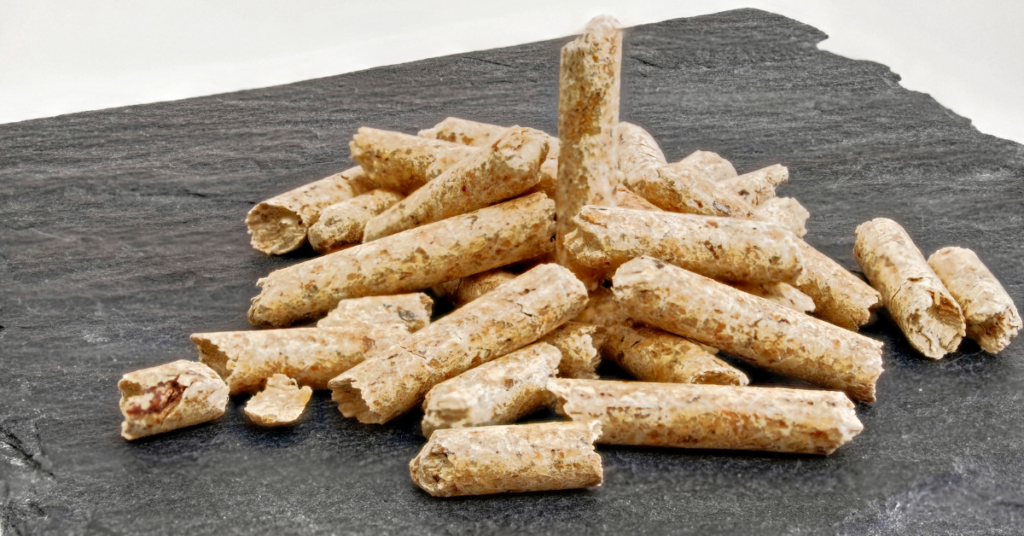
While you can purchase wood pellets for your various needs, making it more fulfilling and affordable. You’ll find making wood pellets exciting and rewarding as a DIY enthusiast. The aim is to compact the materials into dense forms that are easy to handle and burn.
Another benefit of making your own wood pellet is that you can customize it to your specifications, adding unique flavors. We’ll show you how to make high-quality wood pallets in easy steps. But first, let’s see some of the benefits of wood pellets.
Benefits of Wood Pellets

If you’re not yet convinced that you should make wood pellets, you may not fully grasp the importance of wood pellets.
This section is therefore dedicated to discussing the benefits of wood pellets, so you can make an informed decision on whether you should make them.
1. Eco-Friendly
Technically, wood fuels do not increase the concentration of carbon dioxide in the atmosphere since they use up as much CO2 during their growth as they release when burning. Fossil fuels, on the other hand, only add CO2 to the environment without taking it out.
Also, wood pellets emit lower emissions when compared to the same quantity of fossil fuels. This helps to keep the atmosphere environment-friendly in your daily usage.
2. Affordable
As a highly efficient heating medium, wood pellets represent a cost-effective option for grilling and heating. More than 90% of the heat from wood pellets in central heating boilers and stoves is usable. Only a tiny amount is wasted during combustion.
Using wood pellets can save you up to half the cost of using natural gas or fossil fuel. When you compare the efficiency and cost of wood pellets, their cost-effectiveness is evident.
3. Sustainable
When setting up a heating system, you must consider its sustainability, as fluctuating materials can significantly increase the cost of operation.
Wood pellets are sustainable as the wood waste is less volatile than natural gas and fossil fuels. This makes the last two extremely expensive.
4. Renewable

One of the most significant benefits of wood pellets is that it is made from renewable materials. These materials remain renewable as long as trees are cut down and shaved to get the desired size and smoothness.
5. Comfortable
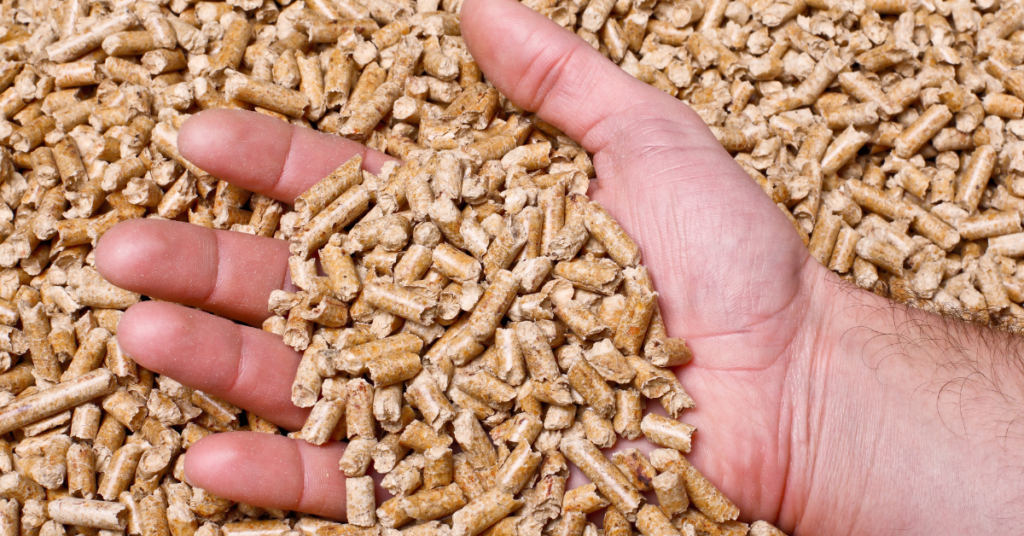
Wood pellets are produced in small, dense forms that make them easy to carry. The heating mechanism also provides for comfortable usage, with wood pellet central heating boilers and heating stoves being the most popular.
Central heating boilers have easy-to-operate systems with navigations for each task. They do not require particular skill sets to use and clean the surroundings during combustion. The various processes, including combustion, cleaning, and de-ashing, happen automatically, providing a seamless experience.
Using specialized wood pellet stoves over regular wood stoves guarantees more comfort, with the furnace providing up to 3 days of heating from a single fill. It can also be controlled electronically using your phone, making it user-friendly.
Materials Required
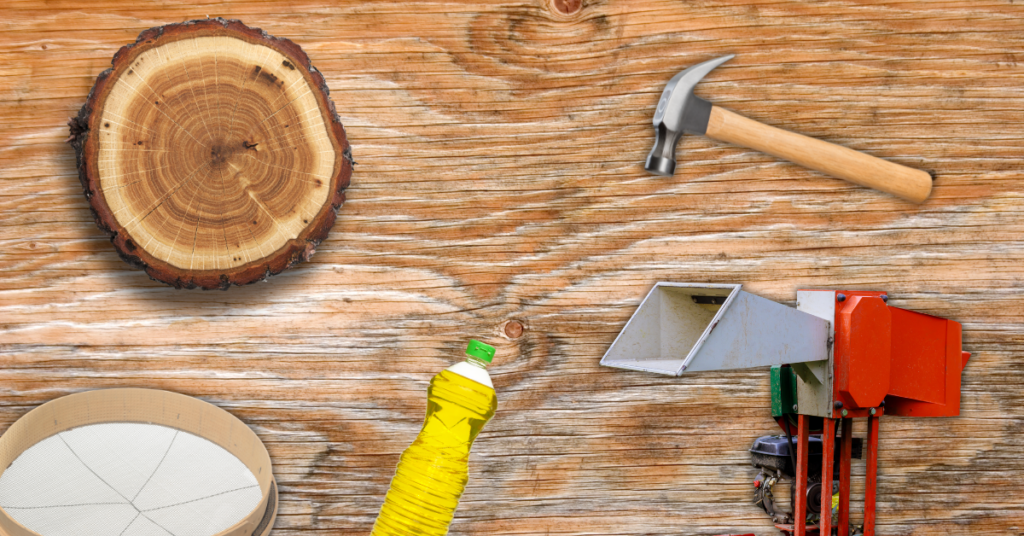
Before you can produce wood pellets, you must assemble some materials and tools to make your production successful.
- Wood: The raw material for this production is primarily wood and its waste, including sawdust and wood chips. The quantity will depend on the amount of pellets you need.
- Wood Chipper: Gathering different wood pieces means wood sizes will vary, and some may be too large for the pellet machine, especially when using wood chips and wood logs. The wood chipper will help cut the lumber into desirable sizes.
- Hammer Mill: You’ll need to use the hammer mill to reduce the size further to make wood pellets.
- Sieve: You can filter out contaminants by filtering the raw materials through a sieve.
- Vegetable Oil: Adding vegetable oil to the mix helps the materials stick together.
- Batch Mixer: Mixes all raw materials for uniform density, moisture, and size.
- Pellet Press with a Die and Roller or Flat Die Pellet Mill: Either of these machines will press the materials into shaped pellets. The pallet press with die and roller is helpful when making a small batch, while the flat die pellet mill is suitable for large portions.
Step-by-Step Guide to Making Wood Pellets
Using wood pellets is ideal if you’re looking for an effective, affordable, and comfortable heating material. Making the material is straightforward with the right tools. Here are the steps to follow:
1. Ensure the Right Moisture Content
The first step to making a wood pellet is ensuring the lumber and its waste have the right amount of moisture. Moisture is vital to ensure the materials mix, but adding too much will result in a loss of quality. Finding the right balance is critical to making quality wood pellets that last long.
You’ll need a moisture meter to check the levels in the lumber. The ideal moisture content varies between 10 to 15%. When the moisture exceeds the desired level, adequate drying is required.
You can dry it in the open air by leaving it in a well-ventilated area. It is also the most popular, but other controlled options like kiln and microwave drying exist. They are both faster than air drying but require specialized materials.
Also Read: How to Store Lumber And Timber Properly to Prevent Warping?
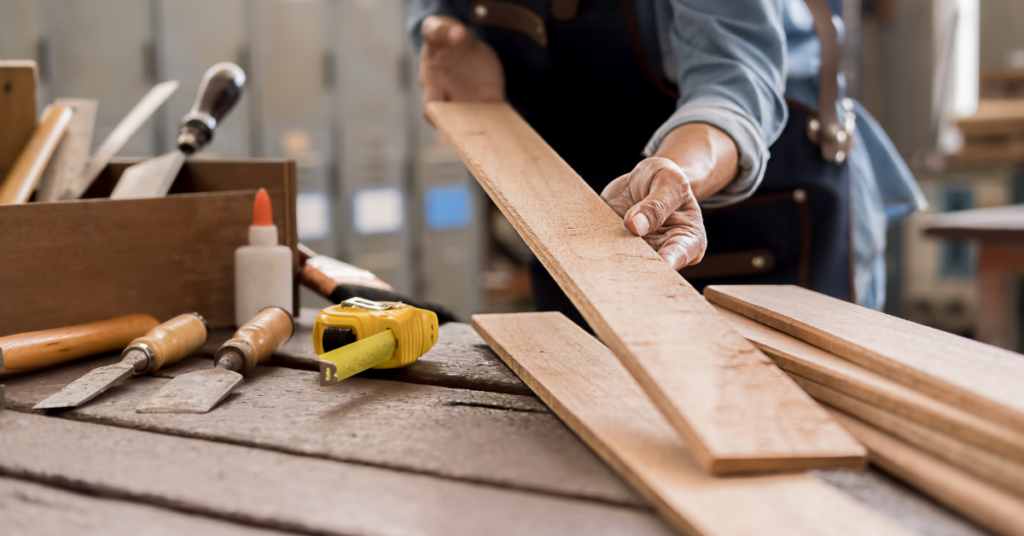
2. Chip Lumber
Depending on the size of the raw materials you’re using to make the wood pellet, you may need to chip them into the right sizes. Logs of wood and branches need to be cut down to a length of about 2.5 cm. A chipper machine is the ideal tool for this purpose.
You’ll need to turn on the ignition and feed the logs into the chipper through its mouth. Ensure you set up a collector at the other end to gather the chipped pieces. Modern wood chippers allow you to select the sizes you need; otherwise, you would be required to run the wood pieces through the machine several times.
Also Read: How to Cut Curves in Wood? 7 Different Methods
3. Grind the Chipped Pieces
The chipper can only reduce the lumber into chips. But you need a grinder like a hammer mill to form pellets. Feeling the hammer mill with the chipped pieces is easy, as the inlet is wide and vertical. As always, this is an optional step if you already have sawdust.
You can also use a knife mill to grind the pieces or a pellet mill with a built-in grinder. These are standard grinders you can use as alternatives.
4. Clean
Removing stones and impurities is vital to protecting your pellet machine and ensuring you have the best quality wood pellet. These particles reduce the quality of your produce. You may need to confirm the moisture level again to ensure it’s in the right amount.
You must use a sieve to remove contaminants like stones, metal pieces, and dirt.
Also Read: How to Make High-Quality Wood Pellets? Step-by-Step Guide
5. Add Vegetable Oil
Adding vegetable oil is only required when producing a small amount of wood pellets. Vegetable oil acts as the binder, keeping the materials together. But you must use the correct portion to avoid unnecessarily raising the moisture levels.
Add about one tablespoon of the vegetable oil to every pound of wood pellet.
6. Mix
A batch mixer is required to ensure the oil is evenly spread and the density, size, and moisture are uniform. Use a batch mixer with an agitator or rolling drum inside to thoroughly mix the raw materials. An ideal combination may take up to twenty minutes, after which you can proceed with the pallet molding.
A small kitchen stand mixer can handle small produce. The step is optional when using premade sawdust since it comes in uniform sizes.
7. Mold the Pellet
Before you fret, there’s a specialized machine for this, so you won’t need to mold the pellets by hand. You can use a pellet press with a die and roller for small portions or a flat die pellet mill for larger quantities. Each machine’s process varies slightly, so read the manufacturer’s guide.
It would help to feed the pellet mill with the thoroughly combined sawdust as the machine molds it using pressure and heat. The miller will churn out hot wood pallets of similar sizes.
8. Store
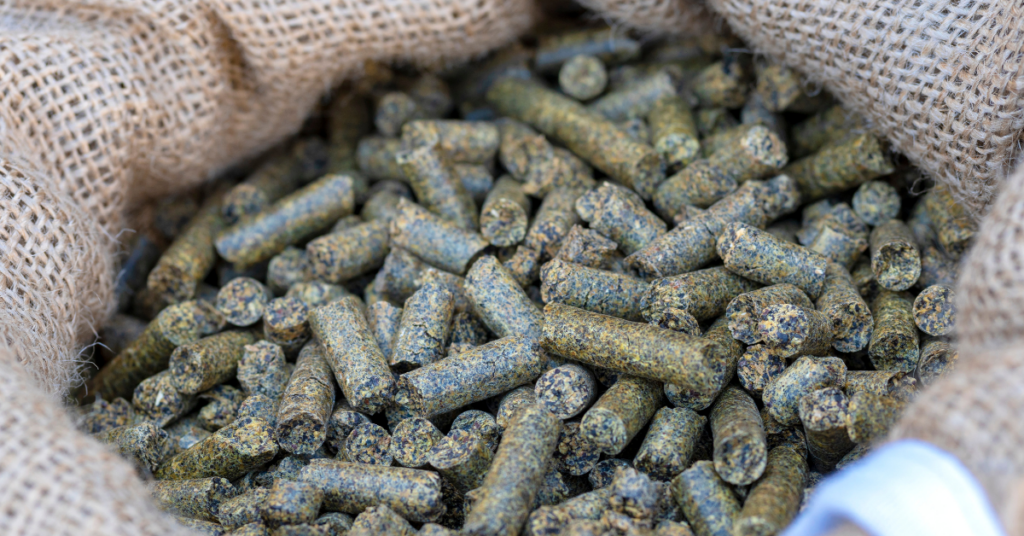
Before storage, you must allow the pellet to cool, which may take several hours. The cooling solidifies the pellets and prevents breakage. You can then package them for storage in air-tight plastic or paper bags, as air reduces their quality before use.
You must store the pellet in cool, dry places away from heat and direct sunlight.
FAQ’s
If you have any more questions about making wood pellets, check out this section. You might find the answer to the most popular question about this topic.
Ans: 2.5 tons of sawdust with 50% moisture content is required to make a ton of pellets, while 1.5 tons of sawdust with 15% moisture content will make a ton of pellets.
Ans: Wood pellets are natural heating materials and do not require chemicals. With vegetable oil being the only additive it may have when making smaller portions.
Ans: Charcoal is better suited for cooking with its more desirable flavor while wood pellet is better for heating. Wood pellet is more cost-effective and easier to use than charcoal, but charcoal burns hotter.
Summary
Wood pellets are ideal alternatives to charcoal, gas, and fossil fuels. They offer a cost-effective and easy-to-use system that allows you to maximize your pellets for longer. Making the pellets you use further improves their cost-effectiveness.
Wood pellets are eco-friendly and easy to make by following straightforward steps. The process is even shorter when using already-made sawdust.

 By
By


