

Whitewashing wood has been here for a long time with no signs of going away anytime soon, as it has proven helpful in maintaining wooden projects. You can whitewash cabinets, floors, and furniture and enjoy the many benefits that come with it. Despite whitewashing being an old concept, some DIYers may need help understanding it.
Whitewash is a slightly transparent paint finish on a wooden surface where the wood hue and grain are visible. The aim is to provide some protection from the paint while preserving the wood grain texture. It creates a vintage look out of even new projects, giving every piece you coat a unique story.
Many DIY find whitewashing interesting; however, it can be challenging to get it right, especially as there are several techniques you can use. If you’re among the woodworkers interested in learning how to whitewash wood, this guide is just the information you need. It’ll include detailed steps for a few techniques to whitewash wood.
Materials Needed to Whitewash Wood
You may be surprised that you only need a few materials to whitewash wood. You may already have a few supplies as a DIY enthusiast, and it would only cost a token if you’re buying afresh. Considering that we’ll be featuring a few techniques, this list of supplies may be slightly different. We’ve included a general list of one of the whitewashing methods. Get the following supplies ready before proceeding with this guide:
- White Paint: The traditional color for whitewashing is white, as seen in its name. However, you can replace the shade with a suitable choice. The type of white paint also varies with matte water-based paint, the most popular.
- Water or Paint Thinner: Either of these materials effectively dilutes the paint to the desired consistency.
- Microfiber Cloth: This cloth helps wipe the wood surface clean.
- Sandpaper or Power Sander: To get the correct surface texture before painting, you need to sand the surface using a sandpaper or power sander.
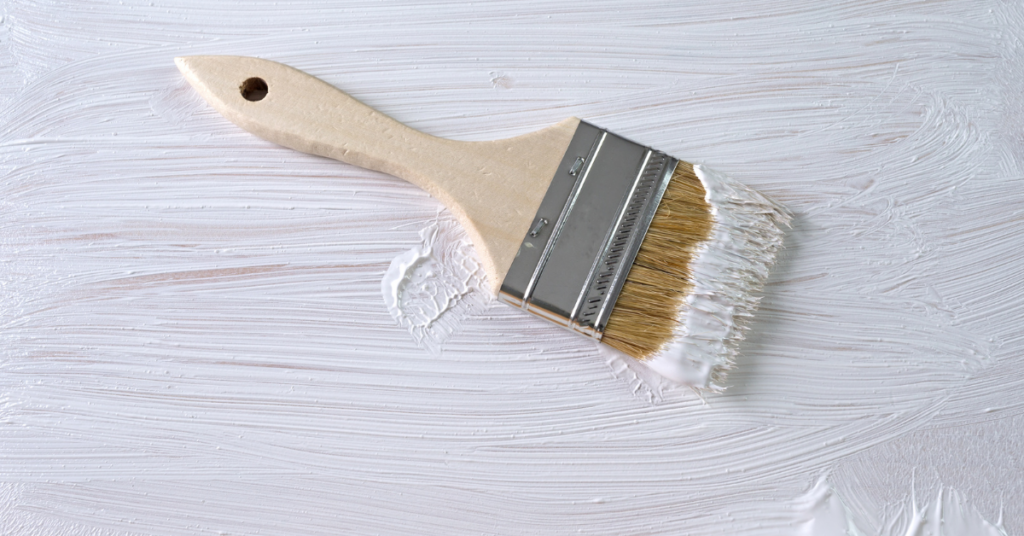
- Paintbrush: You need an applicator to apply the paint unto the surface, and a paintbrush is a suitable tool.
- Small Bucket: This may be required to mix the paint and water.
- Roller (Optional): It may be helpful to get a roller for larger surfaces as it makes the task faster.
Steps to Whitewash Wood
There are several steps you can use to accomplish a whitewashed wooden surface. In this section, we’ll consider some popular methods to whitewash wood. With the required materials, you can complete this task in under an hour while you wait for the paint to dry.
1. Using the Diluted Method
This method involves diluting paint and applying it directly to the wood. It is the most common method, effective on all surface types.
Step One: Prepare the Surface
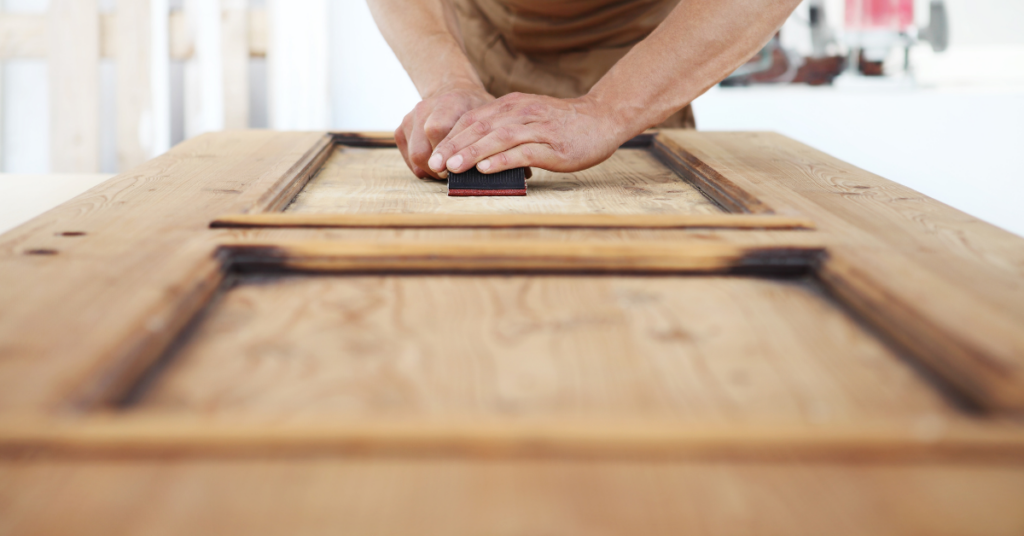
Whitewashing is best on raw wood without any finish; you can achieve a decent coating on old wood with a previous finish. However, using a sander, you must clean the existing finish from paint to varnish. Scrubbing the surface using a power sander may be best suited for this task depending on the shape and size. After sanding, wipe off the dust from the surface using a vacuum or cloth.
Step Two: Dilute the Paint
Dilute the paint using water for water-based paint and paint thinner like turpentine for oil-based paint. Use a ratio of two paint parts to one of water for the dilution. You can also try combinations like 1:1 and 1:2 if you prefer a thinner consistency. Test your whitewash paint solution on scrap wood, ideally of the same material, to ensure you’ve gotten the right consistency.
Step Three: Apply the Whitewash
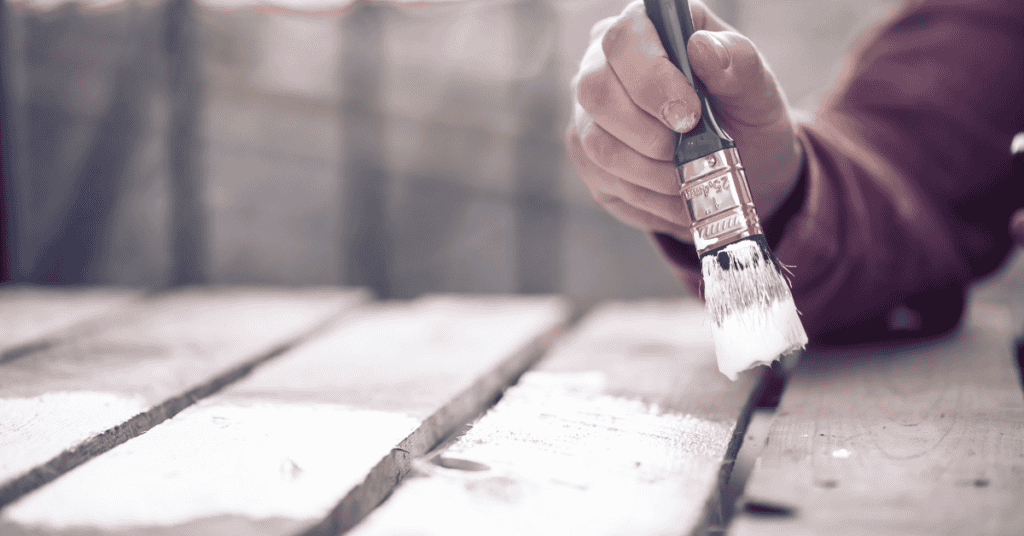
You can apply the whitewash at this point using a roller or paintbrush. A roller is best suited for extensive flat horizontal surfaces. On the other hand, paintbrushes can reach intricate corners and are suitable for smaller surface areas. Paint a section at a time to compensate for the fast-drying solution. Remember to use long strokes along the grain length for best results.
If you prefer more visible grains, you can adjust the application to suit your needs by wiping some of the whitewash off the surface. Allow to dry for a few hours, then decide if it needs another coat. When adding coats, lightly sand between each layer to improve adhesiveness.
Step Four: Seal with Polyurethane
After getting the right whitewash quality, you can seal the layer using polyurethane to improve durability and prolong its sharpness. Use a brush to apply the clear polyurethane sealer over the surface.
2. Using the Whitewash Stain Method
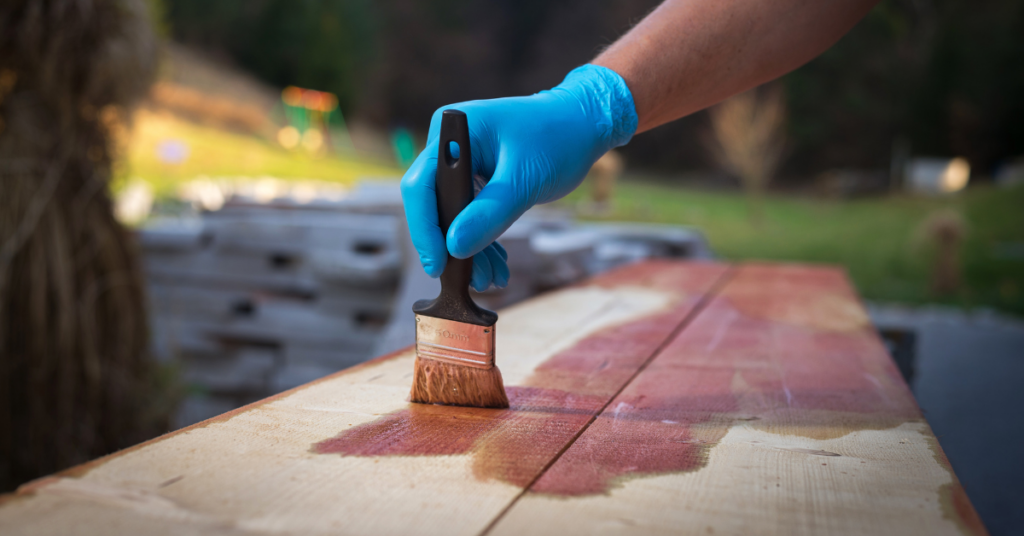
Instead of diluting the paint to form a whitewash solution, you can purchase a stain from most manufacturers. This method does not require the trial and error of diluting, so it saves you time and is less chaotic. It features a similar application method as diluted paint. Remember that whitewash stains are only suitable for unfinished wood, as finished wood already has its pores blocked.
Apply the whitewash stain using a paintbrush or rag in the direction of the grain so it can quickly enter its pores. Leave the stain for about three minutes before removing excess using a lint-free rag.
3. Using the Candle Method
Using wax from materials like candles to block certain areas is a time-consuming method of whitewashing your wood. The idea is to secure the parts you don’t want the paint to stick to as the wax is removed after the process. Sometimes the candle method is called a wax resist, which is suitable when there is an evident variation in the texture of the wood. Avoid using it on smooth surfaces.
The method is also helpful if you want to see a base color shine through the whitewashing. Rub the wax on areas of the wood you don’t want the paint to touch, then paint the whole area with your regular whitewash. It can be a pre-manufactured or diluted stain.
Allow the paint to dry completely, which usually takes a few hours, depending on the atmospheric conditions. At this point, you can wipe with a damp rag. Only the paint on the waxed areas will wipe off, as it cannot stick to the wax.
4. Using the Scraper Method
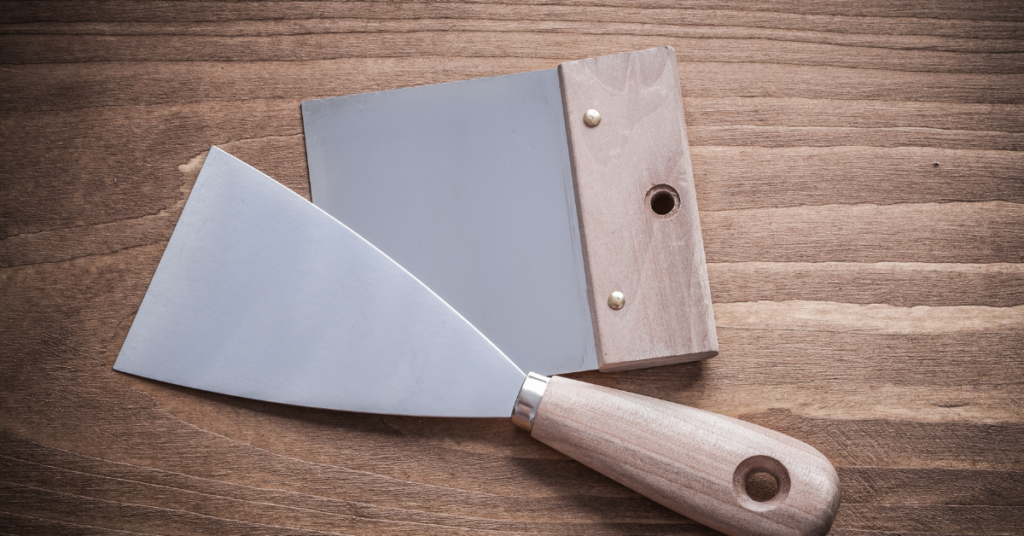
Here is a messy but easy-to-do scraper method where paint is poured directly on the wood, and a scraper is used to spread it along the surface. It is only suitable on flat horizontal surfaces as it allows the paint to sit on the surface without dripping.
To use this method, pour a small paint portion at one end of the wood surface and use a plastic scraper to drag the paint along the length of the wood. It forces the paint into the grains and removes the majority of the coating on the surface, forming the ideal whitewash layer. It comes with a lot of messiness, so keep a cloth at the end of the wood to catch all the excess paint you’ll pull off the surface.
Extra Tips
Here are some extra tips for a more straightforward application. The information and tricks in this section will prevent costly mistakes and ensure you get it right on your first try.
- Timing is Essential: The paint takes only a few minutes to dry, so getting your timing right is vital, as delay may mean uneven application. Waiting enough time before wiping will produce a more appealing coat but doing it too late and it’ll be too dry to wipe.
- Always Work in the Direction of the Grain: Painting and wiping in the direction of the wood grain is the ideal working style for optimum results.
- Layer a Surface at a Time: Ensure you cover an entire surface with paint before wiping it off for an even result.
Summary
Whitewashing forms an exciting look on your wood while ensuring the grains are visible and maintaining some of its natural looks. While the process is straightforward, getting the correct application has proven to be challenging for many. Following the diluted paint method, you can use the most popular application technique to create an appealing coat on your wood.
Other practical techniques include the wax resist or candle, scraper, and pre-made whitewash stain method. The materials are standard tools most DIY enthusiasts already have, so you don’t have to spend much setting this up.

 By
By


