
The seating area is one of the first parts of a chair to see the effect of wear and tear. It’s evident because this area carries the most weight and will often see sharp materials placed on it. Dragging rough items across the seat will leave scratch marks and ultimately wear out the chair.
Instead of replacing the chair whenever the seat is worn out, you can replace the chair seat wood. Retaining your chair is even more important for your home’s antiques and furniture with sentimental value. By replacing the damaged or old chair sitting section, you can customize it to your taste.
As a DIY, this should also be an exciting task, but only if you know how to replace a chair seat wood. But before you throw away that chair that has served you well due to its damaged seat, check out this guide for steps to replace the wood.
This guide differs from replacing your chair’s upholstery as it focuses on the seat wood. The straightforward step-by-step process is useful for seats with and without upholstery with slight variations.
Tools And Materials Required

If you’re an ardent DIYer, you may already have most of the tools needed for this task. However, you may need to purchase the materials required. The type of material you choose will vary depending on the chair, budget, and your personal preference. With that being said, here are some of the supplies for this project:
- Your desired wooden material for the seat (pine or plywood)
- Tape measure
- Sander
- Screws
- Screwdriver
- Jigsaw
- Stain (darker stains are preferred)
- Cardboard and protractor
- Pencil
- Utility knife
Step-by-Step Guide to Replace Chair Seat Wood
Replacing chair seat wood rather than buying a new chair every time the seat gets damaged is more economical. However, many prefer to buy a new chair if they don’t know the steps to replace an old sea wood. We understand this problem, so we’ve included a detailed process any DIYer can follow.
Step One: Strip The Chair

Some chairs are padded and then covered with fabric, while others have only wooden seats, but one thing they all have in common is that you must strip them before work can start. Stripping involves removing all the extras and leaving only the frame. The frame will typically include the legs and backrest area since you’re not replacing it.
Depending on the materials of the seat, this process may require only a few minutes. Screwdrivers and staple removers are simple tools that make stripping the chair straightforward.
Step Two: Build Additional Support Frame
This step depends on the existing frame and if it can carry the new wooden seat without breaking. So while it is not necessary, it is useful and ensures stability. How do you add this support frame?
Measure the inside of the seating area and cut four wooden strips. The strips will form a frame that is held using screws and will support the seat.
Step Three: Carve Out The Seat on The Cardboard

Using cardboard to mark and carve out the seat will prevent costly mistakes. Wood is expensive, so you don’t want to waste it due to avoidable errors. The protractor is vital to make curved corners on the seat.
The cardboard is a mock seat and allows you to adjust before making the final cut. Use the protractor and a pencil to mark the curves, while a straight-edge material helps you mark other sections. You can place this mock seat on the chair frame to appreciate its look and make necessary adjustments.
Step Four: Cut The Board
If you followed the previous step, cutting the board would be easy, and the possibility of making a mistake is reduced. Place the cardboard on the wood and trace the shape using a pencil. Now it’s time for your jigsaw to prove its usefulness. Use the jigsaw to cut any round corner, while a table saw is more suited for straight sides.
You can choose any suitable wooden material for the seat, but pine and plywood are often preferred. Sometimes leftover materials from previous projects are enough for the seat. Do this, and you should get a cleanly cut lumber.
Step Five: Smoothen The Wood

Furniture, especially seats, needs a smooth surface so it doesn’t hold onto your clothes when you sit on it. After cutting the board, you must smoothen all the rough parts, which can be all its sides, depending on the type of wood you use. A sander or sandpaper is the right tool for this.
Use fine-grit sandpaper to rub against the board’s surface; however, you can neglect the part you intend to leave under the chair. Fine-grit sandpaper will not leave marks on the board, so stick to the appropriate sander. Wipe the dust off the surface using a cotton cloth.
Step Six: Stain
Staining the lumber before attaching it to the frame is always ideal, except if you intend to stain the complete chair. So you must decide: stain only the replaced seat or cover the full chair? Staining the chair will be more expensive but offer an even look.
Most people prefer darker stains for their seats for many reasons, including their readiness to hide stains. Depending on your chosen color, start with a dark walnut minwax stain and allow it to dry. After drying, layer a minwax cherry stain before sealing it with a clear coat.
Step Seven: Attach The Board
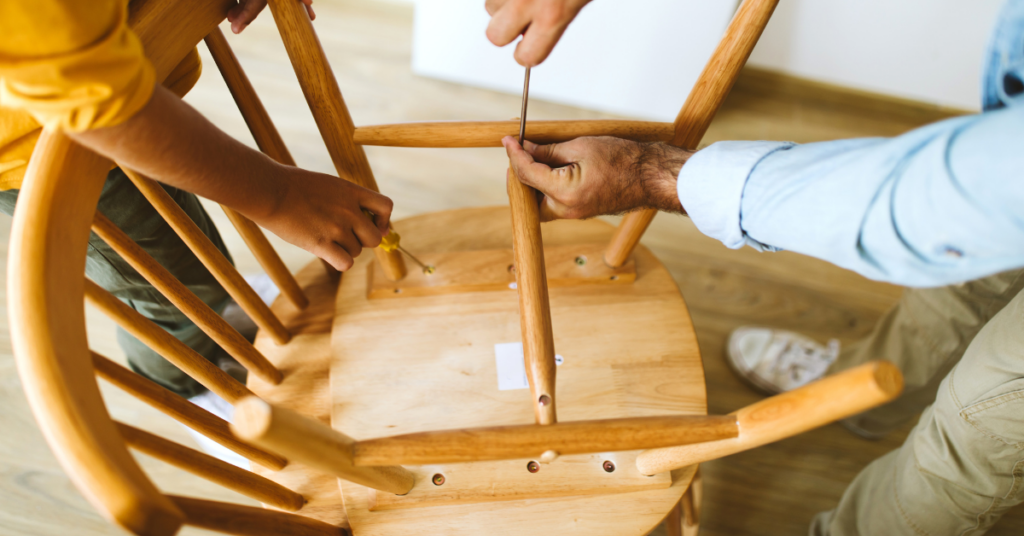
After the stain on the wood is completely dry, it is ready for attachment with the chair frame. Remember, you added a support frame that’ll hold this seat. Place the board on the frame and screw it from the bottom. Ensure you choose the correct screw size so it doesn’t emerge from the wood.
FAQ’s
Most builders often have questions about the project even after the building process. This section deals with the common questions about replacing chair seat wood.
Ans: Chair seat replacement and reupholstery are different tasks but are among the ways to revive an aging chair. Reupholstery involves changing the padding and fabrics on the chair, while seat replacement is changing the wood.
Ans: Wood like cherry, oak, pine, maple, walnut, and plywood are great options for chair seat replacement. Their quality and prices differ, so you want to choose the wood that best suits your needs.
Ans: The presence of visible cracks or splits on the seats is a call to replace the wood. Other signs include instability, deep scratches, and rot or decay. Most of these would be easy to spot, while others may require a more careful inspection.
Ans: You can prolong the lifespan of the seat replacement by ensuring you only use quality materials and the correct construction style is utilized (see our detailed guide). Staining, sealing, and applying protective finishes are excellent ways to achieve longevity.
Conclusion
Have you noticed cracks and splinters in your chair seat? Instead of replacing that antique chair, you can save money by only changing the wood seat.
You don’t have to be an expert to replace this seat, nor would it require too many materials. The process is as clear as it gets, showing a concise way to revive old chairs.

 By
By


