

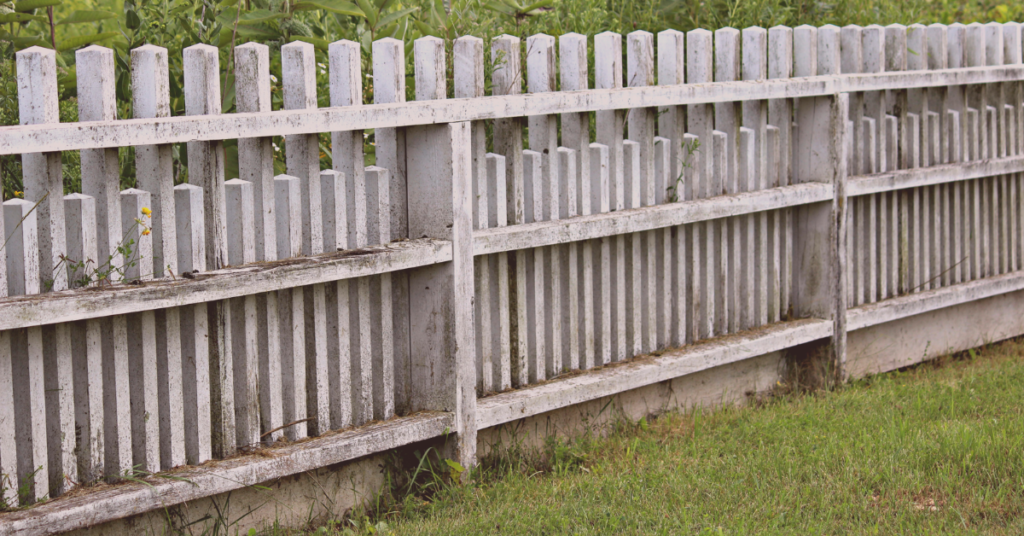
Fences require durable posts firmly set in the ground to avoid crashing down with little external pressure. External forces from wind, water, and more are expected for a fence standing alone. Use a suitable fence-setting method if you intend to have that fence standing for a long time. Typically, digging and burying the posts is the conventional method; however, the type of material used to set the bar in the ground varies.
Concrete and expanding foam are two of the most popular ways to set fence posts in the ground. These two materials are often used as alternatives to each other as they feature distinct characteristics. An expanding foam offers a simple post-setting process attractive to DIYers looking to install their fence quickly.
Expanding foam as a fence post setting material is often misunderstood and tagged as complicated, which cannot be further away from the truth. We aim to simplify the whole process and demystify its complex tag so you can efficiently utilize its many advantages when setting your fence. The need for establishing a fence post without concrete keeps growing, and fence post foam is among the leading alternatives.
What is a Fence Post Foam?
The fence post foam is a material that expands and gardens after leaving its container. Its other names include expanding foam, spray foam, and foam sealant. It is made up of isocyanate and polyol resin, with a reaction of the two materials causing the foam to expand and harden.
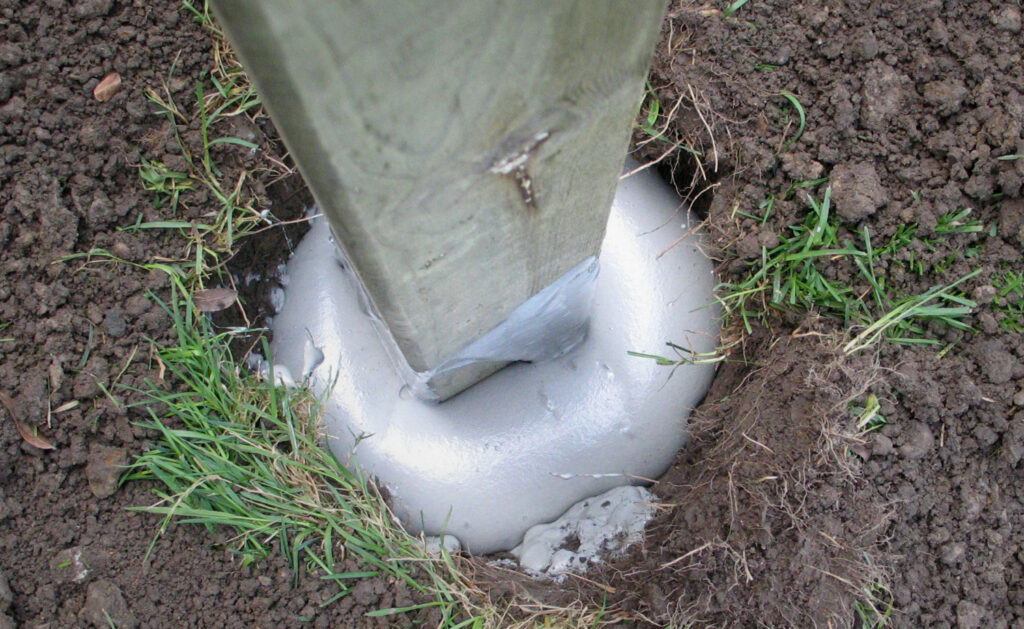
The foam is used primarily for setting fence posts in holes. But can also serve various other uses like filling cracks and diverse insulation needs. It is applied in its liquid form and hardens quickly, requiring a lot of speed to align the post. The structure of the foam makes it ecologically friendlier than concrete even though it is plastic; however, it is only suitable for lightweight fences.
An expanding foam does not require mixing, so it is an excellent DIY option since even DIYers without prior experience can use this material. We’ll look at its many advantages further in this guide.
Types of Fence Post Foam
Various fence post foam types are available, and their effectiveness is maximized as each class focuses on a particular application. Here are some of the many expanding foam types you can find in the market, some more popular than others.
1. Polyurethane Foam
This foam type is arguably the most common among all the others in this list and features a two-component material. Mixing these two materials will kickstart the reaction that expands and fills up the area around the post. Polyurethane foam has excellent adhesion and durability for use in varying weather and soil conditions.
2. Polystyrene Foam
Here is a light and less dense expanding foam suitable for small fences where heavy-duty anchors are not required. Its reduced density means it does not offer as much durability as polyurethane foam; however, it can hold lightweight fences.
3. High-Density Foam

High-density foam is an expanding foam used specifically for lightweight projects similar to polystyrene foam. However, it features a higher density that provides a stable foundation. Nevertheless, it is only suitable for small fences.
Setting Corner Posts Without Concrete
Setting the posts is one of the most challenging problems you may face when using fence post foam. The post can withstand pressure from gates and other heavy fixtures with concrete. Without concrete, you may need some unique ideas. The trick is to key the post with treated lumber, typically a 2×6, depending on the post size.
Remember, keying is only necessary for corner and gate posts as they see a lot of pressure. To key a post, you’ll need to use the lumber to secure the bottom while ensuring the key is below the surface and can be buried under the foam.
First, you’ll need to identify the direction of the force – this is usually the side where the gate or fence is connected. Dig a tight, shallow hole against the pull direction and place the key. Setting up this support is easy with the right lumber piece.
How to Use Fence Post Foam?
Expanding foam is easy to use and suitable for varying weather conditions. Its waterproof and insulation properties are evident when installed, leading to the case for using the material. It gets even better as fence post foam is packed in compact packages, so one pack is for a hole. It’s especially important as the foam is fast-drying, so you don’t want to waste some by poor calculations. Here’s a simple process to use expanding foam to set your fence post:
Step One: Dig Hole
You’ll need to dig a hole about two times the post’s width, while the depth varies depending on the post’s height. For a seamless experience, use a post-hole digger as it opens a cylindrical hole that matches your post. You can also utilize a shovel or spade. After digging, remove all the loose sand to reveal a round cavity with firm sides.
Step Two: Set The Post
Before any foam is applied, the post must be set correctly, as it hardens quickly. Place the fence post into the ditch and center it before bracing it with two small pieces of wood on either side. The aim is to nail the pieces lightly so it holds the post upright but is easy to remove after the foam hardens. Get a helping hand to hasten the process.
Step Three: Prepare The Foam
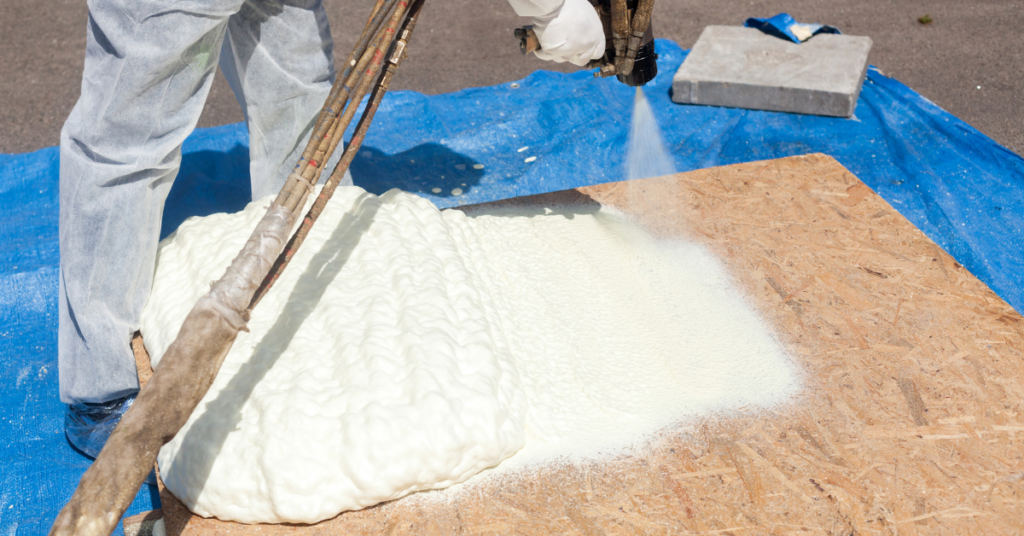
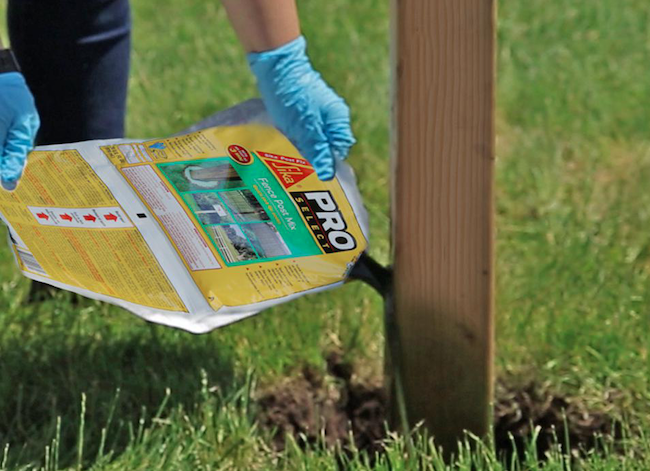
The foam takes only a few minutes to harden, so there’s no room for errors. It would help to get everything ready before pouring the foam. This includes wearing protective gear like gloves, as the resin touching your skin may pose another challenge. Also, keep the resin bag and scissors close to the cavity for easy access.
Step Four: Mix The Resin

The fence post foam package typically contains two resin bags, one containing isocyanate and the other polyol. One of the bags is held inside the other, so to break it, place the pack on the ground and step on it. Once broken, squeeze the content out of the inner bag and into the enormous container before kneading the package to mix the foam.
You’ll know the foam is thoroughly mixed when the content changes color to yellowish-tan. By now, it is ready for application.
Step Five: Pour The Foam
Open a corner of the pack without wasting time after mixing and squeeze the content out through the space and into the hole. Pour only a small amount into the hole but ensure an even application. The foam can expand up to three times, so use this to guide the quantity you put. Quickly clean off the spilled foam before it hardens.
Step Six: Allow to Set
Leave the foam to expand and harden as it fills all the cavities in the ditch and rises to the surface. The time for the foam to set varies based on the weather and the type of fence post foam. You can expect it to harden between three minutes and an hour, after which you can remove the braces earlier installed.
When to Avoid Using Fence Post Foam?
While an expanding foam is beneficial due to its easy-to-use process, it is unsuitable for all conditions. The material is unsightly, so it should not be used in finished areas of your home. You could also avoid using it where it could block drainage or ventilation systems.
Expanding foam is not the most structurally secure material, so it should not be used to fill gaps in walls wider than 5mm. Keep away from places where combustion or fire are likely. Another area where you should avoid using this material is in high-heat locations and near electrical outlets.
FAQ’s
Do you have a question about using fence post foams? Check this section with popular questions and answers about the topic.
Ans: Contrary to popular belief, expanding foam is not permanent and can be removed using a specialized spray foam remover.
Ans: You can be cut, sanded, and painted to give you a pleasant appearance. However, this is only possible after the foam has cured, which takes about 24 hours.
Ans: A wet expanding foam on your skin can be wiped using a towel and then cleaned using petroleum jelly. Use nail polish or acetone to dissolve the material for expanded foams on solid surfaces.
Ans: Concrete is more robust than fence post foam, so the expanding foam is only suitable for lightweight fences. For more stable posts, concrete remains your preferred option.
Conclusion
Expanding foam is easy to use, affordable, eco-friendly, and gardens quickly, so many use it to set their fence posts. While the material is less robust than concrete and should be used for smaller fences, its ease makes an excellent case for continued usage.

 By
By


