
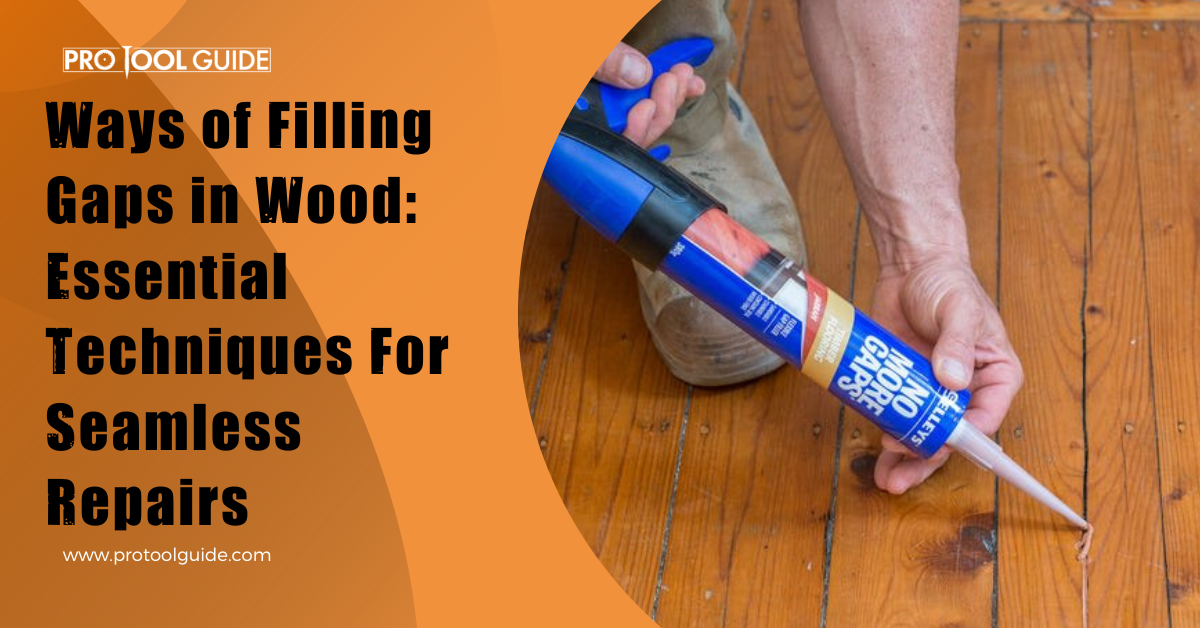
Working with lumber will expose you to a lot of defects and problems, one of which is gaps in the wood. Gaps may appear in lumber due to improper drying and external pressure. Despite the cause, gaps can be a considerable problem for woodworkers, whether professionals or DIYers.
Sealing these holes is vital to ensure a durable and appealing structure. Whether you’re filling the gaps before or after construction is out of the question, as some spots even appear years after building the project. Sometimes the cause of the hole happens over time, which means you have gaps in the old structure to fill.
When sealing these gaps in lumber, you must leave a smooth surface to improve the aesthetics. You may be wondering how to fill the gaps in the wood and enhance the durability and look of the wood. This guide shows different ways to cover the openings in the wood.
Ways to Fill Gaps in Wood

Gaps in wood may be a prevalent problem, but finding a solution is straightforward, with several methods available to fix the gap. The best way will depend on the gap size, level of finish, and the available resources. Not only will we show you the methods to use, but we’ll also highlight how to use the materials.
1. Wood Filler

Wood filler is arguably one of the most popular ways to repair gaps in wood, and it is no surprise considering its name. This material contains wood byproducts suspended in a hardening resin solution that makes it pliable. Wood fillers fill imperfections in the wood as the substance dries up.
Generally, wood fillers are subdivided into two: stainable and tinted fillers. The stainable fillers can accept stain, although with varying degrees of success, with most not matching the surrounding lumber’s hue. On the other hand, tinted wood fillers come prestained, so there’s no need to stain. The major challenge with this filler is finding a matching padder with the wood.
Even though these fillers may be difficult to stain, they are ideal for painted projects as they accept wood paint. The varying tones that wood fillers leave behind after staining can create a distinct design on the lumber surface. A wood filler should be used before any finish has been applied during the building process.
How to Use Wood Filler?
- Prepare the surface by cleaning the gap and the area around it. A clean surface will make it easier for the wood filler to fill the gap and properly stick, which is why this step is essential. For larger holes, you can wipe the spots with a cloth. Otherwise, using a blower with a gentle breeze is enough.
- Apply the wood filler into the hole using the filler knife, but after correctly mixing the substance to get the right consistency. Push the mix into the hole using the knife or your finger and skim off the excess. It is always recommended to slightly overfill the gap to avoid a depressed surface when it dries.
- Leave the filler to dry for the correct drying time, depending on the quantity of filler applied, environmental factors, and the brand. Check the manufacturer’s guide to see how long it’ll take.
- Sand down using 120-grit sandpaper, ensuring you sand along the grain for a refined finish. Repeat the process with 180-grit sandpaper for an even better finish.
2. Wood Putty
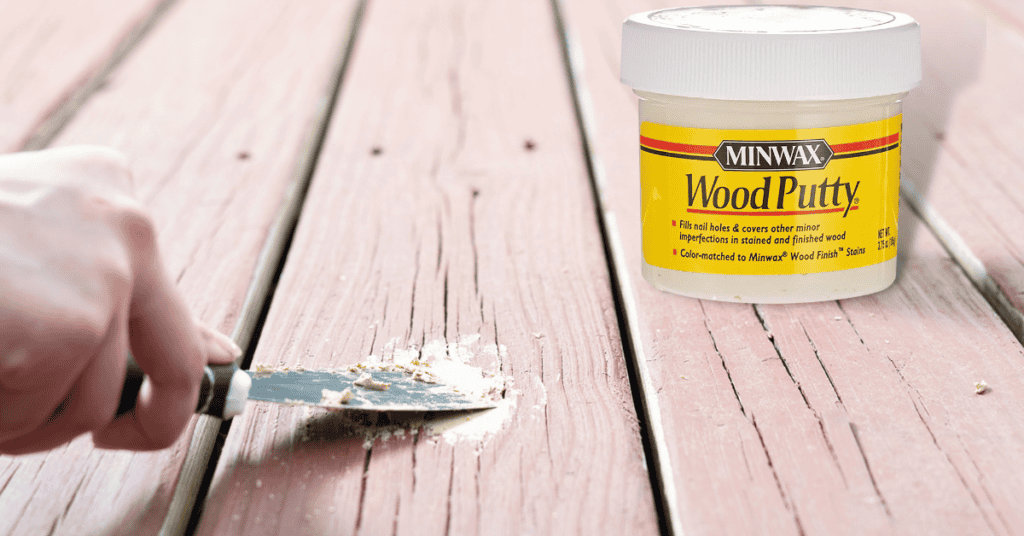
Wood putty is often mistaken for wood fillers but is different with varying structures and uses. It is used after finished wood, so it is suitable for older projects that develop cracks and gaps on its surface. Wood putty does not harden when dry and is only suitable for indoor projects.
The material is used to fill small holes in wood as it lacks the structure to hold more significant gaps. Wood putty is also known as plastic wood putty and comes in twelve tones that can be blended to get a desired hue. The application process is similar to wood fillers, with some variations.
How to Use Wood Putty?
- Clean the gap using a blower on mild power since the cracks are small and different to reach with a cloth. Ensure that the area is clear of any broken pieces.
- Apply the putty by pressing it into the crack or gouge using the putty knife. Use your hands to wipe off the excess and press the putty even further.
- Stain or paint after allowing it to dry for two to eight hours, depending on the type. Wood putty can be wiped smooth, so it does not need sanding.
3. Spackle
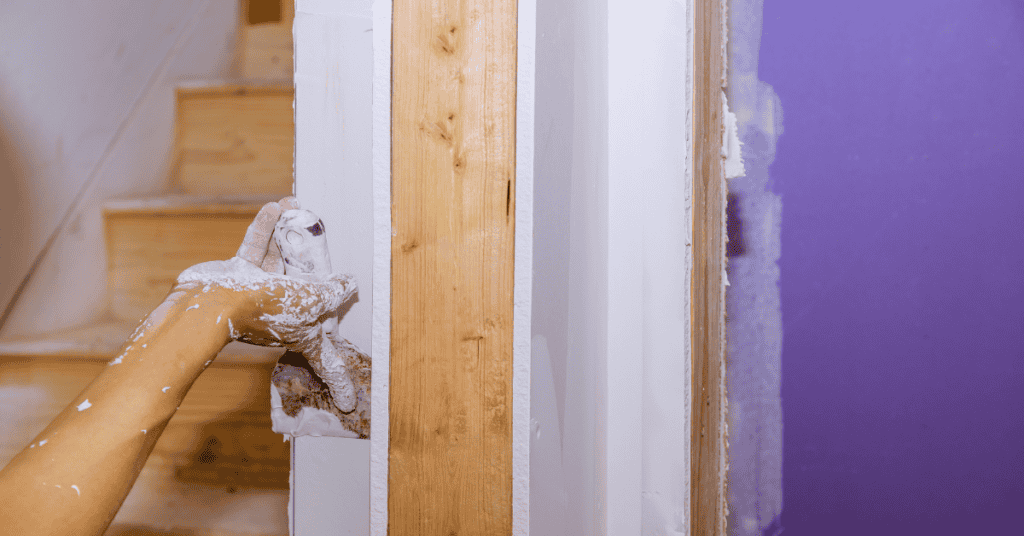
While spackle is ideally reserved for filling holes on drywalls, it can also be used to fill small gaps in the wood, especially where other options are unavailable. This soft substance is made from gypsum powder, glue and includes other compounds that form the structure of the filler.
Spackle is best used before painting the surface and absorbs paint well but struggles with stains. It dries without shrinking, so you don’t need to overfill during application.
How to Use Spackle?
- Remove dirt and grime from the area you need to fill, including inside the gap.
- Apply the spackle into the cracks using a putty knife for wide holes while your fingers are enough to press down the spackle into smaller spaces. While overfilling is unnecessary, considering the material does not shrink, it is best to overfill to allow for sanding slightly. Wipe off the excess using the knife.
- Allow the spackle to dry for about two hours which may also accompany a change in color for some types. Leave for about 24 hours before proceeding to the next step.
- Sand with medium-grit sandpaper before using fine-grit sandpaper to flatten the surface.
- Paint using your preferred hue.
4. Sawdust and Wood Glue

Despite the hole size, the combination of sawdust and wood glue as a gap-filling material is efficient. Here sawdust and wood glue are mixed in equal parts to form a paste used to cover the holes in wood. It is always best to use sawdust from the same lumber you’re repairing, as it ensures uniformity.
Aside from forming a paste, you can apply the glue directly and spray the wood glue. These styles are possible since glue and sawdust can be sanded and stained without issues.
How to Use Sawdust And Wood Glue?
- Prepare the area by cleaning the holes and surrounding surfaces. You may also tape off one part of the hole if it has more than one opening.
- Apply the glue into the hole and cover it with sawdust or mix the two in equal portions to form a paste and then apply it into the gap.
- Sand down using fine sandpaper before painting or staining. Neither should pose a challenge, as sanding, staining wood, and painting is easy on sawdust and wood glue.
5. Caulk

Caulk is a multi-purpose sealant used on various materials, including wood. It is a flexible material that maintains flexibility even after drying, so it does not crack or shrink. Caulk can be used for interior and exterior projects with its impressive adhesion improving its durability.
This waterproof sealant is available in acrylic, polyurethane, and silicone formulas. Remember, caulk cannot be sanded and does not accept paint or stain, making it difficult to get a flush, glossy finish. However, there are paintable caulks with decent acceptability to stain and paint.
How to Use Caulk?
- Clean the area in anticipation of the caulk. A clean surface will better hold the material, so wiping with a cloth where possible is essential.
- Prepare the caulk tube by cutting the nozzle to the size of the hole it’ll fill. The housing makes it easy to apply caulk, and cutting at the correct position is vital to a seamless application. The nozzle should only be wide enough to fill the gap. Place the caulk tube into the caulk gun for easy application.
- Press the caulk bead into the caulk gun’s open end to release the material. Use this flexible filler to cover the gap in the wood.
- Caulk gardens fast, so wipe excess immediately after application using a paper towel and leave to cure
- Stain where possible. Remember, this is only possible if you use a stainable caulk for the project.
6. Dowels and Wood Glue

Large cylindrical holes can be covered using a combination of dowels and wood glue. It is common to find extensive gaps created by drills. Using dowels and glue to fill such holes is an efficient and durable method, as dowels are inserted to structure the area.
It can fill small and extensive holes in wood if they have a cylindrical shape. The process requires working on the dowels to get the right size for the spot.
How to Use Dowels And Wood Glue?
- Prepare the hole as always by cleaning and ensuring there’s only one opening. It means closing the other end with tape where required.
- Shape the dowel to the height of the hole using a small hand saw and a measuring tape to get the correct dimension. Score the length of the dowel to improve its glue adhesion.
- Push the dowel covered with glue into the hole and fill open areas with more glue. Ensure the area is flush and there is no excess glue peaking out.
- Leave to dry, and sand along the grain using fine sandpaper. By now, it is ready for finishing.
7. Epoxy

If you’re looking for a wood filler made especially for extensive gaps due to its structure, epoxy should be on your mind. Epoxy is made from wood pulp and polyester, forming a solid seal and bond with the lumber.
Epoxy is regarded as one of the best gap fillers because it can be drilled or screwed with its temperature and water-resistant qualities giving a more permanent fix than the rest. Despite its many features, epoxy cannot be sanded or painted and is expensive, especially for extensive projects.
How to Use Epoxy?
- Mix the two-part epoxy, which is usually resin and a hardener. Two-part epoxy is known for its high bond strength, so they have better durability.
- Quickly apply the epoxy into the hole as it dries fast, so you want to finish the application before the process begins. For more extensive or profound holes, starting the application from one side is best to avoid air bubbles. Overfill the cracks as the epoxy will typically sink deeper as it dries.
- Please go over the epoxy with a blow torch or a heat source to remove all the bubbles, and then allow it to cure
- Sand the area with a sander to flatten the epoxy.
FAQ’s
Follow this section to see answers to challenging questions you may have.
Ans: Epoxy is the best for filling significant gaps in the wood, with its solid structure supporting the area. It can also be screwed into and is both temperature and water-resistant.
Ans: Caulk has impressive flexibility and is regarded as the most flexible among the materials used to cover gaps in wood.
Ans: The significant difference between the two is that wood fillers are used during construction before the finish has been applied. On the other hand, putty is used after the finish has been applied. Unlike wood fillers, wood putty does not harden when dry.
Conclusion
Gaps in wood reduce the integrity of your project and are unsightly, so filling up the hole is essential. How you cover this gap will vary based on several factors. However, there are many options you can choose from, ranging from wood fillers to epoxy, all with different degrees of efficiency and use cases.

 By
By


