
Tiles uniquely transform a space, especially in certain rooms in your home, like your kitchen, hallways, bathroom, and even living areas. Tiles are practical, with a wide range of designs that make them attractive and distinct.
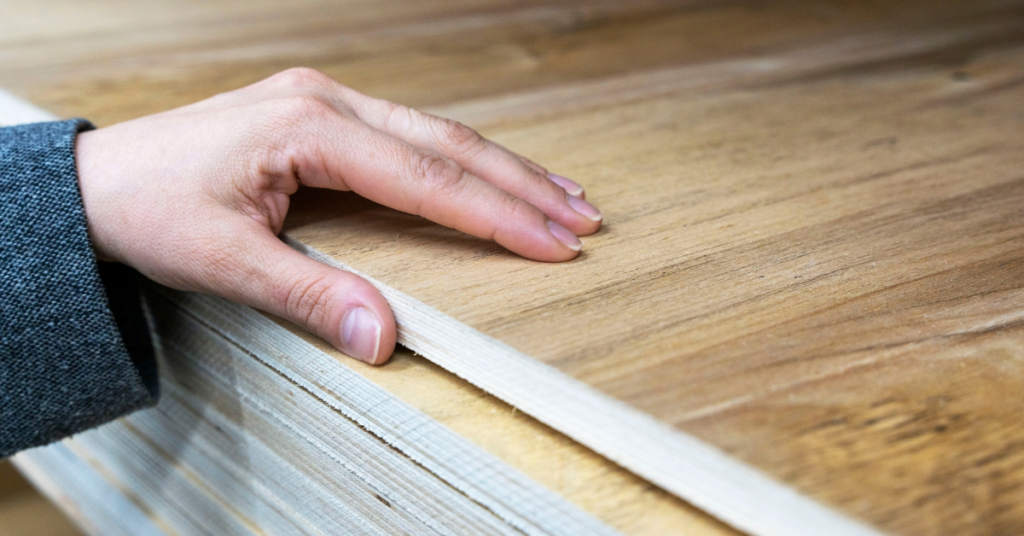
When installing tiles in any part of your home, one of the first things you must consider is the base flooring. Tiles on concrete are the most prevalent combination for tile installers, but laying tiles on plywood flooring is also rising. However, it would help if you first overcame its obvious challenge – carrying plywood structures and tiles.
Tiles are rigid, while plywood is flexible. This difference, though simple, can cause massive problems during and after installation. Nevertheless, the advantages make it a worthwhile combination for tile installation. If you already have plywood flooring and want to add tiles, dismantling the floor will be expensive and stressful when you can install the tiles on the plywood.
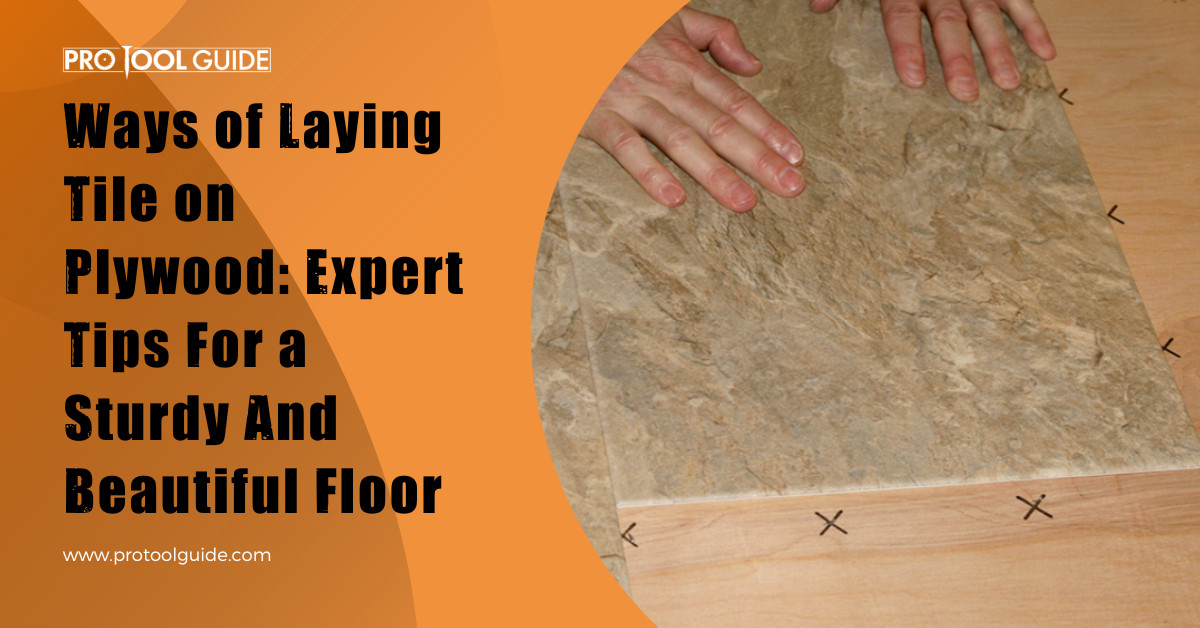
The question remains: how do you lay tiles on plywood? This article will show a few ways to achieve this flooring combination to ensure a sturdy and attractive floor.
Different Ways of Laying Tiles on Plywood
There’s a thin line between perfection and damaged tiles when laying tiles on plywood. Following the most suitable installation step is essential to avoid lousy tiling. The carrying tiling methods in this section feature the different plywood conditions.
1. Tiling Onto Tongue and Groove Boards
Tongue and groove boards are fitted edge to edge against each other. While directly tiling on plywood is often frowned upon, you can get away with it when tiling on tongue and groove boards. However, using a highly flexible tile adhesive would be best to negate any board movement. Here’s how to tile onto tongue and groove boards:
Step 1: Check The Rigidity of The Substrate
High levels of rigidity are required when tiling onto plywood, and it is vital to ensure this before you start tiling. Deflection and movement in the substrate can affect its rigidness, but strengthening the substrate will reduce motion.
You can use a 15mm plywood board, Weberfloor flex, or a 6mm tile backer board to reinforce the tongue and groove flooring. This reinforcement will reduce movement and increase the plywood’s rigidness. Although this is a simple step, it is vital for the longevity and durability of your tiles.
Step 2: Install Tiles
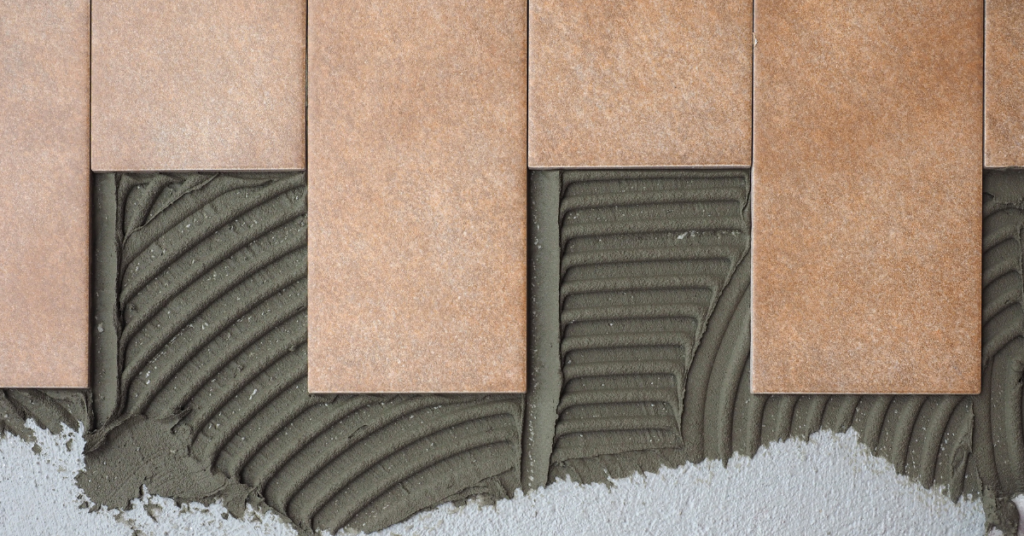
After strengthening the boards with your chosen material, you can install the tiles using highly flexible tile adhesive. A super-flexible glue allows slight movement from the boards and ensures the tiles do not break.
Leave about a 3-5mm gap between joints to leave room for movement and grouting. The two most common types of tile adhesive used here are the Weberset SPF and Weberset Rapid SPF. Weberset SPF is used after strengthening the boards. It’s also preferred when tiling directly on the boards or installing large and heavy tiles.
Step 3: Finish
By now, the tiles are in place with the spaces between joints giving room to finish with grout, but first, you must allow the tiles to set for about 24 to 48 hours. Use a flexible floor tile grout to fill the areas around the joints while removing excess using the tip of your scouring pad. The perimeter of the tiles requires extra protection, so a silicon sealant is applied around the edge.
2. Using Uncoupling Membrane
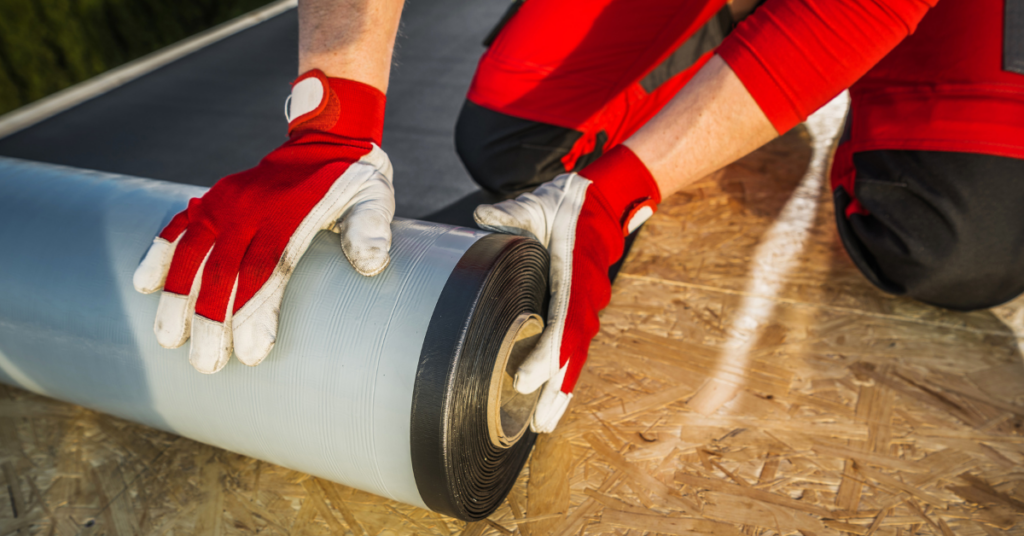
Instead of creating an immovable attachment between the mortar and the plywood base, an uncoupling membrane ensures flexibility between the two as both surfaces can move independently. Aside from its decoupling system, this membrane type is excellent for bathrooms and other rooms with a lot of moisture. The membrane prevents water from reaching the plywood.
Step 1: Fix Intervening Plywood
Following the popular guide never to install tiles directly to the subfloor plywood, adding an intervening plywood will provide stability. The board should be thinner than the subfloor but cover the entire floor. Leave a 1/16-inch gap between intervening boards to allow movement and prevent deformation.
You’ll need suitable plywood screws to secure this board. Ideally, you should put a screw every 8 inches along the plywood’s edge and 6 inches along the interior area. The plywood should flex if the joists are installed correctly. Otherwise, you may need to strengthen the beam from underneath using lumber.
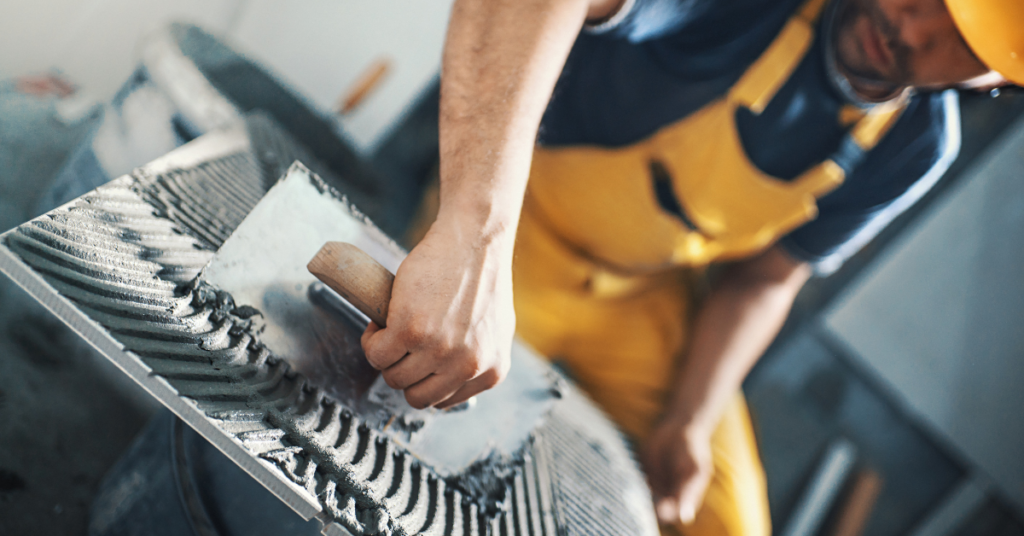
Step 2: Lay Modified Thinset
Use a trowel to lay the modified thinset over the floor surface. The modified thinset mortar contains polymers in the dry mix that improves the strength of the bond.
Step 3: Install Uncoupling Membrane
Here you need to work fast before the modified thinset dries. Press the Uncoupling membrane onto the wet, modified thinset while ensuring it is flat and aligned.
Step 4: Lay Unmodified Thinset And Tiles
Unmodified thinset does not contain polymers in the dry mix and works as mortars to secure the tiles. Use a notched trowel to generously apply the thinset over the surface of the uncoupling membrane.
Before installing the tile, ensure the thinset level across the whole floor to prevent uneven surfaces. Lay the tiles on the wet thinset while providing at least 13mm between each tile to give room for grouting. You can make the task easier by using plastic tile spacers between the tiles that you can remove to apply grout.
Step 5: Apply Grout
Applying grout is a straightforward process with a rubber float. Use this float to apply the grout over the tile’s edges in long diagonal sweeps. While still wet, remove excess grout from the till surface but ensure not to dig into the grout in the borders. Grouting leaves a hazy look on the tile, so using a grout cleaner is the best way to achieve a shiny tile.
Best Plywood Specifications For Tiling
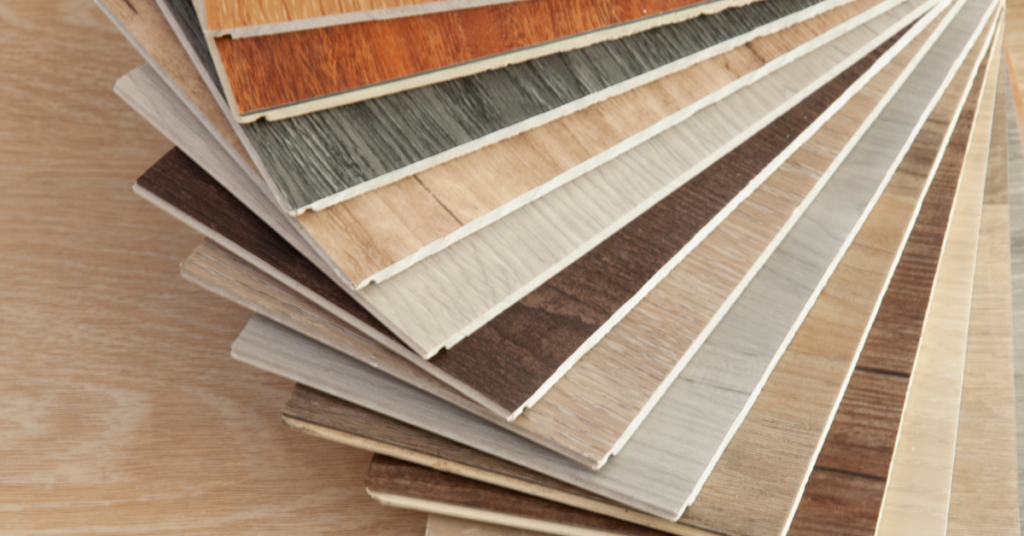
One of the biggest pulls to plywood is its variations, from thickness to type and durability. The differences mean some will have better suitability to lay tiles on than others. In this section, we’ll look at the best specifications for the plywood that’ll serve as a base for tiling.
1. Type of Plywood
The best type of plywood to use will depend on the tile location. Areas that see a lot of moisture, like the kitchen and bathrooms, require a different kind of plywood than drier areas, like hallways. We’ve divided the type of plywood into wet and dry locations.
- Wet location: Tiling wet areas like bathrooms, washrooms, and exterior places that may have rainwater on them requires moisture-resistant plywood. Exterior-grade and marine plywood contains glue and resins that give them better resistance against water.
- Dry location: Typically, dry areas can do without any special plywood consideration as water hardly comes in contact with the tiles. You can use regular plywood for this area.
While exterior-grade plywood and OSB sheets are the preferred choices for this project, there are other suitable options. However, avoid boards like veneer plywood as they swell with contact with water, which can affect your tile structure.
2. Plywood Thickness
Ideally, the entire subfloor plywood thickness should be above 1 ¼” thick. This dimension includes the base plywood and the Intervening board used to provide rigidity. The Intervening board should be at least ½” thick to remain functional. Other options, like backer boards, are thinner as they reduce the overall height of the tile while maintaining stability.
3. Plywood Size
The plywood size has the least importance among plywood specifications as more value is placed on the board’s durability and ability to carry the weight of the tiles. Therefore, the ideal plywood size for this project should be enough to carry the weight of the tiles without breaking. You can improve its sturdiness by adding gypsum fiber or backer boards.
Expert Tile Laying Tips
Here are a few tips from experts that help you lay tiles better and enjoy a sturdy floor that’ll not break:
- Avoid installing tiles directly on the plywood subfloor: Using Intervening boards between the subfloor and the tiles will improve the sturdiness and ensure the plywood movement will not damage the tiles.
- Use thinset with high latex content: Ensure there is a high latex content in the thinset you use, as it’ll hold the tile better. Mixing the unmodified thinset with latex additive is an excellent way to boost its latex content.
- Space the board joints: Evenly spaced out the joint of the top and bottom layer to prevent having multiple joint sizes
- Add an uncoupling membrane: Consider adding an uncoupling membrane to improve the strength and water resistance of the floor.
FAQ’s
Do you have any questions about installing tiles on plywood? This section treats some of the prevalent questions about this project.
Ans: While you can tile directly on a plywood floor, it is not advisable. It is imperative to add Intervening boards when the subfloor contains numerous sheets.
Ans: Check dips in the flooring and fill with caulk before sanding down the caulk to level it.
Ans: Seal the boards using PVA adhesive to waterproof them. It is essential when tiling areas that see a lot of moisture, like bathrooms. You should also ensure to use exterior-grade plywood and OSB.
Conclusion
There are several ways to install tiles on a plywood floor; however, direct installation on the subfloor should be avoided. To improve the sturdiness of the flooring, consider using Uncoupling membranes and Intervening boards between the tiles and the subfloor.

 By
By


