

Old tiles become grimy. They discolor or get damaged, screaming for a replacement. Or you may have moved into a new home and decided to DIY the tiling and the grouting process.
This article takes you through the easy steps of grouting tiles.
What is Grouting?
Grouting is the process of filling the space between the tiles. Although grouting comes in various forms, premixed containers still stand as the preferred option. Whatever option you choose, make sure to follow the manufacturer’s instructions to know the right ways of mixing grout and applying it on the surface.
Grouting is done after you lay the tile into its bed. Tiles are laid on thin-set mortar, and once this mortar hardens, it keeps the tiles secure. Next, the narrow channels between the tiles need to be filled with grout. Grout helps to eliminate dirt and moisture and gives the tiles a professional finish.
Before You Start the Process
Some preparations are essential before you start the project. Here is what you may have to do.
- If you have a tile surface that needs to be re-grouted, remove the old grout first and start with the steps listed below. A grout removal tool or a grout saw is the best option to remove the existing grout.
- If you are placing tiles on a new surface, ensure that all the tiles are set fully and spaced properly.
Tools Required
Here are the things that you will need before you start grouting
- Grout to tile the room
- Tool to spread the grout
- Bucket and sponge
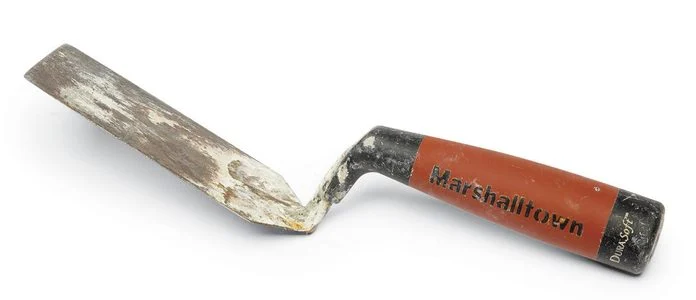
- Margin trowel
- Blunt edge tool
- Vacuum cleaner
- Rags and clothes
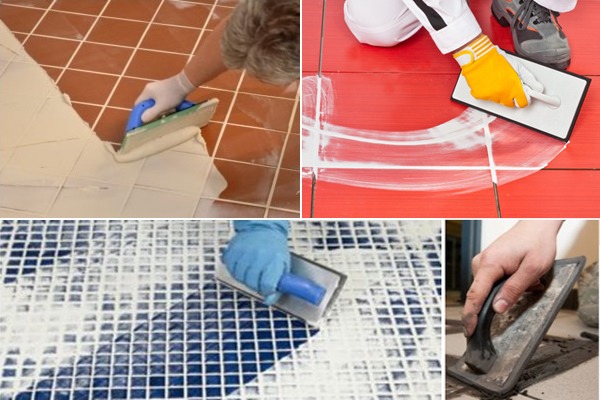
9 Easy DIY Steps for Grouting Tiles
Grouting involves applying grout in the areas between the tiles. All that you need to do is to choose and combine the grout, spread the grout all along the tiles, remove any excess grout, and then apply a sealant.
Here are some simple steps to let you master the professional skill of grouting tiles to make clean and durable grout lines.
Step 1: Choosing the Grout
The grout selection is essential, so this is the first step in our DIY section of how to grout tiles.
Grouts come in many colors
The standard grout comes in varied colors. Make sure to pick the one that compliments the tile color. Select the right consistency to get a colorfast and strong grout. Mix well to minimize the color variation. Dark-colored grouts are a preferred option in high-traffic areas.
Grouts are of four kinds
- The cement-based grouts are usually used for the DIY type projects because they are easy to work with though they are weaker than the epoxy variety.
- The epoxy grouts are expensive, but these are effective for tiles that need to be water-resistant, like bathroom tiles.
- The sanded cement latex-modified grout is the same as the cement grout but has additional water resistance and a bonding characteristic, making it an ideal choice for countertops and bathrooms.
- The caulking grout is squeezed from a tube either with a caulking gun or hand, and it is excellent to fill in the corners that are tough to reach.
Step 2: Preparation
Now that you have decided on the grout, it is time to prepare the area. Carve the excess adhesives and dust particles to prep the tile. Do it carefully so that you do not end up chipping the tile. It should be done neatly so that the grooves around the tiles are smooth. First, begin with removing the large particles. You should then vacuum between the tiles and remove the smaller debris and particles. Taper off the area that you do not wish to cover in the grout. These are the areas next to the edging or the painted walls.
Step 3: Mix the Grout
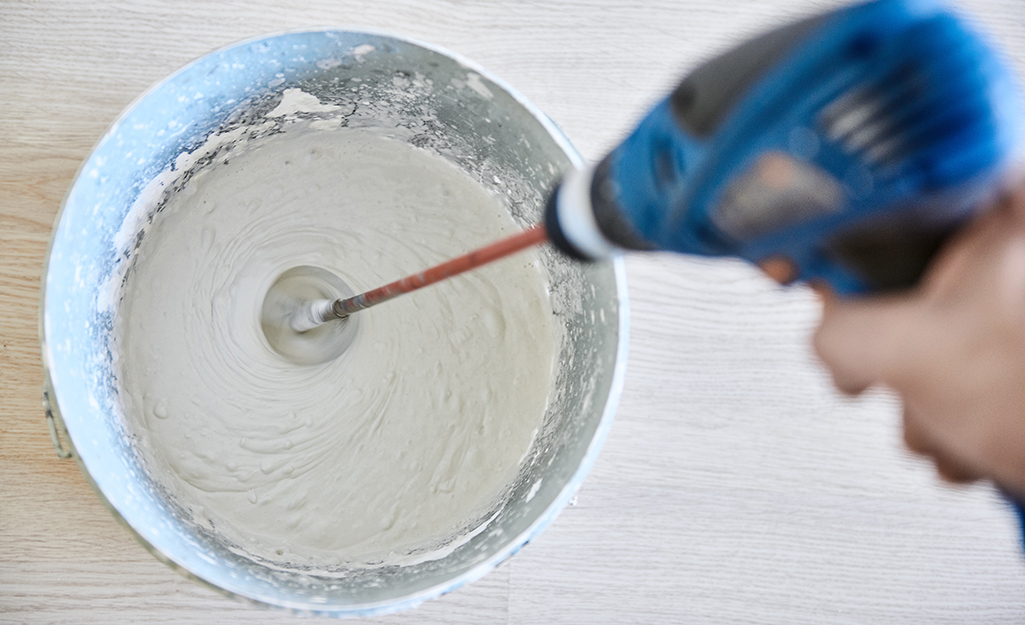
Pour the chosen grout into a mixing bucket. Follow the grout directions. You will mostly have to pour water when you are mixing with the trowel. Move the bucket like you mix cement in a twisting motion. Once the grout absorbs all the water, you will notice that the consistency changes into an even sludge. Make sure to mix the dry grout in the bottom of the bucket and mix it well. After mixing the grout, let it stand for 5 to 10 minutes. It will harden slightly, which makes the application process easy. It would help if you mixed the whole grout mix at once. Also, shake the grout mix well before you mix it with water so that the sand, color, and hardener are all evenly mixed.
Also Read: How to Tile a Bathroom Wall: Step-by-step Guide
Step 4: Prep the Grout Tool and Start the Application
Get the trowel or grout tool ready to start its application. For this, you will want to load the trowel. Scrape the trowel first around the barrel or bucket, ensuring that the grout does not fall to the floor. It is now time to apply the grout. It would help if you did it evenly and generously. Load the wall with a sufficient quantity of grout, so that it will fill the gaps adequately. Next, spread the grout forcefully and diagonally so that it gets punched deep into the joints.
Work on small areas of 2 feet first before you start spreading it across the entire site to fill the joints. Stop only when you see that every groove is filed evenly and to the top.
Also Read: How to Install Tile Edging? Complete DIY Guide
Step 5: Remove the Excess Grout
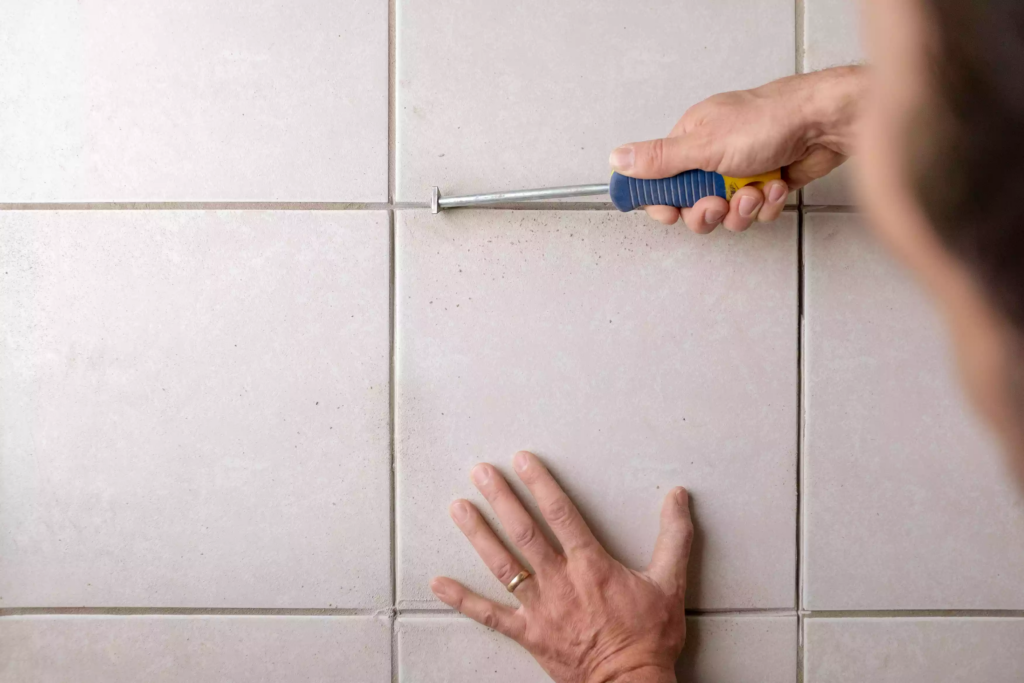
There will be excess grout all around. Just use a dry sponge or a squeegee to remove the excess. You do not need to clean the wall but remove the grout so that you can see the tiles and adequately assess their gaps. Make sure that the tool that you use to remove the excess grout is dry. You do not want to let moisture enter into the mixture at this stage.
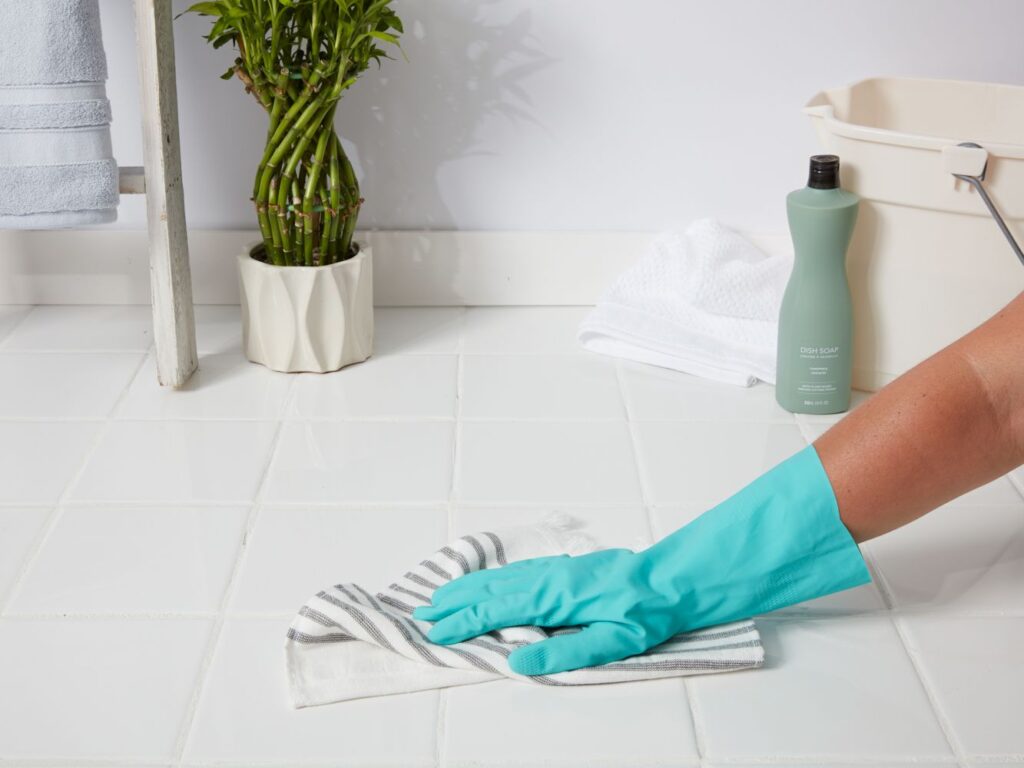
Step 6: Sponge the Surface
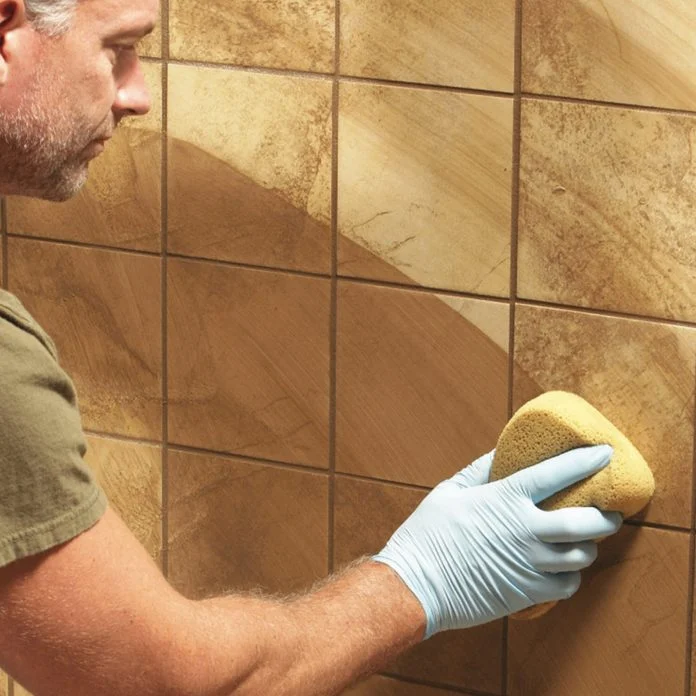
It is now time to clean up the area. Use a moist sponge for this. The sponge should be damp and not wet or dripping. Sponge the grout away unless you reveal the surface of the tile. You should see an even and excellent finishing after this stage. Diagonally moving lets, you avoid pushing against the horizontal and vertical angles of the grout between the tiles.
Bonus Read: How to Tile a Concrete Floor? | Complete DIY Process
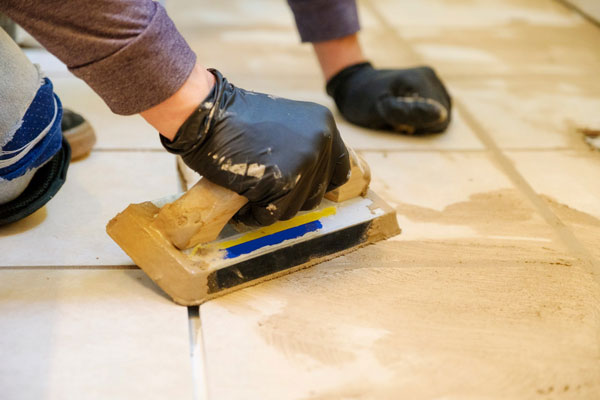
Step 7: Clean the Lines
The next step is cleaning, where you finish the grout lines and give them a smooth and even finish. Use a dry sponge and little water for lubrication, and then push directly along the edge with the index finger. You should not drive the grout out but level it between the tiles. The tile surface should be free of any grout. Before you clean the grout, it should be firm but not hard. Check it regularly when it is drying.
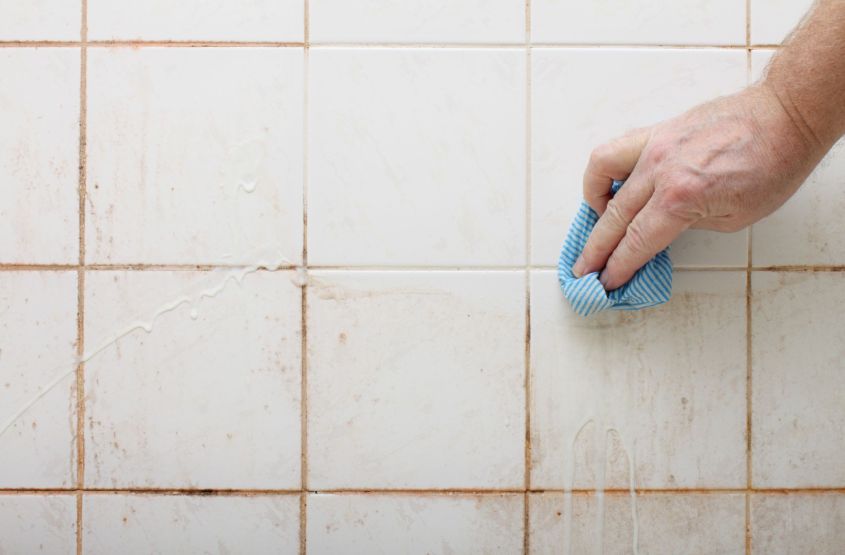
Step 8: De-haze the Grout
Let the grout stay for at least an hour and let it get firm. Else you may end up washing the dust into the grout. The grout will slowly start to harden up once you begin de-hazing the tiles using a microfiber towel. If you find that residue is difficult to remove, especially on the tiles with a coarse finish, then use a grout stain remover. Keep it dry so that there is no new moisture introduced in the grout. Else the curing time will be lengthened. Work the haze from the tile, and when the haze clears, it will be visible, revealing a new grouted floor or wall with evenly filled grooves.
You May Also Read: How to Tile Inside Corners? Complete Guide
Step 9: Let the Grout Dry
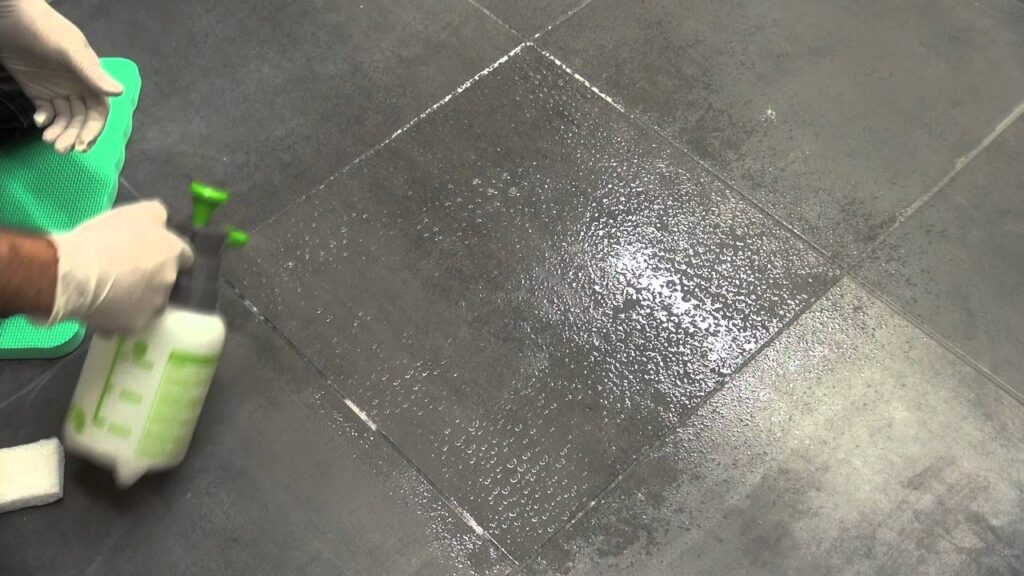
Different grout varieties take different time to harden fully. So you need to be extra careful here. Read the manufacturer’s instructions and make sure to keep the area dry so that the grout dries up faster. Once the grout is dry, you have a freshly grouted floor or wall, which will last for years to come. You may want to use a protector spray in wet areas like bathrooms and showers to give it protection and reduce the buildup of grime and limestone.
Conclusion
If you decide to DIY a tile project, then grouting is the final stage. Be it the kitchen tiles or bedroom floor, you need to grout it well to protect the tiles from moisture, dirt, and other damages that could cause wear and tear. Grouting is easy and much quicker than placing tiles in their place. You, however, should not overlook this step else, it could give you a poor finish. Instead, invest enough time and effort in grouting to get an all-round professional tile finish.

 By
By


