
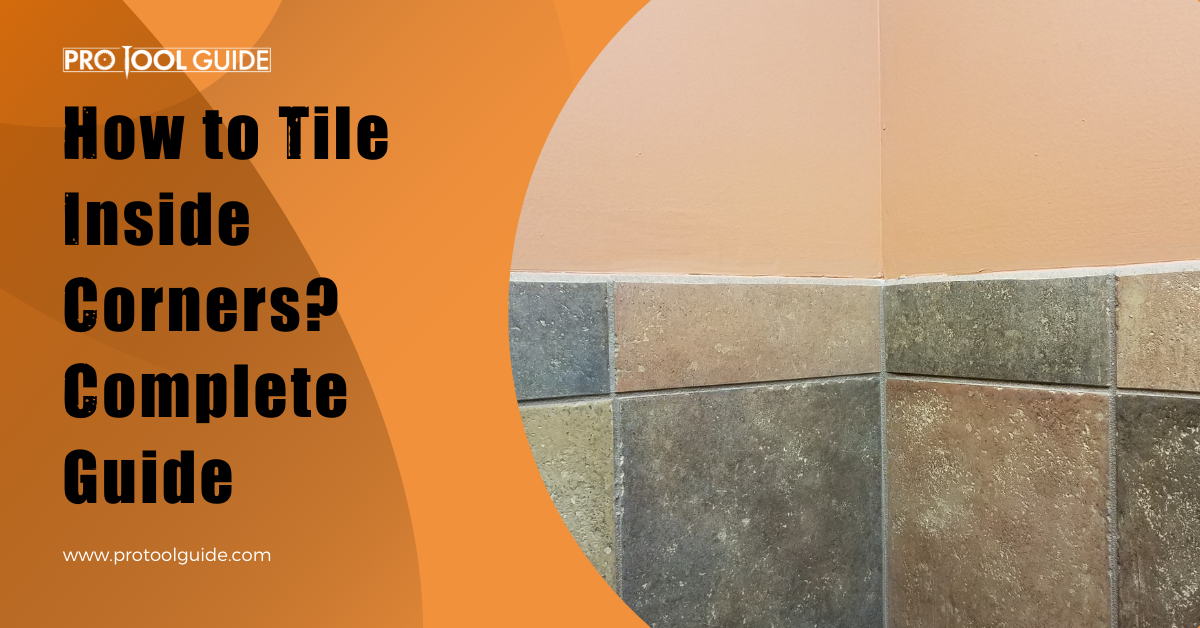
We all love tiles, and they are a popular choice for various reasons. Tiles, when added to the backsplash and flooring, transform the look of the kitchen. These save us from the hassle of expensive repair work. And tiles are perfect, be it any floor or wall.
All these are why a homeowner may want to install tiles. It is easy to DIY tiling on any straight wall or floor. The problem however arises when one has to tile the inside corners. Its much more complex compared to tiling the outside corners.
Be it terracotta, mosaic, ceramic, glass, or any kind of tile, tiling adjacent walls and skirting around the corners can be tricky. Then one also has to deal with caulking and grouting the interior corners because the walls could crack and move with time.
If you have been pondering over how to tile inside corners, we have it all sorted. Right from how to measure, cut, install and finish the DIY project, we guide you on the proper ways to tile the inside corners to achieve long-lasting results.
What are the Inside Corners?
Before jumping into the steps for tiling inside corners, let’s understand which parts of your structure are considered inside corners. It may seem simple, and it is, but it is essential to get this right. Any wrong classification may lead to using the wrong step for that corner.
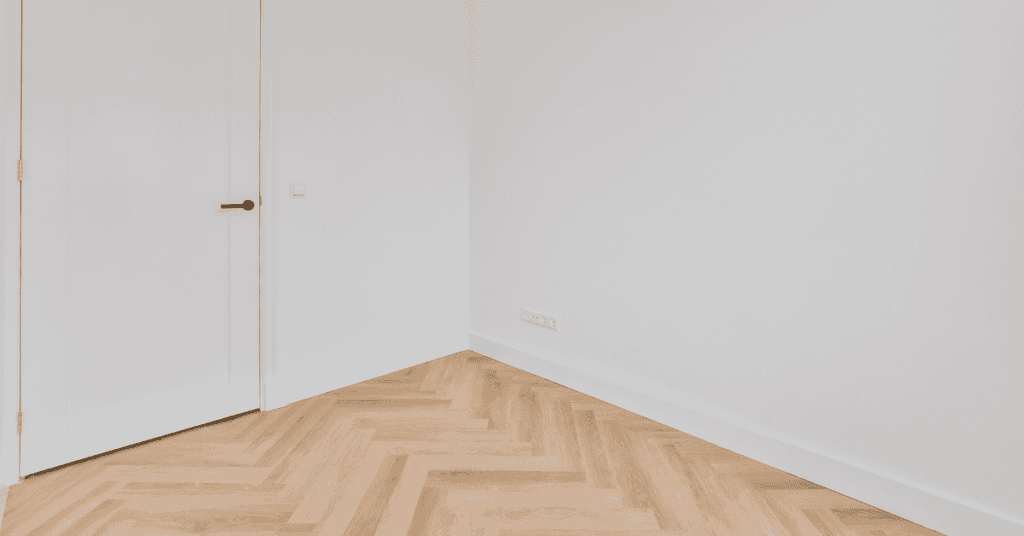
Inside corners is the area where two walls meet at 90 degrees. In hindsight, outside corners are the opposite, with wider angles between the walls. Tiling inside corners usually poses challenges for even experienced tilers due to the tight angle.
While inner corners are often found in square rooms where the walls form 90-degree angles, they can also be found where the walls meet at angles lower than 90. These are called acute inner corners, and tiling them poses an even more significant challenge.
You’ll find acute inner corners in angled hallways and bay windows. Other times, design needs necessitate these corners.
Step1: Understanding the Inside Corners
The corners are where two adjacent walls meet. Since the walls are tiled from the middle outwards, the tiles may not all fit perfectly.
Corners challenge you with cuts, and the walls also move against each other, which crack the grout. It is thus important to understand the right ways of tiling the interior corners to get a professional finish.
Before we start with the tiling methods, let us first understand how to measure and cut the tile.
Step 2: Measuring the Tiles

You have two options of how to measure the tiles.
Method 1
Place the tile that you wish to cut over a full tile. Take another tile and fit it against the wall or overlap it with the tile below it. Use a pencil to mark the tile and then cut it.
Method 2
Here, instead of holding the tile on the wall before you measure it, take a separate measurement. For this, you will start from the top to the bottom wall corner using a measuring tape. Use a pencil to mark the measurement on the tile. Draw a line between two squares to cut a vertical line that you can cut along. Use these marks and then start cutting the tile.
Step 3: Cutting the Tiles
To cut the tile for a corner wall, you can either use a tile cutting board or make use of a wet saw. If you are using synthetic tiles, then you may use a cutting board. If you are using a natural stone tile, then a wet saw should be used. If using a wet saw, dry the back of each tile after you cut it. This is to avoid water from penetrating through the wall or through the adhesive bond.
There are times when you can fit a full-sized tile across the wall without having to cut them to fit on the inside corners. However, if you have to cut the tiles, then cut them, stack the tiles from the bottom up, and then move up the steps to complete the tile fitting. In this case, you can jump to the next step.
Step 4: Tiling The Inside Corners

Here are the two methods of tiling the inside corners.
Method 1
If you have a full mosaic tile sheet to fit on the inside corners, then apply glue on the corner using a trowel. The adhesive should be applied in a thin layer, but it should be thick enough so that you can see the trowel lines. If the mosaic tiles have been cut to size, then use a thin layer of glue on the back of the sheet before you install each piece. Make sure that the cut edge points to the walls’ interior corner.
After each layer of adhesive application, clean the trowel with a sponge or a wet cloth and wipe it off. When all the tiles have been installed in the corner, let the adhesive dry for an hour.
If installing natural stone tiles, use a grout sealer as it does not let the grout stick to the stone tile. However, if it is a synthetic or a non-porous tile, then you do not need grout.
Once done, remove the tile spacer. Wait for 2 hours before you fill the corner lines with caulk. Always use grout or caulk of the same color as the tile for it to blend seamlessly.
Method 2
In the second method, place the uncut tiles on the adjoining walls. Start from the middle to the bottom and then move up row by row. The tiles should sit on a thin mortar which is spread with a trowel. Put spacers between every tile once you reach a point when the full tile does not fit into the adjacent corner of the walls.
Then measure from the edge of the tile to the corner of the last tile. Remove a quarter of an inch from the width and from the measurement of the tile spacer. So for example, if the tile space is 1/6 inch, then remove 3/6 inch from the spacer. Use a tile cutter to cut the tile to get the right width.
Also Read: Read our Tile Cutter Guide for more Information.
Now you are ready. Just apply some mortar on the back of the tile using a trowel. Press the tile to the wall firmly ensuring that the cut side faces the corner of the wall. The other edge should be next to the previously placed full tile in the row. The space between the two tiles should be consistent, and there should at least be a quarter-inch space in the corner.
The above step should be repeated for every corner tile for the two walls adjoining, confirming that the cut sides face each other. Once you set the tiles fully remove the spacers.
You can choose grouting in this method.
Spread the grout on the tile and press it into the lines between every tile. First, wipe the remaining grout using a damp sponge and then scrape the residue off from the surface. You do not need to grout the corner lines, which can be left open. Leave the grout to dry for 2 days, and then fill the corners that are ungrouted with caulk. Leave the caulk for 1 day to set in well.
Step 5: Gaps and Caulking
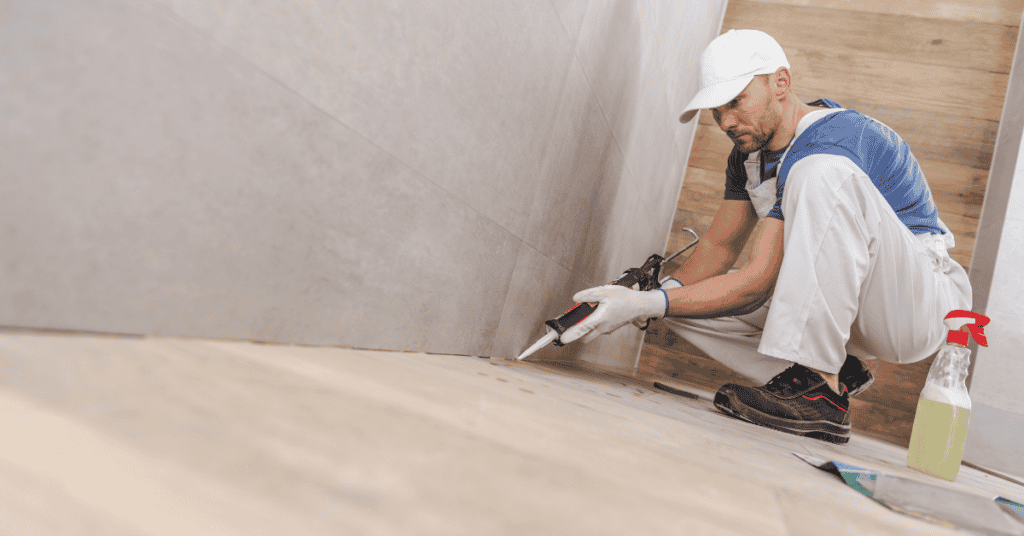
This is a common mistake that most people tend to commit. Putting grout on the joints of the adjoining walls is not a good idea. It can make the grout crack with time and may even nudge the tile to come out of the wall.
To avoid this leave at least a gap of 1/8 inch between the tiles before you caulk it using silicone, latex, or acrylic caulk.
It is important to close the gap around the edge of the tile, which will not let water penetrate through the walls. This step should be followed especially if you are tiling backsplashes or kitchen countertops. You do not want the water to seep through these fittings and fixtures into the wall.
Step 6: Sealing Around the Edge of the Tile
- Attach the nozzle of the sealant on the cartridge gun and then cut the tip-off.
- Start from one end of the tiled area and run a straight bed to the other end. For this, your gun should be kept in a steady state and should run at a fixed speed.
- Use your wet fingers to smoothen out any irregularities. Do not wipe the sealant from the wall surface.
- Leave the sealant and let it dry for 24 hours.
Step 7: Finishing the Edges

Most of them who have tried to DIY the interior tile corners complain of not being able to finish the edges of the inside tiled corners well. This is why it is important to pay attention to the final step so that you can appreciate a neatly finished project.
Tiles usually have a bullnose part to match various tile sizes. However, if your tile does not have a bullnose, then here are the three options for you to finish your tile corners. These are an alternative to the bullnose pieces that let your corner tiled walls look refined and smooth.
1. Caulk the Edges of the Tile
Caulking the edges is an easy solution perfect for porcelain and mosaic tiles. All that you have to do is assess the tile from the sides. If this does not give a finished look, apply a thick caulk line to the edge to get a clean seal. This is cost-effective.
2. Molding the Tile
These are products readily available in stores and are made of porcelain or natural stone. The tile molding is thin with a decorative design and gives a finished look to the edges of your walls. It offers a clean and cohesively striking look. The tiles usually come with molding, but you can choose one that matches the tile or even opt for a contrast.
3. Aluminum Edges
Aluminum edges are available in different finishes and styles and these are suitable for both the indoor and the outdoor walls. The aluminum edge gives a contemporary and clean look to the space.
Metal edges give a finished look to the inside corners. To get a consistent feel, make sure to color coordinate the metal edges with your wall. These are easy to install and cost-effective too.
Conclusion
From cutting to installation and lastly, to finish, we hope that this article will guide you well and help you start with the inside corner tiling of your wall with confidence.

 By
By


