
Do you have a tiling project in hand where you need to finish the outside corners? Tiling a corner seems overwhelming, but when you go through the options that we have laid down for you, you will be able to work on the corners seamlessly.
Tile installation is easy, but things start looking complicated when it comes to tiling the outside corners. The process may seem intricate, but with our easy and quick steps, tiling outside corners is something that even a first-timer will be able to do with great confidence.

How to Tile Corners: Step by Step Guide
1. Preparing the Surface
This step-by-step instruction on how to tile corners takes you through the various techniques to master the art of tiling the outer corners.
- Prepare the wall by installing a hard backer in the areas that are exposed to water.
- Use paper tape and a thin-set to seal the joints.
- Make the joints level and sand it so that it does not plumb.
- If it is a brick wall, then remove the irregularities using a scraper and brush the entire surface to take out the residue.
- The final step is to decide if you need a corner trim or you will use the other methods of tiling the outside corners.
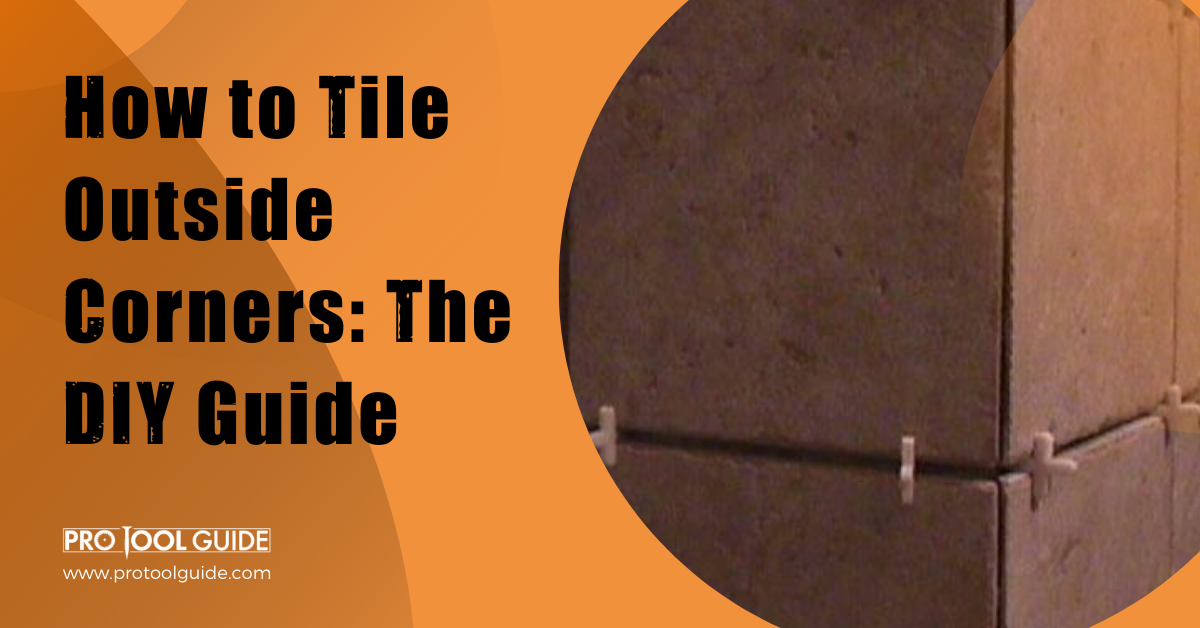
2. Tiling the Exterior Corner

It takes attention and time to create the perfect outside tile corners. The corner needs to be finished well so that no area stays exposed. To give your external corners a neat tiling finish, you will first have to trim the corners.
If the corner is a three-way joint then edge corners work the best. These are tile corners in polished chrome or plain colors, which finish the work well and protect your tiling.
Cut the corner trim using a hacksaw to give the tile the appropriate length. Use a strip of adhesive on the return wall and then press the tile in it. The trim should now be aligned with the tiles from the first wall to leave space for grout. Apply extra adhesive using a trowel on the return wall. The step has to be done with care so that the tiles from the other wall do not get loosened or knocked off.
Repeat the entire process that you did on the first wall. Work away from the corner trim and take care to leave room for the grout. Using spacers, you can adjust the tiles if required, ensuring that the distance between the tiles stays the same. Check the trim again to see that it has not moved and readjust it if required.
We list down the steps to use the tile trim. Since these trims come in various styles and colors, you can choose what matches the aesthetics of your room.
Here are the steps to install the tile trim in detail.
- Planning
If you are installing the trim in the corners, place the trim tiles on every edge and where the edge and the flooring material meet. The tile trim installation should be done along with the tile since it needs to be fitted in conjunction with the other.
- Measuring
Measure the corner and the base where you wish to install the tile trim. This will let you determine the length of the trim that you will need. This is an important step that should be done right.
- Cutting
The trim should be cut at 45 degrees at the walls’ edge and base. Use a mitre box and secure the trim against the sides using clamps to hold it firmly. The trim can be cut with a trim cutter or a hacksaw. Ensure a 90-degree connection before you glue it. If you do not wish to mitre the trim, then just cut it at a 90-degree angle.
- Adhering
Use chalk to mark the surface on the wall where you want to install the trim. Use a strong tile adhesive to line the area marked with a trowel, press on the tile trims, and let it dry all night.
- Applying grout
Where there are spaces, fill the trim areas with grout and let it dry. Use a sealer on the surface of the grout, which will enhance its effectiveness. Leave the grout for some time to dry. You can then install the remaining tiles.
When you install the tile trim, it does not let damage the edges. A proper tile installation is thus vital to complete your project.
3. Other Methods of Tiling The Outside Corners
- Filtering
The other option is to milter the edges of the tile. This is where you create a joint using two pieces of tiles that are at a 90-degree angle to create the outer corner.
- Quarter round
Quarter Rounds give a clean finish to the exterior corners. You can use this method in showers and kitchens. The Quarter Rounds are beautiful and wrap around the corners, which makes them useful to fill spaces and close any cut edges.
- Bullnosed edge
The problem that many face with tiling the outside corners is the chances of the edges getting exposed. The tile edges usually are not finished with ceramic tiles, which causes a change in color at the corner edge. This is where a bullnosed edge comes in handy.
The bullnosed tile comes with a finished edge design that rounds gently. Since the edges are fully glazed, it is used to cover both the edges of the tiles that meet each other in the outside corner.
4. Finishing the Tile Corners
Tiling the external corners should start using whole tiles on every wall. The joint can be created by butting the tiles or using a plastic corner.
- Butt joint
The butt joint overlapping works if the corner tiles have glazed edges. Tile the wall that is less visible and then places the entire tile flush with the corner. Then you can tile the other wall overlapping the tiles to conceal the edges of the first tile
- Plastic corner trim
The chrome corner or plastic corner trims protect the external corners from damage and gives a neat finish to the edge. The trim can be used along the edges.
Push the base of the trim that is perforated in the tile. The adhesive should be used in one of the corners to round the outer edge of the trim to line up well with the face of the adjacent tile.
- Points to note
It is easy to tile the outside corners to give it a professional look. The outside tile trims are available in varied designs, colors, and shapes, so it is easy to find the one that suits your taste and style. Corner trims enhance the look of your project.
Tile the wall till you reach the corner and adjust the length of the corner with a cutter, so it fits into place. A spirit level can be used to see if the corner is plumb from top to bottom.
Spread a tile adhesive in the corner wall and secure the plastic corner trim well. It must be plumb. Check to see if the outside corner trim is in a vertical position and adjust it if needed.
You will have to adjust the tile in the wall’s entire surface, leaving a little clearance space between the plastic corner and the tile trim. A sponge or dry cloth can be used to remove the excess adhesive taking care that the tiles do not move. Let the adhesive dry, and then apply the grout.
Conclusion
There are various options of tiling the outer corner, but those do not give the external corner a professional look. Trimming comes in varied colors, sizes, and materials to match the aesthetics of the room. These do not let the tile edges chip or knock off easily.

 By
By


