
Thinking of tiling your concrete floor? This DIY guide lays down the steps on how to prepare a concrete floor, how to tile a concrete floor and the precautions that you need to adhere to when placing tiles on your concrete floor.
Before You Lay Tile on Concrete
You do not always need an underlayment between the tile and concrete, but you need to prepare the concrete surface before installing the tiles. Uneven areas and cracks on the floor end up damaging the tiles. Excess moisture in concrete could also damage the mortar and loosen the tiles.
Thus, it pays to spend some time preparing the concrete floor to get an even design that looks great and boasts of a long life.
What If You Directly Install The Tiles on The Concrete Floor?
Concrete surfaces are durable and rugged, and you may wish to lay tiles directly on the surface. The option is viable if the concrete floor is in good condition. Before installing the tiles, ensure that the floor is level, the cracks are repaired, and the depressions are filled. If the floor is uneven, then tiles tend to crack easily.
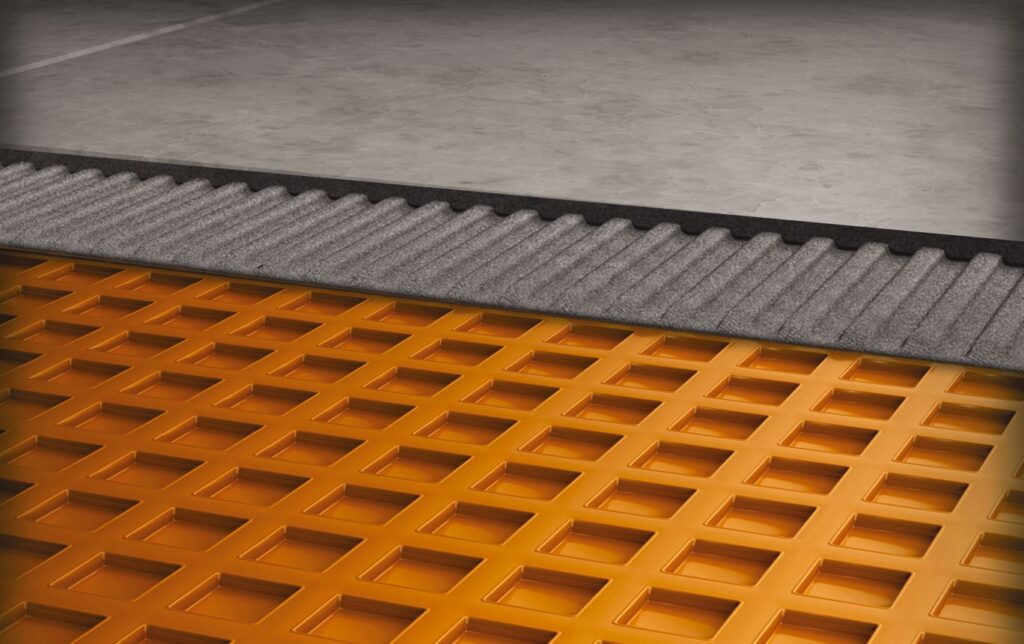
Install Uncoupling Membrane Between The Tile and Concrete
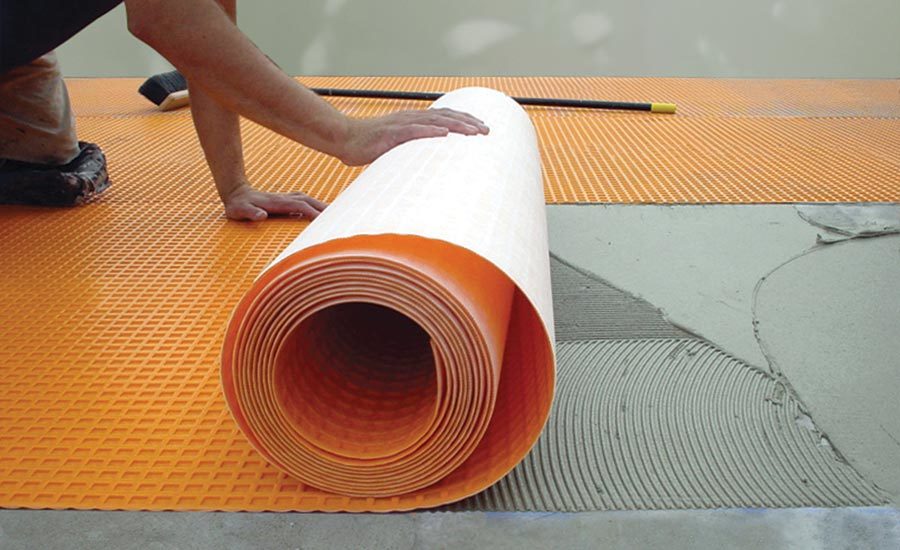
Your concrete floor is in perfect condition. But the chances of it staying in this condition for long are pretty low. Minor shifts in concrete flooring are unavoidable, which causes the floor to develop cracks.
Install an uncoupling membrane between the tile surface and concrete to keep such movements from affecting your tile floor. The polyethylene layer is flexible and easy to install. It also protects the tile from moisture and cracks.
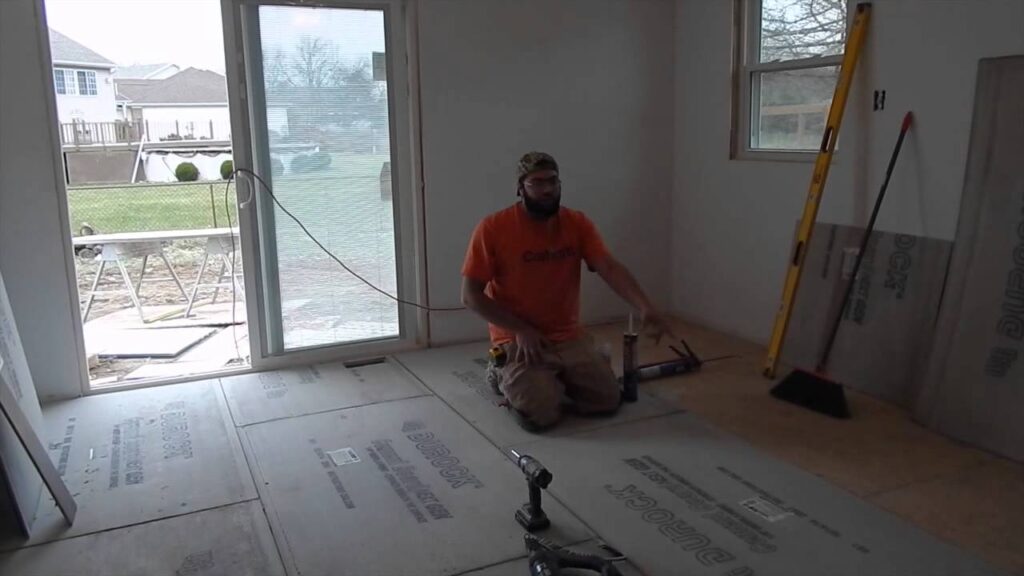
Prepare Your Concrete Floor For Tiling
Your concrete floor should be in shape before you install tiles. Here is what you need to do.
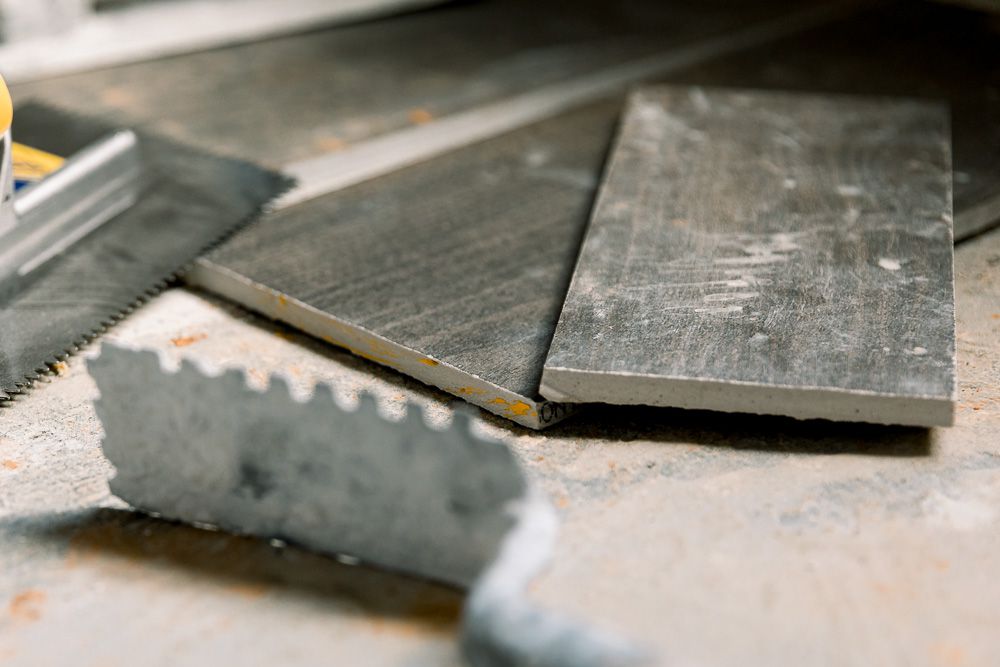
Get Your Supplies Ready
Gather all the tools and supplies before you begin the work. You will need a broom, concrete sealer, dustpan, concrete patching compound, degreasing cleaner, scrub brush, five-gallon bucket, clothes, trowel, extended handled roller, and an uncoupling membrane.
Sweep and Scrub The Floor
Sweep the floor even if your concrete floor looks neat. Use the dustpan and broom and give the floor a thorough sweep. Make sure to remove the dust, dirt, and debris.
Follow it up with a scrub to remove any persistent stains or stubborn dirt. Next, you will need a degreasing cleaner. Pour it in a bucket and add warm water to form a cleaning solution. Use this mixture to scrub the floor thoroughly. Take extra care to clean the oily and greasy areas.
Rinse off The Floor
Rinse the floor with warm water. Use clothes or towels to dry the sections and continue rinsing each part. Leave the floor for a day to dry. You may need a box fan if the area you stay in is humid or does not get natural circulation.
Patch The Cracks
Patch the cracks on the concrete floor as these cause the tiles to shift and break. Apply concrete patching on the cracked sites using a trowel. It would help if you took care not to leave any extra compound near the cracks. The flat edge of the trowel smooths each patch and keeps the floor in level. If there are uneven areas or bumps, then the tiles could break after you install them.
Fill The Depressions
If there are depressions or flaws, repair them before you install the tile. Fill the depression with the concrete patching compound, ensuring that the surface stays level. Let the surface dry for at least 12 hours. You can then move on to the next stage.
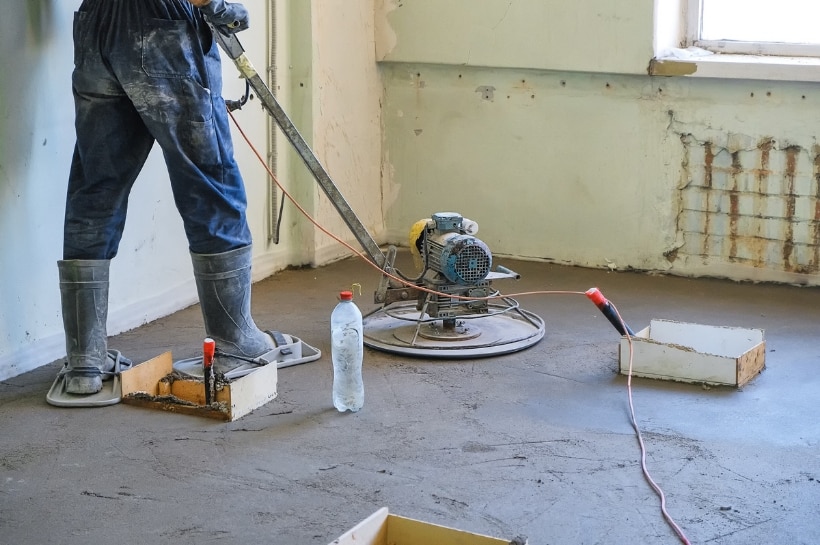
Apply Sealer
It is time to seal the surface. The sealer creates a protective layer, not letting moisture seep through the concrete and the tile floor. Cover the entire floor to create this protective layer. There should be no uneven layers. Let the sealer dry completely.
Lay The Membrane
If you wish to use an uncoupling membrane between the tile and the concrete floor, then this is the stage where you need to put them. Again, the membrane should be evenly laid across the floor.
It takes time and lots of effort to patch and seal the concrete floor. But these are essential to make your concrete floor ready for tile installation, ensuring that it serves you for years to come.
Install Tile on The Concrete Floor
Here we explain three techniques of installing tile on concrete.
Directly Install Tile on Concrete
Porcelain and ceramic tiles are usually installed on floorboards, making it easy to install them directly on concrete.
The method does not need extra materials and stays for years unless the concrete cracks. You also do not need to raise the substrate.
However, if the concrete cracks, it directly transfers to the tile. It is because the thin-set stays on the concrete when you remove the tile.
Concrete is solid and heavy and is a rigid and unbending material. In addition, it is dense in structure, and since both concrete and tiles are mineral-based, these make a perfect pair.
Take care to note that this method works best when concrete is in an unchanged and perfect state. If there are any foundation shifts, if groundwater pushes from the cracks or tree roots get burrowed in the concrete slab, this can crack and lift the floor. Also, it is fair to assume that concrete will crack at some time in the future.
Problems erupt when concrete shifts or cracks. It causes the movement to transfer to the tile. So when there are cracks in concrete, there are cracks on your tile.
Installing tile on concrete directly may not be a wrong decision. If the concrete is stable, then it acts as a substrate for years to come.
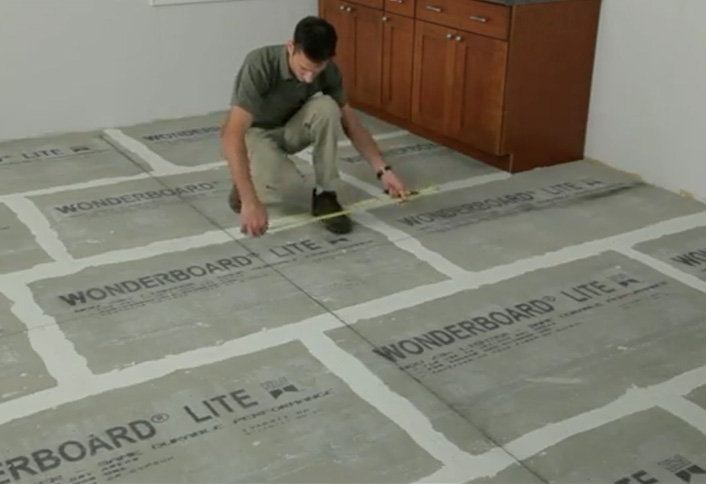
Use a Cement Board to Install Tile on Concrete
If there are cracks, holes, imperfections, and gaps in your concrete floor, it is advised to put an underlayment of cement board. It works better than repairing every tiny bit. The cement board should be installed entirely on the floor.
The method smoothens out any uneven and bumpy concrete. However, it raises the substrate level and may also end up transferring the cracks to your tile.
The cement boards are inorganic, which means they do not shrink, rot or decompose. You, however, do not need a cement board if the concrete floor is in good condition.
Another reason you may need a cement board is to raise the floor level significantly. But, again, it works much better than installing a mortar bed.
The concern with this method is to attach the cement board to a concrete floor. You need to screw the board to concrete, especially in the middle. It takes a lot of time and effort, and there are chances of poor installation.
In such cases, an uncoupling membrane is what you need.
Use Uncoupling Membrane to Install Tile on Concrete
Uncoupling membranes are preferred when installing tiles on concrete. It is an effective method to uncouple the tile bond from concrete, and it also helps to smoothen the minor concrete imperfections.
The material is expensive, and thus the procedure is mainly done by professionals.
The uncoupling materials function to uncouple one thing from another. Here the uncoupling material unlocks the tile from the subfloor, behaving like a buffer layer that does not follow the actions of concrete.
Subfloors crack and move, which reflects in the tiles. Uncoupling material works here to break the transmission chain. These are invaluable, especially if you anticipate that the concrete floor may move or crack. In a nutshell, it is worth your time and money to install an uncoupling membrane.
It is important to note that although uncoupling membranes have many benefits, they are not full-proof. If the concrete cracks and tilts dramatically, no membrane can uncouple the two surfaces and prevent the tile from getting damaged.
Steps to Tile a Concrete Floor
Let us quickly walk you through the steps of tiling concrete floor.
Step 1: Prepare the Concrete Floor
As already stated above, your concrete floor should be spec clean before laying the tiles.
Step 2: Level the Subfloor
A level helps to determine if the floor is smooth. You may need a filler to ensure that the floor is level.
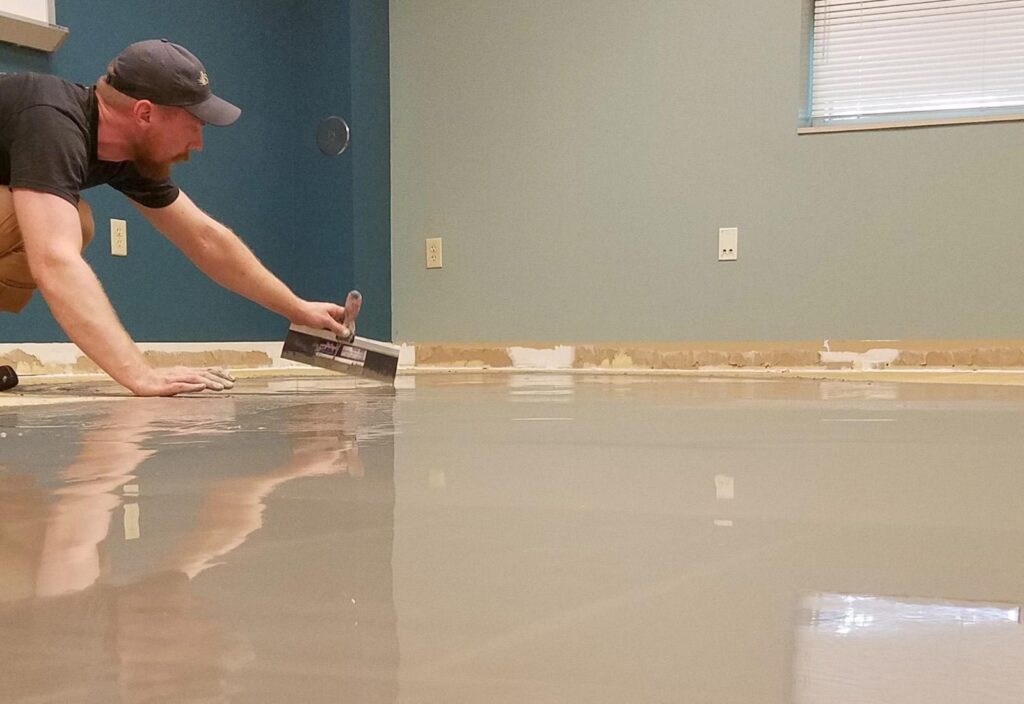
Step 3: Place the Underlay Membrane
An anti-fracture underlay membrane does not let the concrete to crack when it is dry. You can purchase the underlay in a liquid or sheet form.
If you opt for sheets, apply a thin mortar set on the concrete and smoothen the membrane with a trowel. Else you may paint the anti-fracture underlay using a paintbrush. The underlay gives the tiles a cushion, not letting them crack.
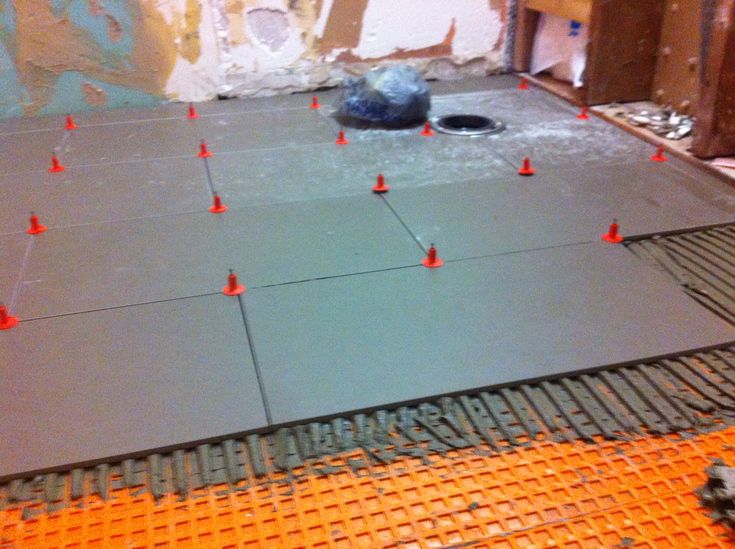
Step 4: Establish the Tile Layout
- Find the centerline using the width and length of your room.
- The lines should be perpendicular, for which you will need a triangle ruler.
- Check the floor tiles to ensure there are no color mismatches or damages.
- Do a dry run to cover the entire floor surface using your chosen layout. Check the tile edge and adjust the center line if it falls below half on either side.
- Cut the tile near the edge. You can use tile nippers if you need to make some intricate and minor cuts.
- A wet saw to cut the tiles lets you fit the tiles in narrow spaces snugly. Ensure that the cut tiles fit perfectly before you lay the tiles.
- Let there be at least a ¼ inch space around the edges to give it room to expand.
All the steps listed above are crucial. If you happen to miss out on any, then be prepared for a huge mess.
Bonus Read: Best Tile Cutter Reviews in 2023 – Super 5 Budget Guide
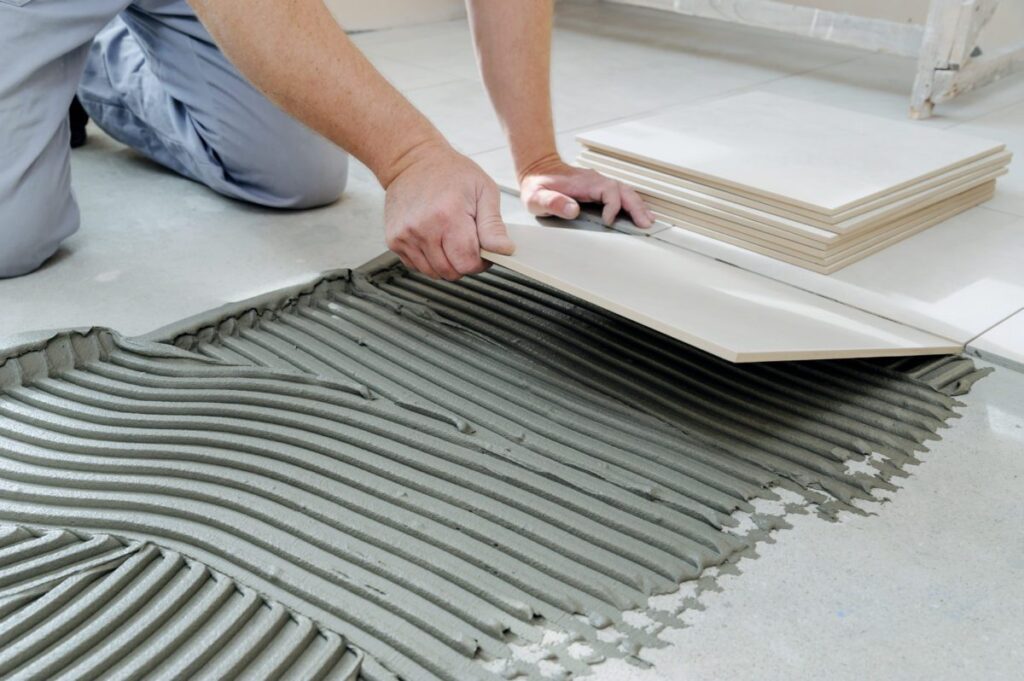
Step 5: Install Tile on Concrete
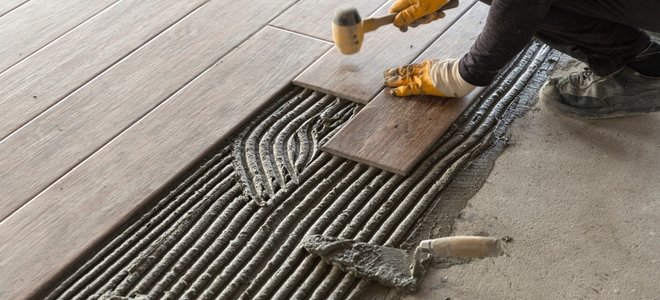
- Remove a section of your tile and start laying them
- Mix mortar and place a bucket and a trowel of ¼ inch notch to spread the mortar using the thin-set. Smoothen it with the trowel.
- Use the notched trowel comb on the thin-set, ensuring that the lines run horizontally on the surface.
- The first tile should be installed against the corner of the centerline. Push it down slightly.
- Fill water in a bucket and keep a damp sponge to clean the tile and keep it neat.
- Place spacers as you begin laying the tile. It gives you an even and thick grout line. If you need a thin grout line, then you can avoid using spacers.
- Lay the ceramic tile in a three by three area and check the level. You can adjust the tile below the level by adding thin-set and back butter.
- Ensure that the floor is to scale. For this, you will need a carpenter’s level.
- Leave the flooring for 24 hours and then begin with grouting.
Also Read: How to Tile Inside Corners? Complete Guide
Step 6: Grout The Tile

- Mix grout with water, taking care not to form lumps before using it on the new floor.
- Lift the grout from the bucket with the grout float. Spread the grout on the gaps till the gaps get filled.
- Let it settle for 20 minutes. Then clean the grout from the tile surface using a damp cloth. Let the grout sit for 2 hours and then buff the floor. Again, let the floor dry for 72 hours.
- Apply sealant with a large sponge. It helps to boost the water-resistance of the tile. Leave the glue on as per the manufacturer’s recommended time.
Your concrete floor tiling is now complete.
You May Also Read: How to Bullnose Tile (Small, Large, Porcelain)
Conclusion
Tile flooring offers an enhanced appearance to your concrete floor. There is a range of tiles in varied styles and colors to choose from that promise an attractive and elegant vibe to your concrete floor. In addition, tiles are stain and water-resistant, are easy to clean, and can be used flexibly.
Tile floorings are not very expensive, but their installation does charge you a hefty amount. If you wish to save on tile installation costs, we have explained all the steps right from preparing the concrete floor to installing tiles.
The tile installation process on concrete may look tedious, but our detailed guide does help you to save a few bucks.
For More Tiles Related DIY Guide You May Like:

 By
By


