
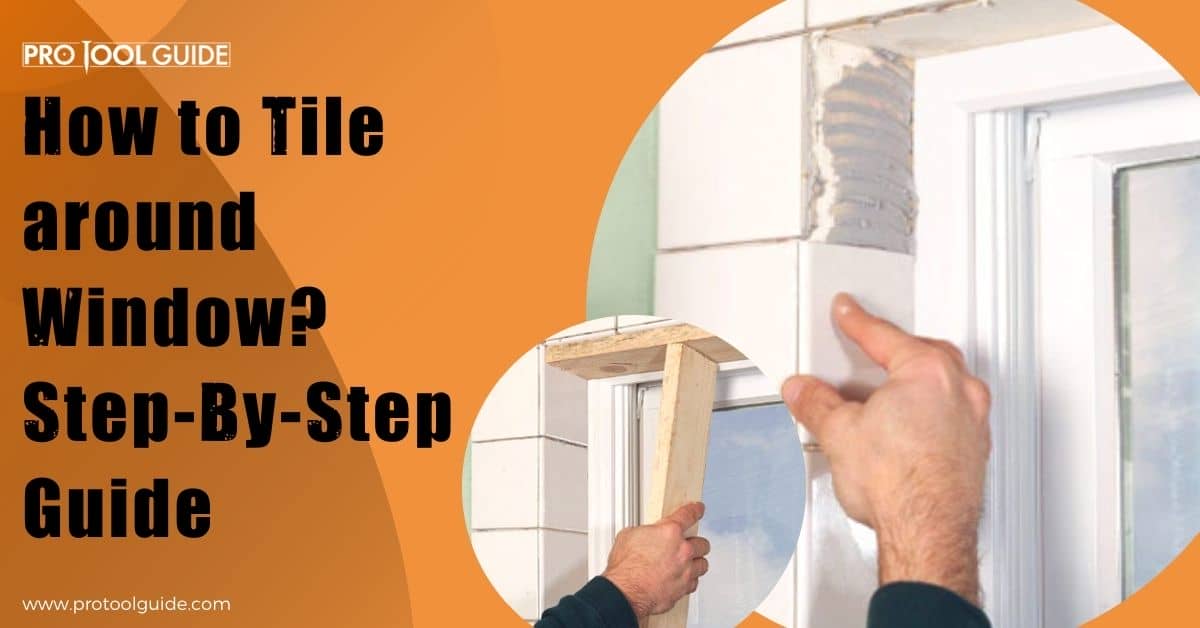
Windows are the focal point of most rooms. However, tiling them is not straightforward. It needs a lot of planning, measuring the tiles, and cutting it to length accurately and in the correct order. Then there is the trimming that needs an expert eye.
An unprofessionally done tiling kills the aesthetics of the room. And we do not want that. But, on the other hand, a neatly tiled window is a work of art. With our step-by-step guide, we escort you on how to tile around the window and complete it with finesse, even if this is your first DIY tiling project.
Tile Around a Window- The Steps
- Prepare The Walls and The Counters
The walls around your window should be smooth. Before you start tiling, remove any bumps, caulk, or nails. Unscrew the outlets and pull them lest any tile bits get under them. Turn off the power before you move the outlets, so you do not electrocute yourself. Also, tape or cover any stuff that you wish to protect.
- Gather The Necessary Supplies
You will need the tiles, a tile saw, spacers, trough, and adhesive. Adhesives used in backlashes are called mortars and thinsets. These are available premixed and save a lot of time.
Tiles come in sheets and have a mesh backing which lets you apply one square foot of tile at a time. However, the tiling around the window is a bit different. You will have to take the mesh from the tile and use the individual pieces.
The mortar or the adhesive is messy and thus should be applied with a trough. Do not apply it too thick or too thin. The idea is to use it evenly. You are free to spread the adhesive on the wall directly or on the tiles’ back, which is the process called back buttering. It would help if you had an even and excellent pattern.
Spreading the adhesive allows airflow and increases suction. It holds the title to the wall. It would help if you got the correct angle for the trowel when applying adhesive. Ideally, it should be anywhere between 35 and 45 degrees.
Clean all your tools before you start. Also, clean them in between work. It reduces the chances of a spoiled finishing because of adhesive or dirty plaster. - Check The Square
The tiling around the window should be square to let the cut fit in neatly. Measure from the top to the bottom gap between the tiles on each side of the window. You may use a level for the same. It ensures that the tiling is straight.
- Decide on The Focal Point and The merge Location
The focal point is where you will start the tiling job. It is usually the center of the window. You are free to use the center of a single tile piece and align it with the chosen focal point. You may alternatively choose to put a center seam here. The idea is that everything on either side of the focal point is balanced.
Why should you concentrate on the focal point? If you ignore it, then there will be cases when a full tile would fit on one window side but not on the other side, and this is a poor job done.
The focal point is also where you place the merge location. It is the location when the starting tile and the finished tile meet. The merge location could be either at the top, bottom, or window side.
The merge location is crucial. You tile all around your window, and if there are any misalignments or issues, it will reflect in the merge location. - Always Use Whole Tiles
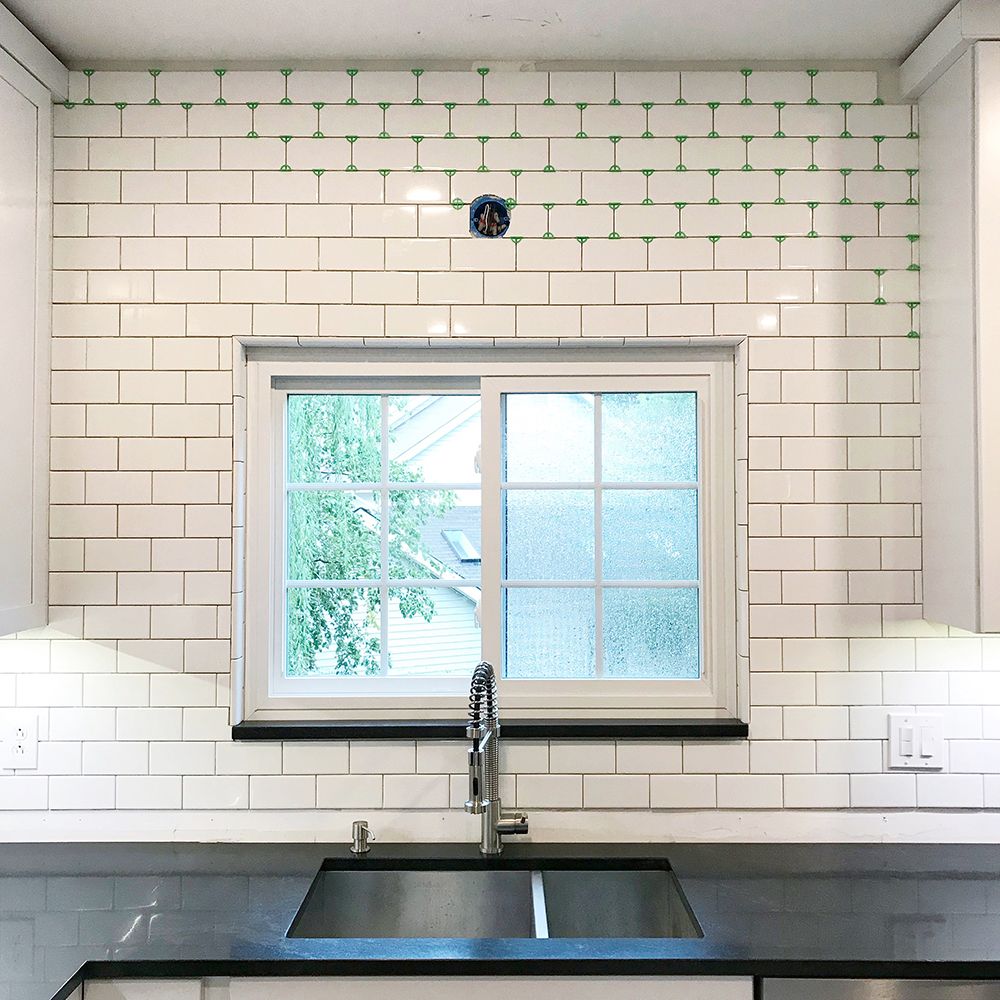
The best is to use tiles that are already there on the wall. It can be a great guide. First, lay all the whole tiles. Leave the cuts around your window now and work on it at the end.
- Cut The Tiles
How you cut your tiles is crucial. Space the tiles in the gaps to get the correct number of whole tiles. If there is an overhang, mark it with a pencil. Next, line the parts out using a cutter and remove the section.
Use tile snips and remove the excess small chunks. Let the teeth work, taking care not to put a lot of force to break the tile. Use a rubbing stone that will avoid any sharp edges. - Tile From The Bottom
Ideally, it would be best if you started tiling from the bottom to give the tile a sturdy base to rest. The part is pretty detailed. Removing certain tiles makes the bottom go faster. Mark cut for each tile. It is not wise to cut all the tiles in one go. Cut the tile to fit into the exact location.
A tile saw lets you trim the tile to its correct length. Be careful here because the tiny shards could fly around and cut your legs and hands. - Fit The Corners
When you reach the end of the row, mark the tile cut using a pencil. Cut it and fit it using adhesive. Use a level to draw a line on the wall where you want to make cuts. It will guide you to proceed with the tiling. Now do the same set on the other side of your window.
You may also read: How to Tile Outside Corners? | The DIY Guide - First, Tile One Window Side
You have tiled the bottom row. It is now time to tile the window part that lies opposite the merge location. You may have to make some adjustments if need be. First, step back to see if the tile is looking fine. If you find it leaning a little, you may want to move the things near the tile, letting the adhesives to dry.
- Tile on The Merge Side
The merge site is where the base tile and the end tile will meet. If there are any errors, then this is where you will notice gaps. The idea is to minimize the merge site achieved when you tile up to the area.
When are gaps created?
• You may sometimes leave space between the tiles on the top of the window compared to how much space there is at the bottom.
•The whole mass of tile could shift as it goes on a window.
• The cabinet or the wall could not be upright and gets the tiles off.
At times you may need extra space to fit in a tile. The idea is to work efficiently and minimize the area where you see gaps. - Cut The Tiles so That it Goes Around The Sill
Cutting the tiles to fit around the sills gives a professional look to your job. Make slow and steady cuts. Take time because you may have to cut more than a single tile. Also, there could be challenges where you may have to accommodate a sill, an angle, and an outlet box to fit into the tiling pattern.
Also read: How to Cut Tile Without a Wet Saw - Tile On The Top
Now go around tiling the top part of the window in the same pattern. It is a continuation from the opposite side of the merge site. The top side should be level with the window. Back buttering is always a preferred option to not let the adhesive squeeze from the gaps.
- Tile Down The Wall
You have tiled the top row. It is time to finish tiling the remaining side. The cuts should be done and fit well. Never force the tile to push it in place. Cut the tile correctly not to jam it. The step is slightly challenging because you are looking at the top grout space and not the bottom.
- Fix And Then Repeat
Fix the tile on the wall and then repeat to the other side of your window. It needs to be done on both sides of the window until all the gaps fill.
- Tile Till The Tiles Merge
If you have continued this pattern, then you are already close to meeting the bottom tile. We hope that you have paid attention to the spacing and leveled your tiles well. Only the meet-up will decide if the project was glorious or ended in a significant headache.
- Add The Trim
Clean the tiles and then move to the trim. Cut four strips that fit into the edges with a 45 degree at the corner. Adding trims gives a nice and round finish to the window edge.
Key Points to Note
- Cut the tiles to their exact size but remember that you spin the tile back around. Take care to ensure that the clean edge is facing towards you. Slot and press the tiles firmly in their place. Add spacers and then repeat the steps around the frame.
- Even if your tiles get placed on a mesh sheet, they can shift. · Using spacer works. Spacers let you flaunt evenly spaced tiles.
- At times, you see a slight gap. You can hide it with grout. Put spacers between the tiles where the tiles are getting tight, so you have a place to put grout.
Congratulations. You have virtually mastered how to tile around a window. Use the tips and the steps above precisely as stated, and we assure you a perfect match on the merge point.
You may also read: How to Tile a Bathroom Wall: Step-by-step Guide

 By
By


