

The proper selection of tiles has the potential to transform any space. There are endless tile varieties in every shade, dimension, and budget that you desire.
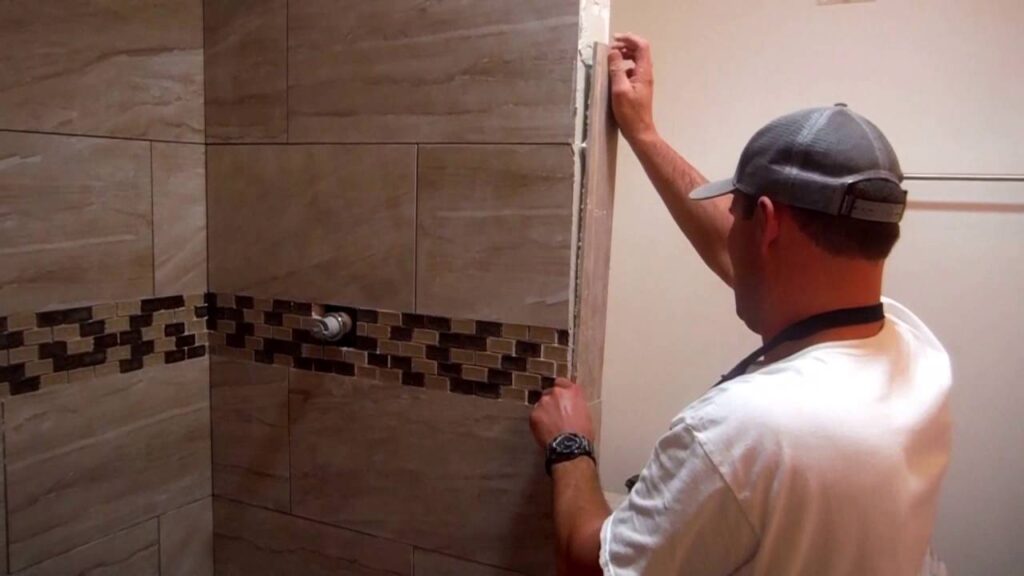
You may pick up a premium quality tile, but that alone would not suffice. You need to install the tiles professionally. Installing tile edging and giving it a professional finish is what will define the space.
Tile edges offer a clean look to any space. It is thus imperative that you do not skip this step. Furthermore, the tile edges cover the sharp and rough corners. Therefore, it cuts down on maintenance and cleaning. In short, a well-installed tile edge protects the tiles for years to come.
Installing tile edging is as challenging as installing the tiles. This guide, however, makes it easy for you!
When Should You Install the Tile Edges?
Your tile installation project is incomplete without installing tile edges. Never skip this step, whether to save time or money. Perfectly done tile edges give a neat touch to your tile installation, in turn, increases the life of your tile.
Tile Edging – The Options
There are several tile edging options. Here we discuss some of them.
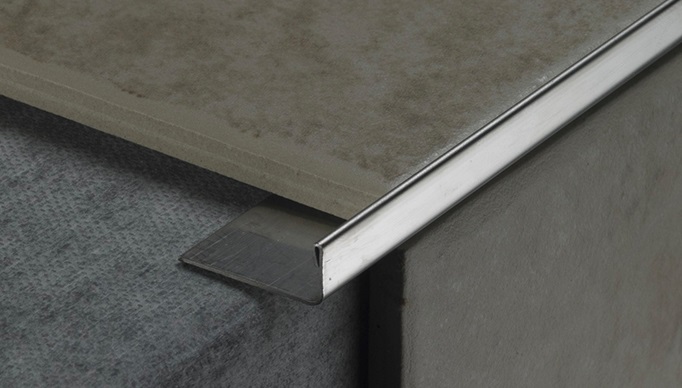
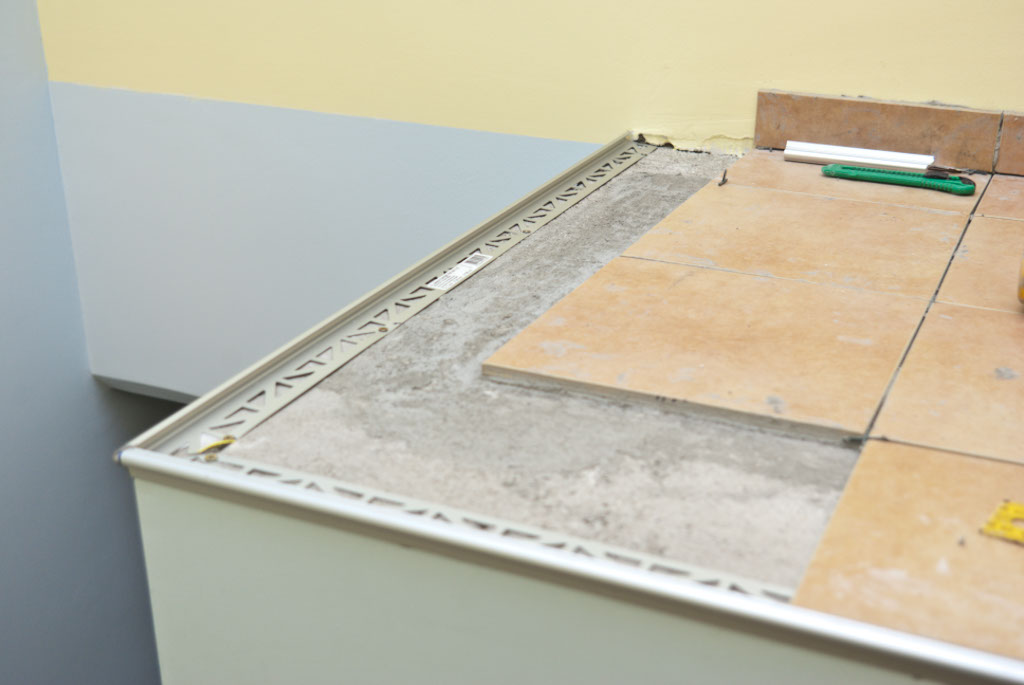
Metal edges: Metal edges are available in many finishes and styles. These find use indoors, outdoors, in showers, and for flooring stairs. Metal tile edges accentuate every space creating a contemporary and clean transition.
Rail molding: Tile molding in porcelain and natural stone are readily available. These are decorative and thin the molding creating an easy transition between varied tiles. It offers a cohesive and clean look. If the selected tile does not come with molding, you can choose what matches or opt for a contrast to give an aura to the place.
Cove Base: The Cove Base edge is used where the floor and the tiled wall meet. These have a curved edge that covers the joint. The edge also offers water resistance which does not let water seep into the floors and walls. In addition, the edges make cleaning easy, which is why they are highly preferred in the shower base.
Bullnose edge: Creating a bullnose edge is a challenge. But, it is not impossible to install. Here is a solution if you do not get a matching bullnose for the tile and are not happy using moldings and metal edges.
Customize the Bullnose Edge
The solution is viable only if you are using porcelain tiles or natural stone with a solid structure. When using a bull-nosed edge, ensure that before you install the tile, you create a rounded edge by grinding, sanding, and polishing it.
Caulking the edge: It is an easy and budget-friendly solution. The method works for porcelain, tumbled stone, and mosaic tiles. To understand if the caulking is the best solution, examine the tile from the side and check if it looks finished or raw. If the tile gives a finished feel after installation and grouting, then apply a think caulking bead on the edge to get a watertight and clean seal. However, if the edges look raw, then caulking is not the best solution. You may want to choose from the other options.
Quarter Round: A quarter round is a quarter of a circle. It gives the tile a smooth, protective, and even corner. The edge comes in handy when you have to seal a perpendicularly exposed corner. Also, the edges are perfect if you need to turn a corner along an edge, say in showers or bathrooms.
Baseboard: The baseboard edge is typically used in the area where the wall and the floor meet. The edge particularly finds use in wet areas like showers and bathrooms. Baseboards have a straight edge so take care to caulk it well, so it is watertight.
V-Cap: These are edges used to cover the perpendicular corners. They are used to finish kitchen and bathroom sink edges.
Pencil: Pencil edges are cylindrically shaped and have round edges. These are used on the edges of mosaic-designed walls. The corner makes a statement by creating outlines and borders admired in places where the design transits from one to the other tile.
Flat Liner: The flat liner edge is used in framing statements and design pieces. These are not round but straight and flat tile pieces. They do not have a lot of depth but instead offer a contemporary and sleek look.
Flatliners are an edging option where two different materials meet like say tile and wood. These are commonly used on floors where a round tile does not work.
Safety Precautions to Take When Installing Tile Edging
- You are dealing with sharp tile edges. So make sure to use gloves to prevent getting scratched.
- Safety glasses and gloves are a must when cutting tiles, especially if you use a gas-powered or an electric cutter. Also, use ear protection.
- Take care not to crack the tiles that you edge.
Also Read: Tile Cutter: Everything You Need To Know
Tools and Materials to keep Handy
Be ready with the following tools and materials before you start the process.
- Gloves
- Caulking gun
- Level
- Measuring tape
- Framing square
- Adhesive
- Adhesive spreader
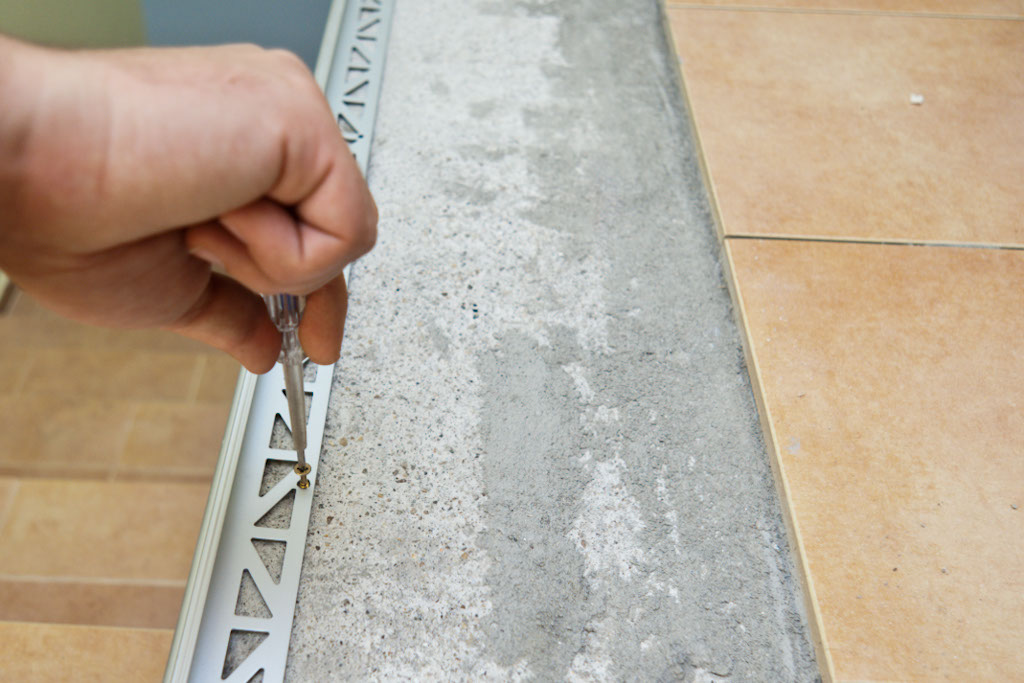
- Edge of your choice
- Spacers
- Trowel
You May Also Read: Best Tile Cutter Reviews in 2023 – Super 5 Budget Guide
How to Install Tile Edging? Step-by-Step
- Determine Where You Wish to Place the Edge
Check the tile design and understand where the sharp edges are. There could be gaps in the tile or some harsh lines, which you need to consider.
- Pick a Design of Your Choice
Get creative and pick an edge type that matches the tile design. An edge that blends with the design of the tiles is the best. You can also choose a contrast for an eye-catching view.
- Measure the Edges
Measure the area where you wish to install the edge. Next, determine the number of tile pieces that you will need to finish the edge. Ensure that you take an exact measurement to decide the number and size of the edge pieces required.

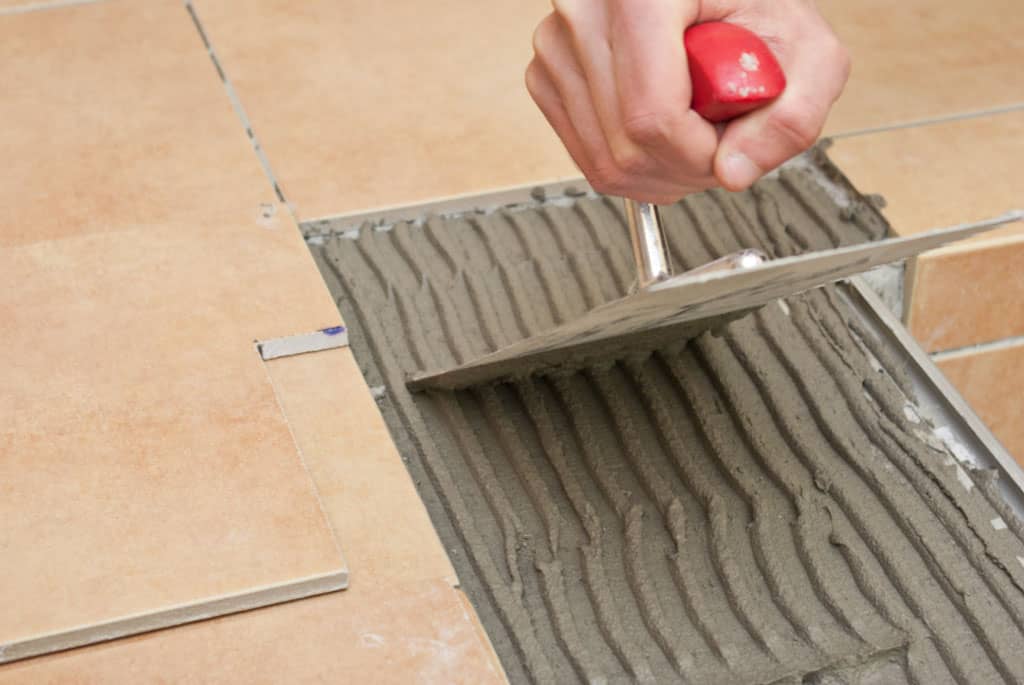
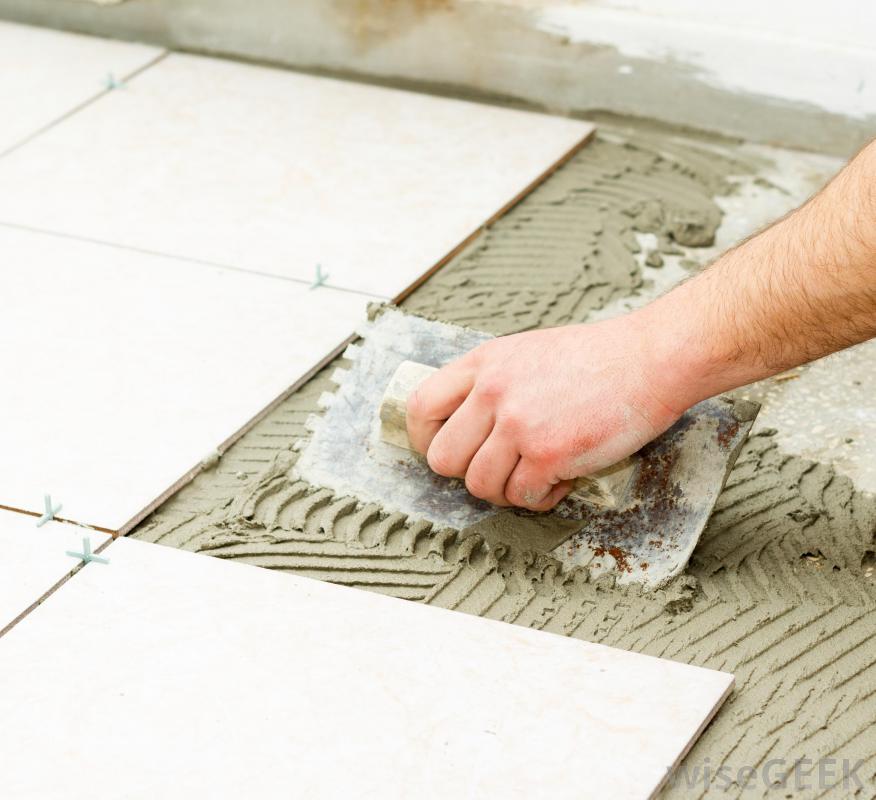
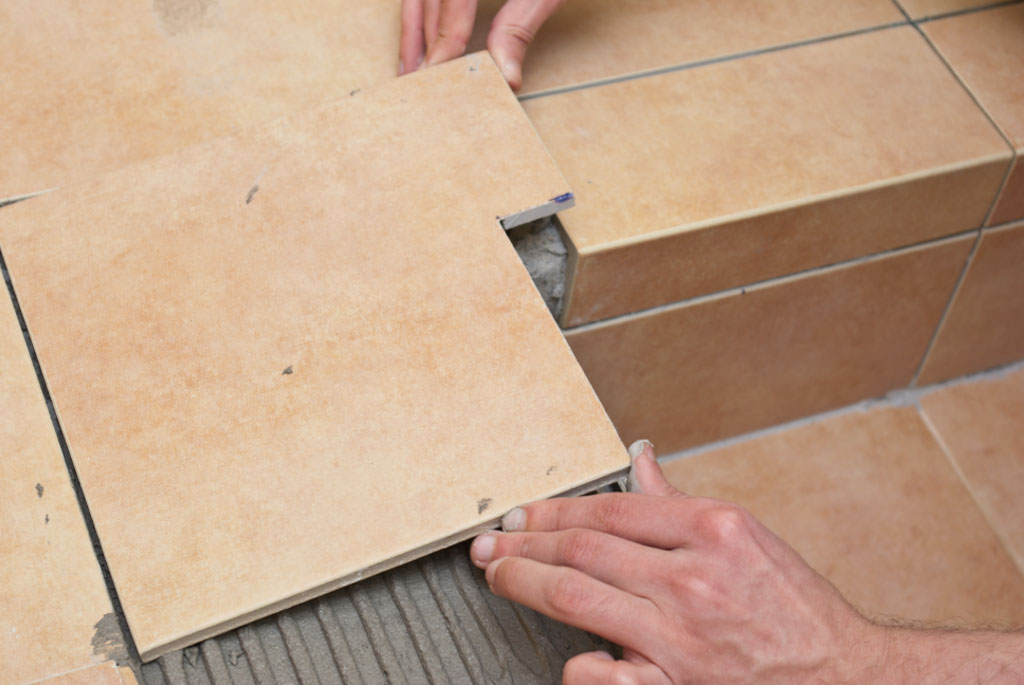
- Apply the Adhesive and Mortar
Now that you have all the materials in order, it is time to install the edge. This is the second last stage before the entire tile installation process is complete. Use a caulking gun to apply the adhesive. Alternatively, you can use a trowel to spread the mortar. Apply one tile at one time so that the bonds do not dry out.

- The Adhesive or Mortar Should be Evened Out
You will need a trowel for the same. Use a caulking gun to apply the adhesive evenly. This step will ensure that you edge the tile well, giving it a professional look.
- Back Butter
If you are installing an edge with an open back, say like a V-cap or a bullnose, use the back buttering technique. Back buttering is the method of applying extra mortar or adhesive to the open part of the tile. Evenly spread the mortar. The method offers amazing mortar or adhesive coverage, and the installation will also last for a long.
- Press the Tile Edge Firmly in Place
It is easy to install most tile edges. All that you need to do is to press it in its place. Spacers help in evenly spacing the tiles. If you use mortar, then comb it and twist the edge into the correct position.

- Repeat the same step for all the edges
Strictly follow the steps above for each tile edge.


Installing Metal Tiled Edges
Installing metal edges are a little different. Here we guide you on how to install the metal tile edge to create a refined look.
The aesthetically pleasing look makes metal edges one of the top choices. It consists of a rigid metal strip shaped like an L that fits neatly under the metal tile’s edge creating a continuous border.
Metal edges compliment metal tiles well, but these also blend well with ceramic tiles.
Let us explain its installation process here.
Step 1:
When you install the tiles, leave a single row at the edge untiled.
Step 2:
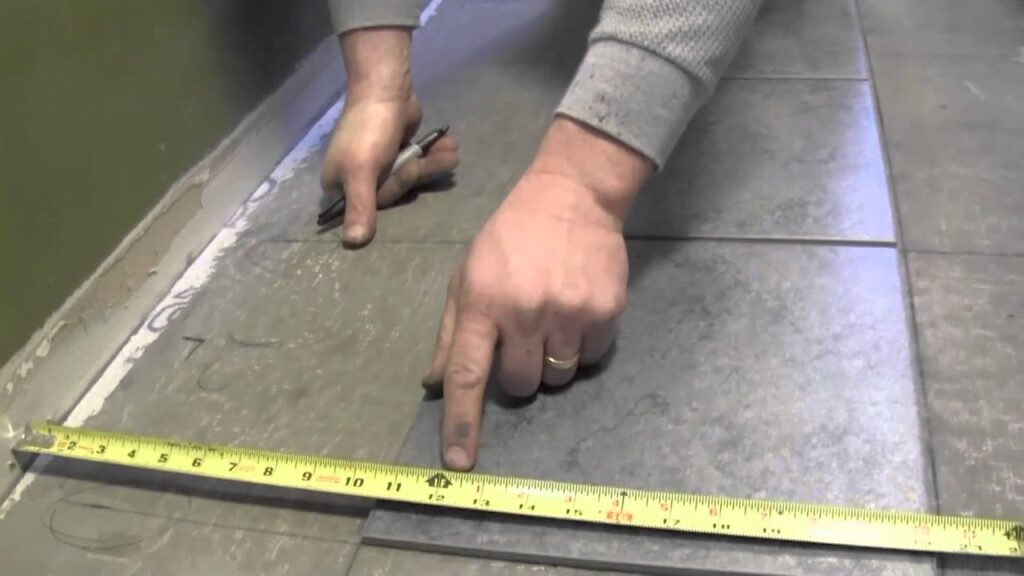
Use a tape measure to calculate the length of the area on the side where you installed the tile. Place a metal edging strip on the flat surface. Mark a line at the exact length measurement with a pencil. Use tin snips to cut the strip off at the exact location.
Step 3:
Use a notched trowel. Insert it into the mortar that you used on the tiles. Scoop out ¼ to 1/8 cup of mortar, smoothen it on the tile surface and extend it till the area where you will cover it once the final tile row is installed.
Step 4:
Get the metal edging and turn it. The sides that have holes on it should face the installation surface. Move the frame towards the mortar edge. Press it gently against the wall. At this stage, you will notice mortar oozing out of the holes.
Step 5:
Immediately place a tile on the wall, ensuring that it fits the edging and the tile installed beside it completely.
Step 6:
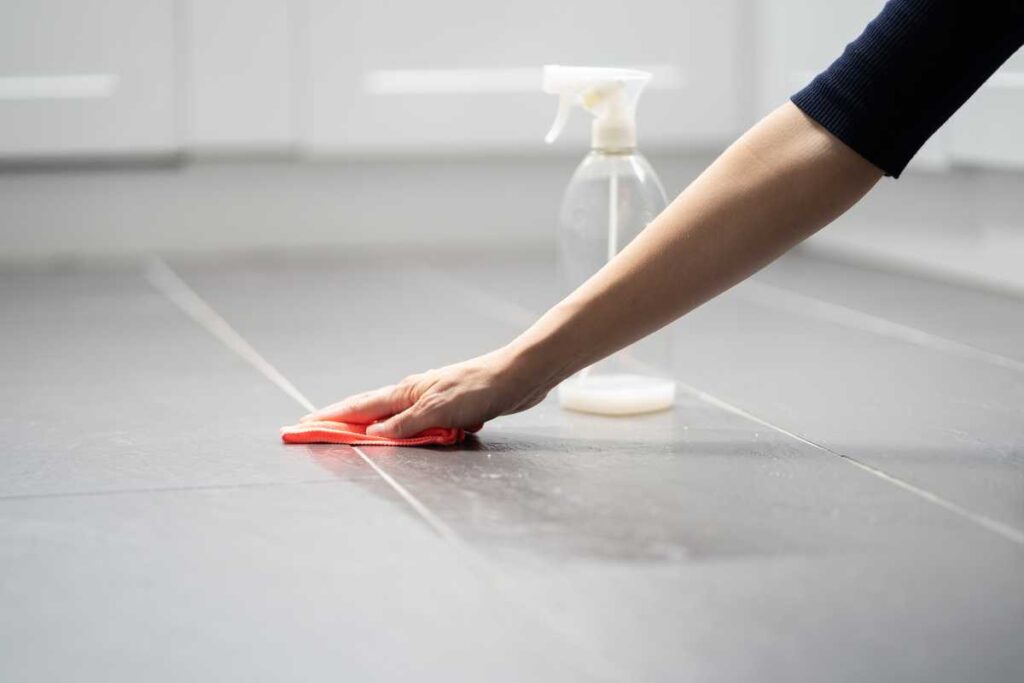
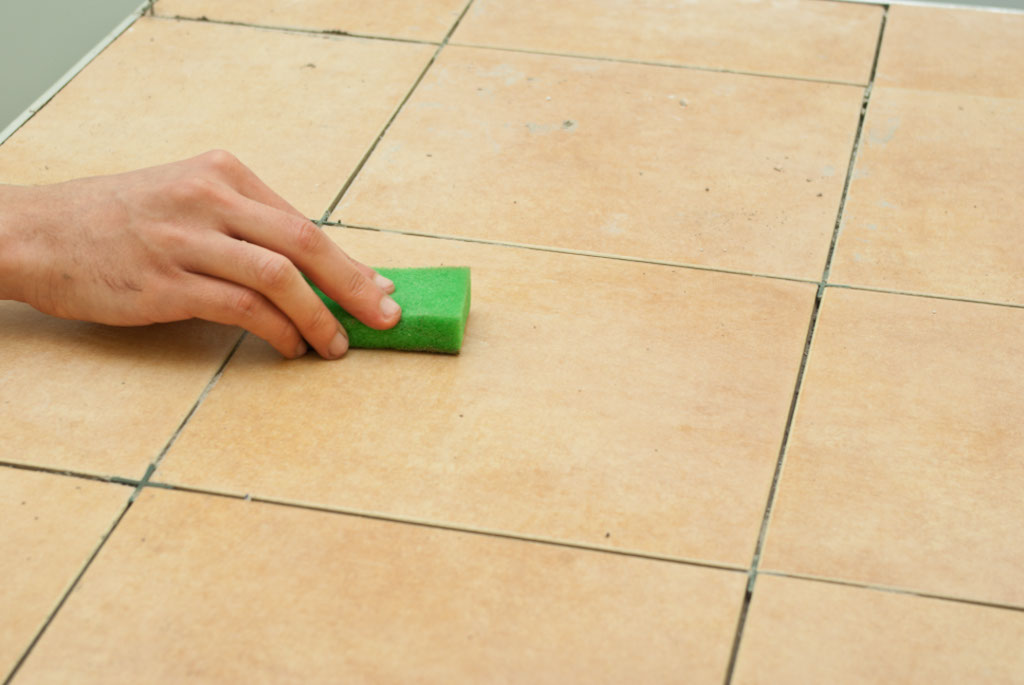
Use a damp cloth to wipe any mortar that may have oozed out from the sides of the tile or the edge.
When to Summon a Professional?
You may want to consult a professional to
- Choose the edge style.
- To mend a tile that you may have cracked or broken
- If the edge moves even after you apply mortar and adhesive
The Final Touches
It takes a lot of planning and preparation to complete a DIY tile installation. You need to invest a lot of time to flaunt a stunning result. There is no easy way out here.
How you finish the edges has a crucial role to play here. If you scrimp at this stage, it automatically throws all your hard work into the drain.
The edges are subject to damage. Leaving your tile edge exposed is a big mistake that does not just make the tiling look shabby but also reduces the lifespan of your expensive tiles. Tile edging is thus a crucial part of the process.
Edges come in varied styles and colors, so you are sure to find something that matches your style. Whether you pick the modern and contemporary metal edge or choose to customize a bulldoze edge, we have you covered.
Walk through our guide to learn how to install tile edging and create stunning tile work.
For More Amazing and Easy DIY Tile Works You Can Read Our Articles:

 By
By


