
This is a complete guide to assist you with how to tile stairs indoors. But before that, let us understand the correct way of choosing the indoor stair tiles.
Choosing Tiles For Your Stairs
Durability and aesthetically appeal are the first and foremost things that you need to consider before choosing a stair tile.
Porcelain usually works the best. Here are some tips to help you make your decision.
- The tile should have a high load-bearing capacity.
- It should be highly resistant to wear and tear.
- A non-slip surface minimizes the risk of slippage.
- The surface should be easy to clean.
Porcelain tiles are in demand because they come in a range of cohesive designs. Some easily imitate wood or blend with architectural concrete. They are easy to clean and install and are highly durable. The tiles are stylish and trendy without compromising on safety and durability.
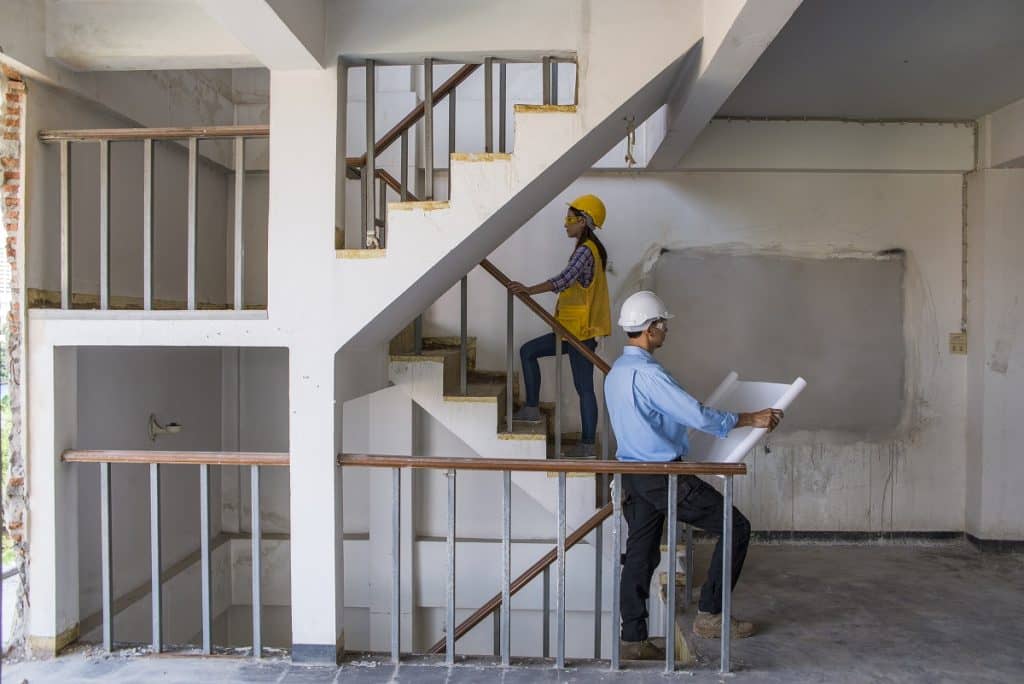
Now that you are clear on the kind of material to choose, here is the step-by-step guide to tile your indoor staircase.
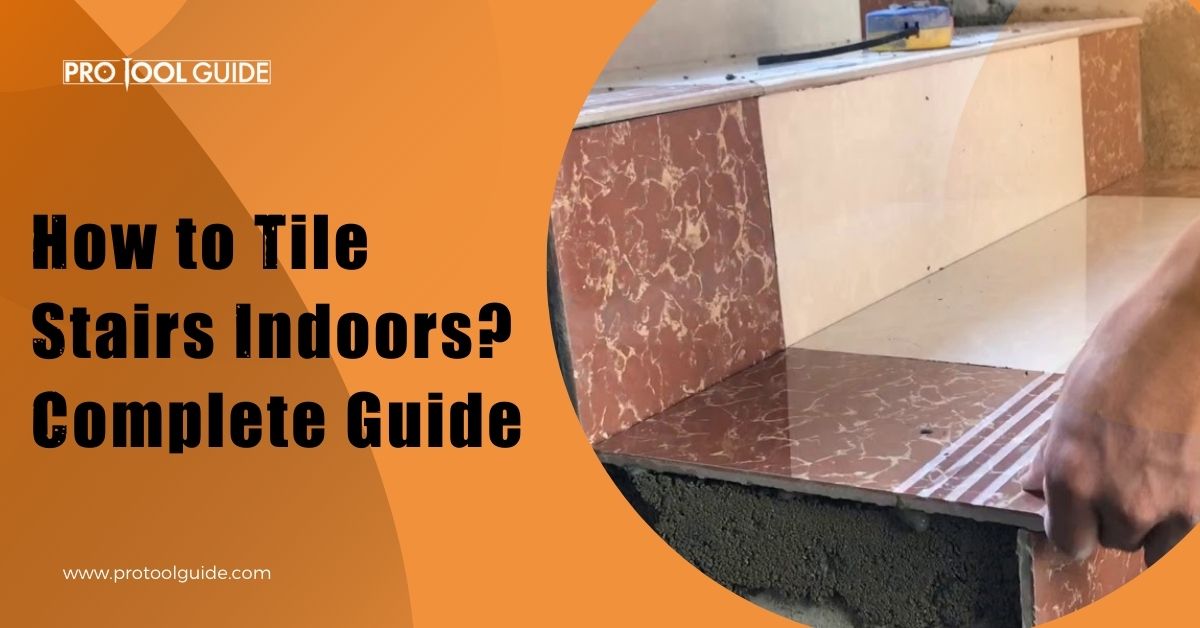
How to Tile Stairs Indoors: Complete Guide
Preparation
You need a bit of preparation before you start fixing the tiles.
Warranting an even surface is crucial. Tiles that are installed on an uneven surface are likely to crack, especially in areas of heavy footfall. A spirit level lets you determine if the surface is even. If not, then prime your surface by removing any irregularities. Mortar and trowel should help.
There are some special requirements if you wish to tile a wooden staircase. Wood expands with time which can cause the grout to crack if the tiles are placed directly on natural wood. To avoid this, add backer boards on every stair, tape each joint, and then place the tiles on the board.
Here we help you explore the complete steps of tiling your staircase.
Follow these tips for a hassle experience.
Tools That You Need
- Tiles
- A thin-set mortar
- Water
- Eye protection and safety gloves
- Bucket
- A notched trowel
- Drill with a mixing attachment
- Tile cutter
- Spirit level
- Rubber hammer
- Grout float
Measuring the Tile

The most significant trouble when tiling your indoor stairs is to run out of tiles. Thus it is crucial to measure the dimensions of your staircase correctly.
Start with the length and the width of the stair. The vertical riser should be incorporated in your calculation as well. Multiply the width and the length to get the area in a square meter. This is what you need to work out on the number of tiles you will require.
What if you have an irregularly shaped stair? Divide the area into smaller bits to make it easy to measure.
You now have the area of the entire staircase. We suggest adding an extra of, say 10%, to the final calculation. This will compensate for any inevitable breakage or an unavoidable wastage.
Measuring the tiles correctly is essential. So let us explain this bit in a little more detail.
The Size of the Tile
First, decide on the size of the tile that you wish to lay on the stair. Most people will choose the exact size of the tile as applied on the floor to create a uniform finish. They will also create grooves along the step to offer additional traction. In this case, all that you will need to do is to order more of the same kind of tile and take it to a polisher to get the edges rounded.
Calculate the Width of the Stair
For this, just measure across the stair. Then think over where you wish to put the grout joint. Joining the tiles right in the middle of creating a middle with two cut tiles on each side are the two popular options. The latter saves you from porous joints.
Whichever method you choose, always keep the cut edges against the edge of the wall. This is because:
- They are sharp and can cut your feet.
- They are not a straight cut ever.
Under the Stairs Calculation
People tend to forget tiling under the stairs. This may be a great idea if you decide to use this place as storage. In this case, purchase additional tiles to cover the area as well. It will make the space look cleaner and better.
So now that the difficult part is taken care of, it is just a cakewalk to install tiles on your indoor stairs.
Measure the Depth of Each Step
Measure right from the front to the back edge of the step. The length of the tile should be longer than the depth of the stair. This saves you from an extra grout joint.
Calculate the Riser Height
This is pretty straightforward. Just measure the height of the step. Add the riser height to the depth of the step. If this is less than the length of the tile, then you will need just one tile to cover the riser and the step, which does make your task easy.
Figure Out the Landing Size
Measure the width by the depth of the landing to calculate the area. Calculating the number of tiles needed is straightforward then.
If the staircase changes its direction, then you will need extra tiles as you need to consider the grout joint lining in both directions.
Add the Total Number of Stairs
You will have to manually count where you need around the edge. The first area will usually be level with the floor and thus can be left. The top step is not exactly a step but still needs a rounded edge and, therefore, should be added to your calculation.
Ensure that all your steps are of the same size.
Work out the number of tiles that you will need for a single step and then multiply it with the total number of steps and add the landing tile to the final sum.
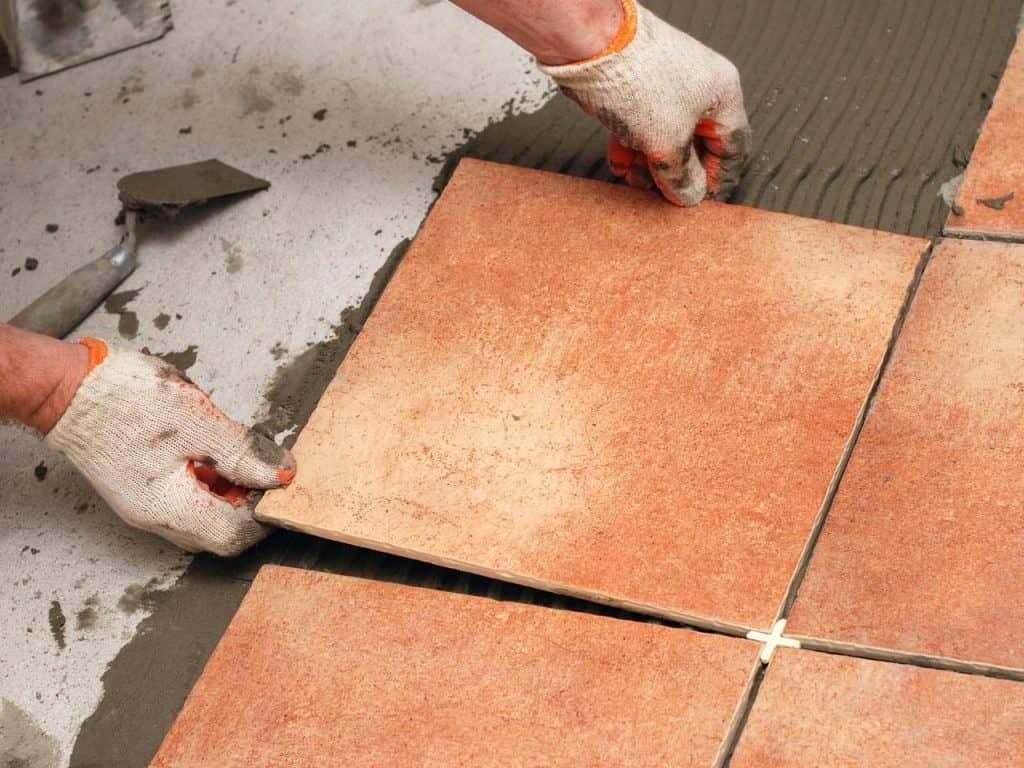
Applying the Adhesive

You need to add adhesive to bond the tile to the staircase. But instead of applying the adhesive directly, add a few drops of water using a wet sponge. This will bind the tile adhesive and the flooring of the staircase. Use very little water as excess water will not let the adhesive stick.
A notched trowel should be used here. Use its flat edge to apply an adhesive layer on the floor, creating a semi-circle so that the adhesive layer is consistent and even. Apply the adhesive in a broader space to take care of any misjudgments.
Once you apply the adhesive on an even layer, use the comb side to make the adhesive even, which will let the tile bond better.
Laying the Tiles
We have already discussed how to pick the correct tile for your indoor staircase. Let us now understand the right process of laying the tile.
It is best to start with cut tiles to let the adhesive set faster. Tile cutters help you get a clean and nice edge on a perfectly cut tile.
Work from the center outwards. Take care not to press the tile too hard lest the adhesive may ooze out. A spirit level lets you check if the tile is set even and straight. If not, then make use of a rubber hammer, tap the tile, and give it an even surface. Take care not to hit the tile very hard else, it could crack and get damaged.
Tiling the edge of the step needs extra concentration. Here there are two options for you.
- You may use the top of the steps for the riser tile to overlap.
- You can also use a rounded tile trim to give the stair strength and extra support to the tile.
Clean off any extra adhesive from around the edges of the tile. Use a damp cloth to remove the adhesive that may have got stuck on the surface of the tile.
Grouting the Tile
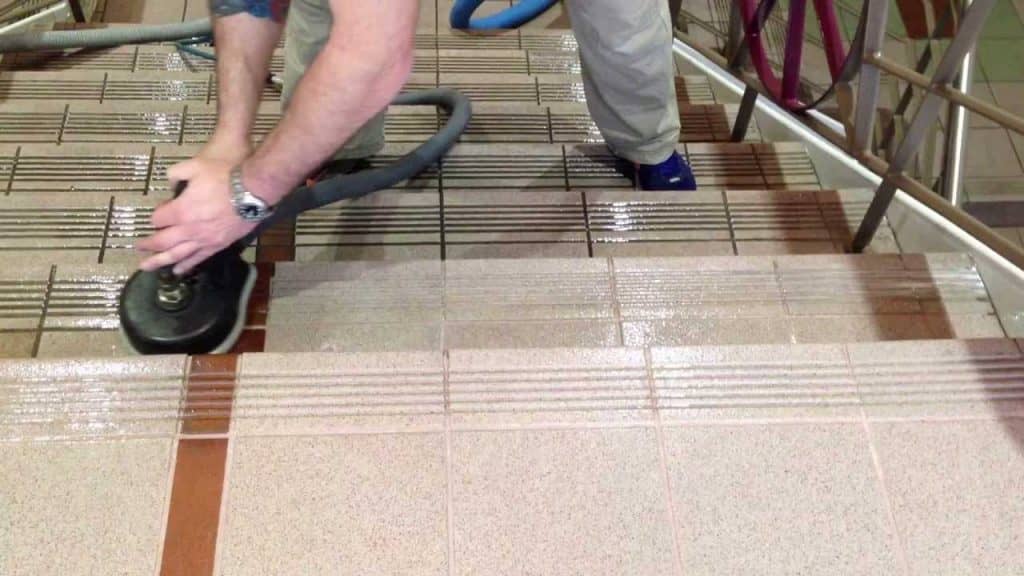
The adhesive is dry, and the tiles are all set in place. It is time to apply grout between the staircase tiles. Grout helps in sealing the tiles, preventing them from moving from their position.
You will need a grout float for this. A grout float smoothens the grout, ensuring that the grout has been pressed firmly in each joint. Once the grout is set, use a damp cloth to wipe the surface and remove anything that is in excess.
Give 24 hours for the tile surface, adhesive, and grout to set. Finish off the tiling with a wash. This will ensure that there are no polymers left in the grout.
So you see, tiling indoor stairs is not as daunting as it looks to be. It just takes the right knowledge, planning, and focus on getting the job done.
Things You Should Know For Tiling Stairs Indoors
Bullnose
You are sure to have come across this term when reading about tiling your indoor staircase. Bullnose or rounding the tile removes any sharp edge from the tile, making it safe to install.
All the edges of the staircase tiles should be bullnosed. This reduces the chances of accidents. Falling from the staircase is dangerous, and bullnose tiles minimize this risk.
So what exactly is bullnosinsg? This is a technique that contractors use to round off and profile the edges. It is done using special blades. Natural stones and porcelain can easily be bullnosed. Natural stones are preferred because their beauty runs through the entire tile. A full-body porcelain tile works well too.
Here are two things that you need to consider when selecting bullnose tiles.
- Purchase tiles with pre-bullnose trims of the same series and color. Though, it can be hard to find a trim piece of the same make.
- Your contractor can bullnose the tile edges. Again only natural stone and full-body tiles can be bullnosed.
If you want to know more about tile bullnose, check the article on How to Bullnose Tile?
Use Profiles
Profiles give a nice look and finish to each stair end. These come in varied finishes, colors, and materials that can match any style and design. Additionally, they are also slip-resistant.
Grout Lines are Essential
Shade variation or grout tiles are crucial as it saves you from tripping. It gives you the illusion of the end of one and the beginning of the next step.
The individual visibility of the stair is important. When you look from the top, it matches the grout lines on the topmost level. But when you look at the stairs from below, the grout lines of the stair riser and the grout lines of the tile should be different. This lets your subconscious mind differentiate between the actual stair and the stair riser’s height so that you can step in the right place.
Slip Resistance
Whatever material you use, the stair should be free from liquid and moisture not to make it slippery. Thus choose a tile with a high coefficient of friction or COF rating.
You may also choose to add rubber and wood to the tiles on the stairways. This adds a unique touch and enhances safety too.
Conclusion
The idea is to create something that is aesthetically appealing, safe, easy to maintain, and lasts for a lifetime. Follow the steps above to achieve the desired result with the least amount of fuss. It just takes the right planning and direction to meet your indoor staircase tiling design vision.

 By
By


