
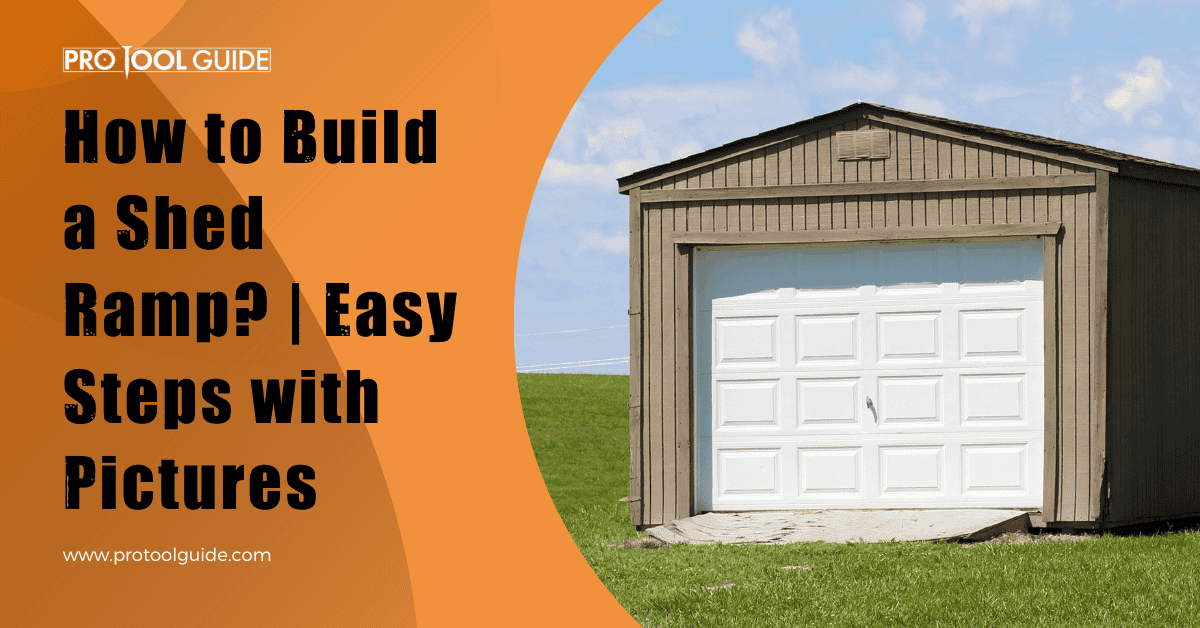
Your shed is ready for use, and you decide to start storing stuff in it. You get your mower to the shed and then realize that you missed creating a ramp to roll the mower up. Or you may have someone at home who uses a wheelchair, and you overlooked their ease of access to the shed.
Whether you wish to use the shed for storage, as a kid’s playhouse, or a workshop, giving it rolling access is inevitable. And this is served by a shed ramp.
Now that you agree to the benefits of including a ramp in the shed design, buying a readymade ramp is an option. However, building one is not that difficult either. It would be best to create a flat plane supported at a low angle traveling from the ground to the shed door. With some essential equipment and a little carpentry skill, building a shed ramp is safe and easy and takes just a few hours.
Let us take you through the step-by-step instructions on how to build a shed ramp. We have attached pictures at each step, so you get the construction right the first time.
Understand The Science
The ramp is a piece of plywood laid between the gap between the ground and the door. The built should be stable, and thus knowing the physics is essential.
The ramp should be firmly attached below the door frame and should securely rest on the ground on the other end. Once the ramp is stabilized, it is crucial to line the supporting joists and lay the ramp board.
It is recommended to use pressure-treated lumber to support weight, which makes the ramp easily accessible and safe to use.
Also Read: Woodworking Tips & Trick
Materials and Tools

- 2 x 6″ pressure-treated lumber (1 piece)
- 2 x 4″ pressure-treated lumber (9 pieces)
- Lag screws (5 pieces)
- Washers (5 parts)
- Blocks of solid concrete (7 pieces)
- Concrete screws
- Deck board (5/4)
- Galvanised screw
- Blocks of solid concrete (7 numbers)
- Paver base
- String line
- Shovel
- Miter saw
- Tape measure
- Driver
- Circular saw
- Powder actuated nailer
- 4′ level
- Speed square
You May Like: Woodworking 101 Guide: Basic Skills Every Beginner Should Know
Steps to Build a Shed Ramp

Step 1
We will be attaching the ledger board in the first step. You will notice a lip under the shed door. The ledger board should mount flush with the shed face. You will need a 2×4″ here.
Anchor the 2×6″ ledger board under the shed door using washers and lag screws. The ledger board must be level. Mark the ramp stringer location beforehand so that the lag screws do not get in the way. Predrill the holes, ensuring that the screws are staggered.
There should be some room left on the lower edge to fix one more support board.
Step 2
You will need to determine a slope angle that is comfortable for the ramp. Use a 2×4″ to get the estimate. Mark the area to be sufficiently big to fit in the concrete blocks. Check the diagonal distance to ensure it is a perfect square. Once done, dig a hole to place the concrete block. A 4″ hole should be sufficient.
Step 3
It is time to set the concrete blocks. You will need a paver base to help you place as well as level every block. Make sure that everything that you set is tight and perfectly straight.
Step 4
Screw a 2×4″ on the bottom part of the ledger board. This is the support board for your ramp. We will be placing the stringers on the board to give your ramp extra support. Rip the 2×4″ to the perfect size else the bottom would overhang giving an unprofessional look to your ramp.
Bonus Read: How to Build Double Shed Doors? [Step-by-Step Guide]
Step 5
Measure the distance between the concrete block and the ledger board. It is recommended that you take this measurement at least twice to get it right. Then, use this measurement to cut the stringer.
Determine the angle between the ledger board and the stringer. For this, set the stringer towards the corner of your support board. Next, get a speed square and mark the plumb line.
Set the stringer on the support board. Use a scrap piece and scribe a line to mark the angle between the block and the stringer.
Secure the stringers into the ledger board with the help of screws.
Step 6
Now that the stringers are set create a block between the stringers. Cut the blocking and screw it between the stringers to form the spacing.
Step 7
The stringers should be anchored perfectly, so it does not move. Use a powder actuate nailer and drive in a few nails to fasten the block into the concrete. This step is essential, so there are no movements on the sides.
Step 8
We will now be cutting the ramp boards to length. Once done, predrill the holes and screw the boards to the stringers. The last panel at the bottom should extend a few inches beyond the stringer.
Step 9
It is an optional step but highly recommended. You can paint the ramp to match the color of your shed. It adds to the aesthetic beauty and also works as a protective layer for your ramp.
Conclusion
You have constructed a sturdy ramp that can easily handle the weight of a heavy load. And it looks professional too.
So save yourself from physical harm while lifting things into and from your shed. All that you need is an afternoon and this plan to DIY a ramp for your shed.
You May Also Like To Read:

 By
By


