

Neglecting your outdoor space by leaving doors and windows unshielded will expose the interior to moisture, unwanted sunlight, and snow. Buildings typically have a shield above these openings to protect their furniture and interior from the elements.
If your home features exposed doors and windows, it is essential to install protective structures over them. A straightforward installation you can add for protection over these openings is an awning frame and fabric. While you can buy this frame from stores and install it over windows and doors, DIYers derive more joy in building such projects.
Making a wooden awning frame is straightforward as the project requires minimal experience. You can build different styles and structures of awning frames, from retracted awnings to basic designs. This guide shows you a step-by-step process of building a wooden awning frame over your windows and doors for maximum protection against the elements. Before we see the steps, let’s see what an awning frame entails.
What is an Awning Frame?
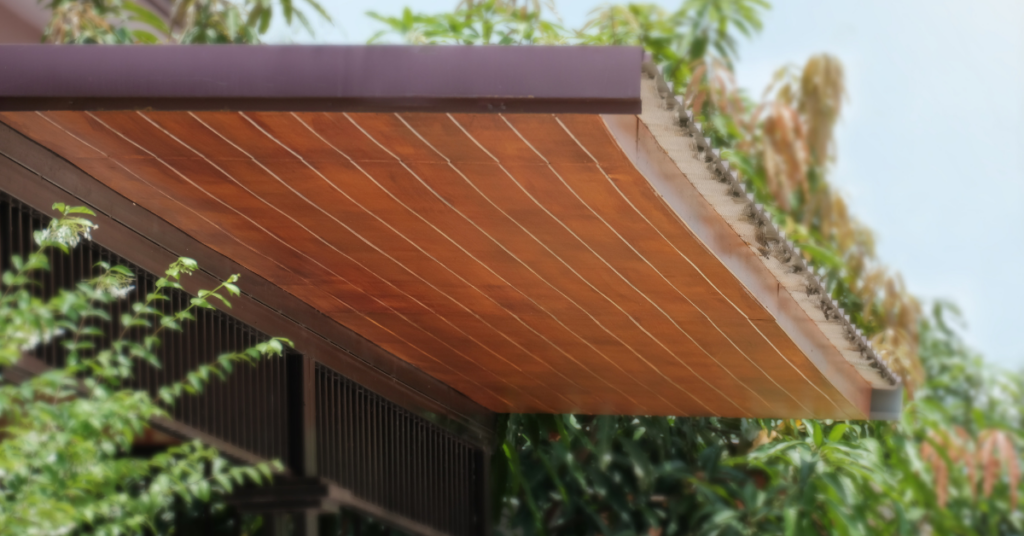
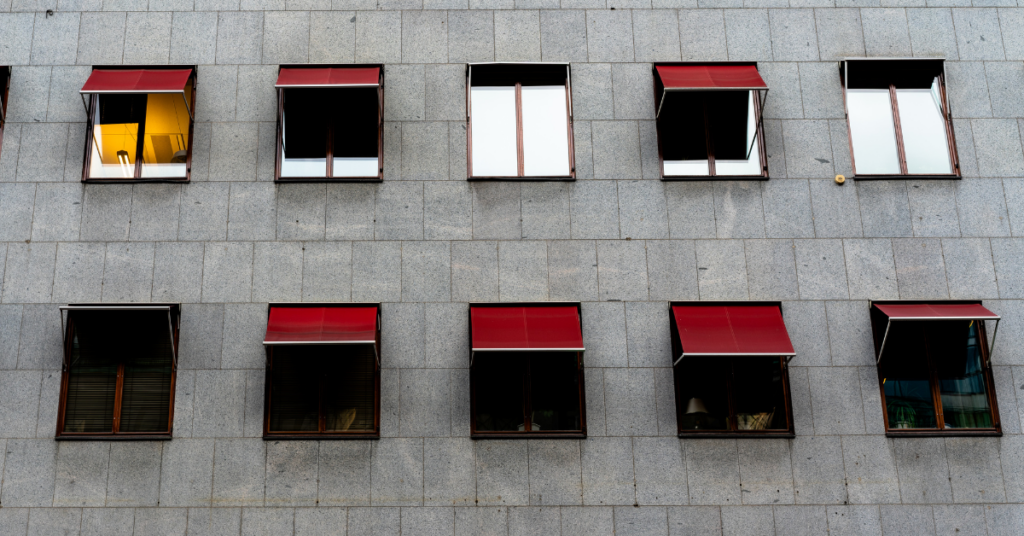
An awning is a lightweight frame with a cover installed outdoors above windows and doors to protect against the elements. The structure is typically supported using beams on the house walls and is valuable for its aesthetics. Adding an awning frame to your outdoors can provide identity to your space.
You can add many types of awnings to your space, including freestanding, patio, and awning attached to your house wall. The frames can be made from aluminum, steel, brass, copper, stainless steel, and wood, among other popular building materials. However, we’ll focus on wooden awning frames in this guide.
Importance of an Awning Frame
Before you build a wood awning frame for your house, you would do well to understand the many benefits it has to offer. In this section of the article, we’ve listed some of the most important benefits of installing awning frames.
Read on to know more.
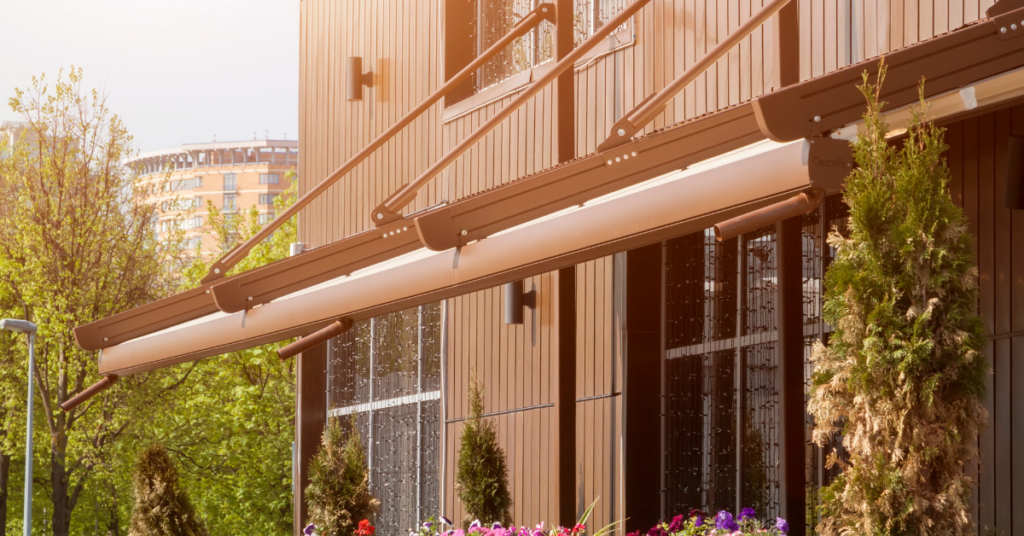
1. Appearance
Awnings significantly improve your home’s appearance, especially when installing stylish designs like retractable ones. You can also use covers of varying styles and colors that match your exterior design.
2. Protect Interior Furnishings
Interior furnishings like furniture and walls are exposed to the elements from the windows and doors. Awnings over these openings protect your interior materials and ensure their longevity. The shade prevents harsh elements from entering your house and damaging interior decor.
3. Reduces the Outdoor Temperature
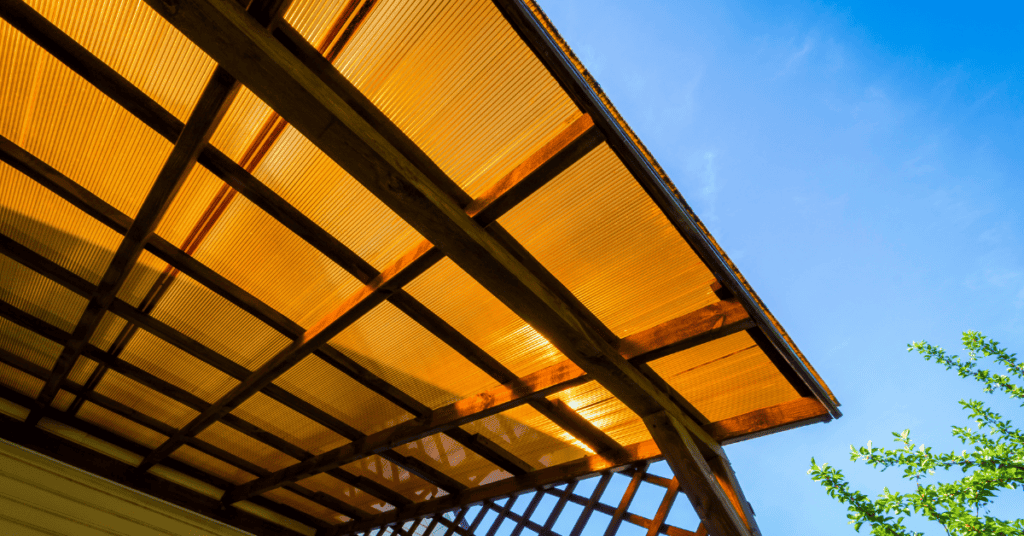
The shade the awnings cast provides a colder environment vital in hot regions or during summer. Awnings reduce the temperature inside your home and in outdoor spaces. The cover forms a shade under the awning and restricts sunlight; it reduces the temperature, with estimates suggesting it can reduce up to 20% of the overall temperature.
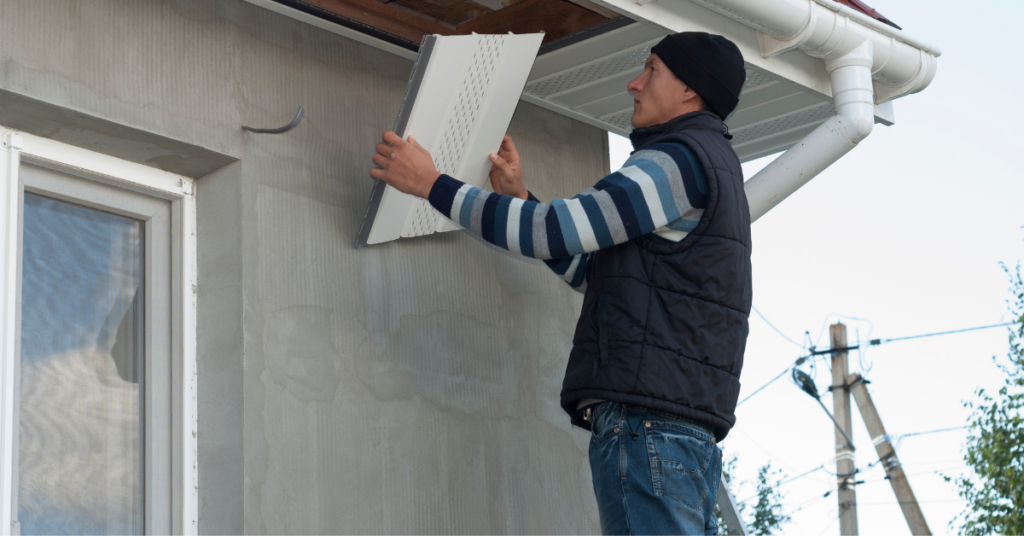
4. Ease of Installation
Awnings are easy to install without needing massive experience to hang the frame. Compared to other types of window coverings, the awning’s edge on its ease of installation stands out.
5. Low Maintenance
Apart from more sophisticated awning types, they are majorly low maintenance which you can do without the need to hire a cleaner. Some maintenance practices involve cleaning the fabric and maintaining the frame material.
6. Reduced Energy Bills
Forming a shade over the windows and doors prevents direct sunlight from entering the home, reducing indoor temperature. It allows your cooling system to do less work, saving you some money in energy costs.
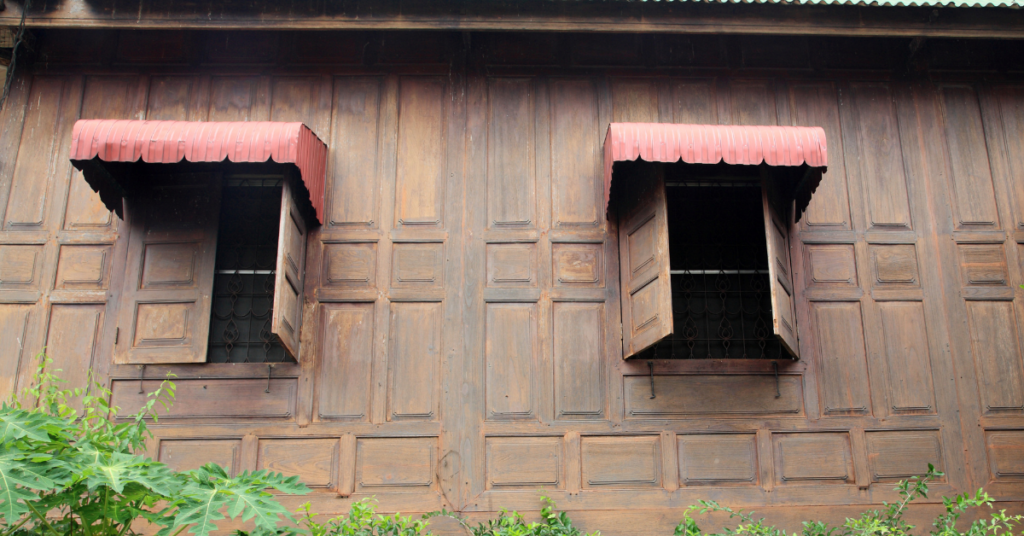
7. Protection Against Moisture
Wooden doors, windows, and frames are susceptible to moisture damage, so covering them with awnings prevents rainfall from reaching the wood. It’ll ultimately increase the longevity of the doors and windows.
Required Supplies
Before you build any awning frame, check this section for the supplies you need and get them ready so you can work effectively. You may already have some of these materials in your shed or store.
1. Materials
- Exterior-grade 2×4 lumber 9tyically pine or cedar)
- 4-inch lag bolts
- 6-inch lag bolts
- Primer and paint
- Exterior-grade wood filler (optional)
- Two and a half inches exterior-grade structural screws
- Three and a half inches exterior-grade structural screws
- Exterior caulking
2. Tools

- Tape measure
- Miter saw
- Caulking gun
- Protective gear (safety glasses and hearing protection)
- Carpenter’s pencil
- Framing square
- Power drill
- Spirit level
- Impact driver
How to Install an Awning Frame?
We’ve established the importance of installing this cover in your home, but it can be expensive to buy and install. As a DIYer, you can significantly reduce this cost by making the frame. It lets you choose your style and create a custom design that fits your home. Building an awning will only take about 4 – 8 hours with an intermediate skill requirement. Follow this guide for the detailed steps to build an awning frame.
1. Identify Exterior Wall Studs
Awnings need to be anchored to a wall where you want it installed, with the wall offering structural support, so it needs to be installed correctly. Wall studs provide a secure location with good strength to hold the frame.
Choose a location and locate the wall studs in that area. Watching the sunlight’s direction during its peak period will help you identify the areas that require awnings based on the sunlight they receive. You may need to drill a hole into the siding to find the studs or use exterior electrical outlets to trace the studs since they are often attached to studs. Once found, mark the spots with your pencil.
2. Measure Awning Width
The awning’s width typically depends on the distance between the studs since the diagonal braces are attached to the studs for support. The size of the area requiring covering also affects the awning’s width. Measure the distance from stud to stud, which is usually 16 inches apart in most newer homes, with older homes featuring studs that are 24 inches apart. Add three inches to the measurement for the end rafters.
Measure the awning extension away from the wall to get the size of the rafter. It would help if you decided on the ideal rafter length based on the shade you require. Remember that more extended rafters will need more support.
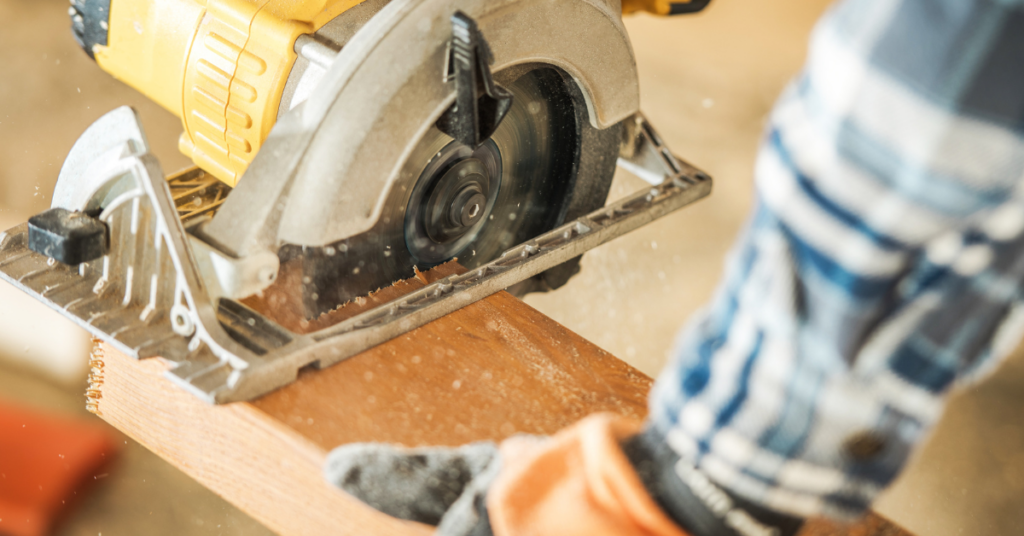
3. Cut the Fascia Board and Ledger
Cut out the dimensions from the previous step on two 2x4s using a miter saw. The lumbers will form the fascia board and ledger opposite each other.
4. Mark the Rafter Layout and Cut
Your rafter spacing should typically match the space between your studs for ease, so this can be 16 or 24 inches, depending on the width between studs. To accommodate the outside rafters, remove 1 ½ inches from the ledger board’s length.
Divide the derived figure by the distance between your studs to get the required rafters. Follow up by dividing the rafters by the ledger board length, which is the sum, to get the distance between the rafters. Measure and mark the spaces between rafters using the tape measure and speed square to ensure straightness.
Place the previously cut fascia and ledger boards by their ends and then transfer the marks on the ledger board t the fascia using a framing square. Mark your wall studs measurement on the middle of the ledger board, and then use a miter saw to cut the rafter to the correct length.
5. Make Diagonal Braces
The diagonal braces support the awning frame and require your structural screws. Place one rafter end flush with the outer surface of a ledger board and secure each end using a 3-inch structural screw from the back of the ledger board into the end of the ledger.
Hold the inside rafters to the ledger boards and secure both ends using the 3-inch structural screws through the layout marks made earlier. Repeat the process for all the rafters and then match the other rafter end to the corresponding layout marks on the fascia. Fasten each end through the fascia for a solid connection.
6. Assemble the Frame
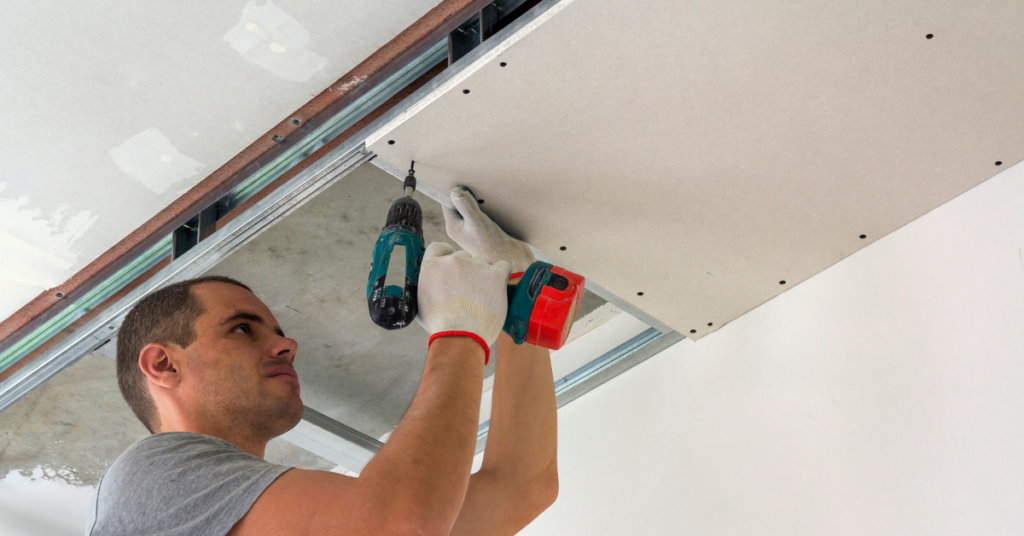
Considering the weight of the project, it is best to get a helping hand for this step. Hold the ledger board to the marked awning position on the wall by following the earlier stud markings.
Make a pilot hold 4-inch-deep into the ledger and through the marked stud points in the wall, and then drive a 4-inch lag bolt into the hole using an impact driver. It is vital to align everything, so use the spirit level to check.
7. Hang and Secure the Frame
After assembling the frame, you can hang and secure the piece to the wall. You’ll need a carefully cut 2×4 for this process. Cut both ends of the 2×4 at 45 degrees and then place one end flush against the wall and the other end under the awning.
Drive 2 ½ inch structural screws into the brace and rafter and drill a 6-inch-deep pilot hole on the other brace side into the wall stud. To get the angle of the miter brace, you must drill the pilot hole at a 45-degree angle. Use an impact driver to screw a 6-inch lag bolt into the hole to secure the piece. Repeat the same process on the other end of the awning.
8. Cover With Awning Fabric and Finish

Measure the top of the frame and cut the awning fabric to size. Secure this piece to the frame using appropriate materials, which may vary depending on your chosen awning cover.
Pour caulk in the gap between the wall and the ledger board. Cover exposed screws and dents using exterior wood filler for a smooth finish. You can then take it up a notch by priming and painting with your desired hue.
FAQ’s
Check this section to find questions frequently asked by DIYers looking to build tier awnings. It will help you make better awning frames.
Ans: You can use patio umbrellas, tinted window film, shade sail, and fixed panel shades to replace awnings in your home, albeit with varying degrees of success.
Ans: Building an awning would cost between $6 to $12 per square foot, with a typical awning costing about $200. Remember, the price will vary based on location, material cost, and labor.
Ans: You can extend an awning project to about 30 feet to get more shade. However, it would help if you matched every foot extension with about 2 inches of pitch drop for support.
Summary
Awnings protect your interior decor, prevent moisture from entering your home, and provide a cool shade. While the awning frame can be expensive when purchased, you can build a considerably cheaper structure and install it with a few hours of work. You’ll need to get the supplies for the project and follow the rather technical cutting guide to complete this project.

 By
By


