

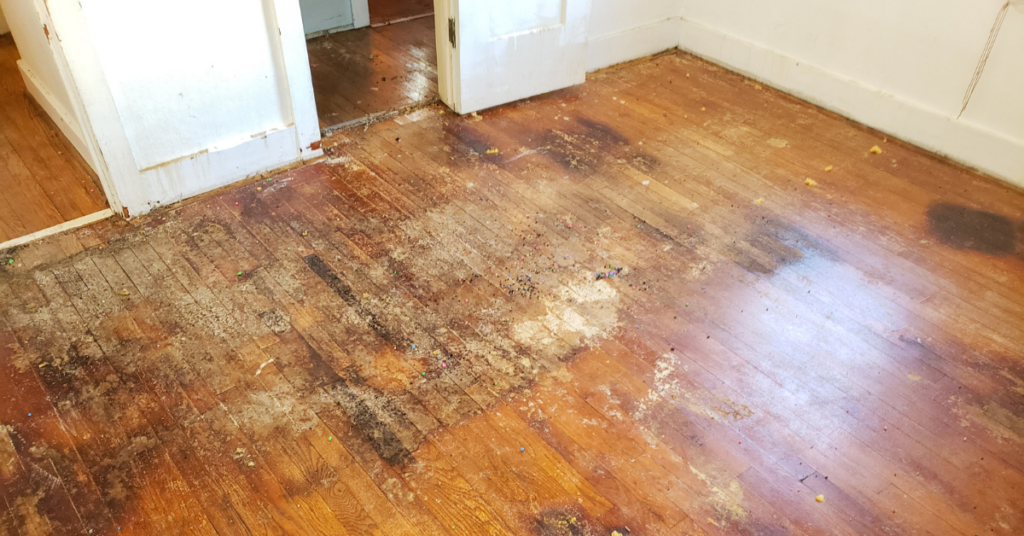
Wooden flooring is popular due to its gentle feel and impressive aesthetics but requires maintenance to keep its appeal. Flooring typically encounters a lot of stress from the sole of shoes, dragging furniture across it, heavy falls, and more. There’s the constant risk of scratches, watermarks, and cracks in natural wood floors, so extra effort is dedicated to protecting the floor.
However, these efforts, including using area rugs, removing shoes, and laying foam when moving furniture, are sometimes insufficient. These damages occur more frequently than you imagine and can severely affect your home’s aesthetics and value. Scratches are among the most frequent, as they can occur due to several causes.
Over time, the scratches on the wood can no longer be ignored as they deface the floor. Fixing these scratches and regaining the gleaming surface you once had requires the correct technique. Thankfully, we’ll show you how to fix scratches on your wood flooring.
Preparation to Fix Scratches on Wood Floor
Preparation is required before learning how to remove scratches on your wooden floors. It covers three vital processes that are needed no matter your chosen method. The three preparation stages include:
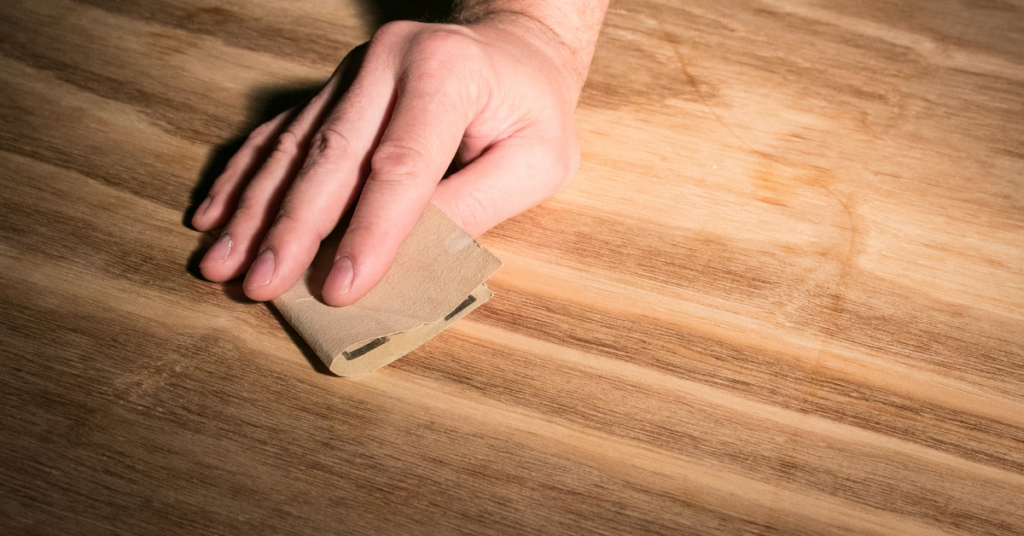
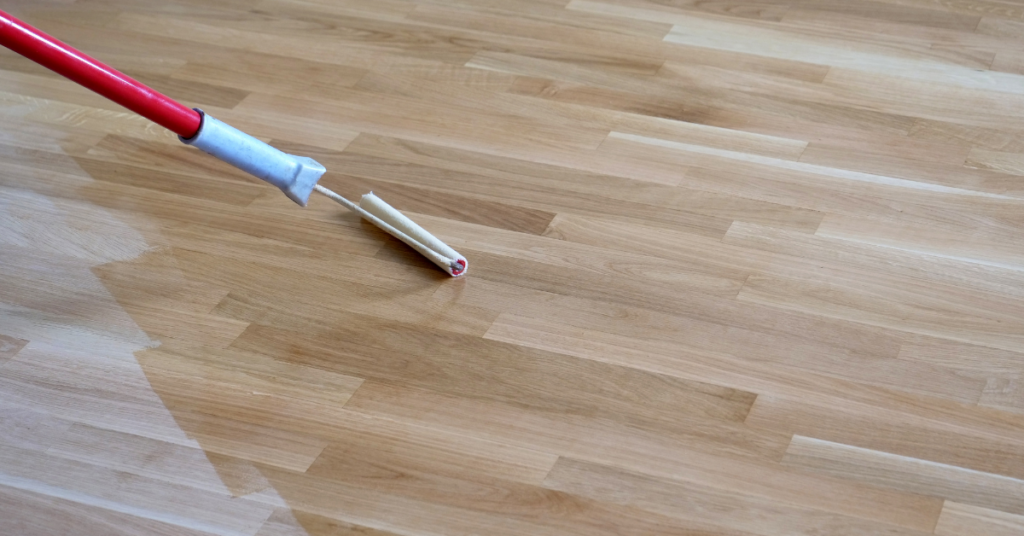
1. Cleaning
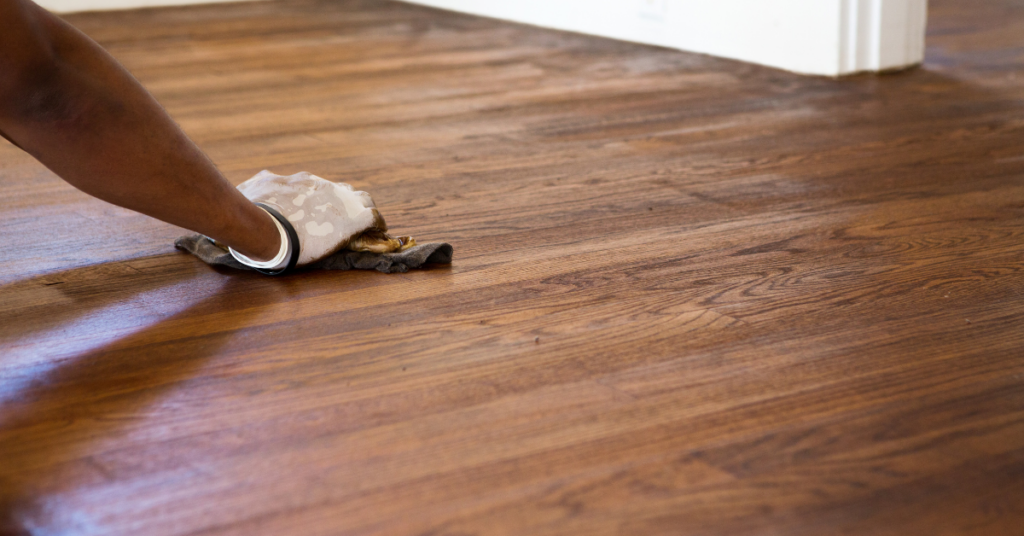
To complete the second preparation stage, you must clean the wood surface. This typically involves gently removing dust using a vacuum or mop. The aim is to leave a clear surface and expose all the marks on the wood. Avoid using abrasive materials like brooms and scrub pads while keeping moisture away as much as possible. You can, however, use a damp mop to clean the surface.
2. Identifying the Type of Finish
When you can see the surface clearly, the next action point is to identify the type of finish used. You also want to check if the floor has been varnished or stained. With the correct finish, you can choose the most suitable method and material for fixing scratches.
3. Observation
You need to observe the scratches on the surface to determine the severity. Typically, the severity should be based on the average depth of the scratch and the number of scratches on the surface. There are several ways to eradicate scratches on wood; however, the most suitable method depends on the scratch’s severity. Each technique best suits a particular scratch depth and number, so careful observation is required before proceeding.
Ways to Fix Scratches on Wood Floors
Scratches can cause numerous annoying challenges like reduced appeal and durability but fixing the problem is surprisingly easy. For such lofty effects, it causes, one would expect the possible solutions to require a high-level skill. There are various ways to eradicate scratches from your wood success, and most are easy to do while requiring basic materials.
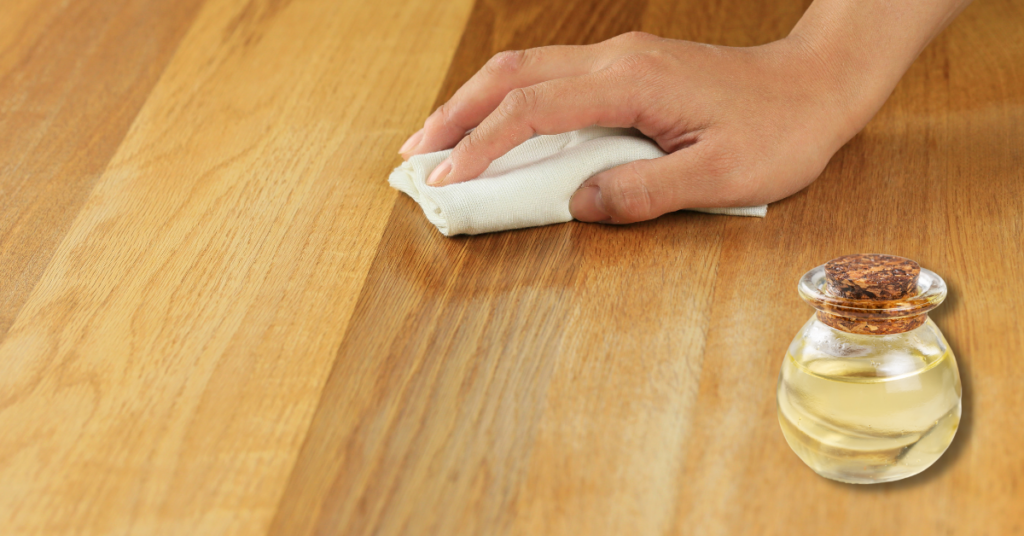
1. Walnut
Superficial scratches affect the finish and sometimes leave surface marks on the wood. These scratches are the easiest to fix, only at the surface. Walnut is the ideal solution for these spots on your wooden floor, and the process is simple.
Walnuts have a high level of brown pigment and natural emollients suitable to repair scratches and improve the floor’s appearance. The oil enters the cracks and seals them up, providing a good surface look. Before applying the walnut, activate the oil in it by rubbing it gently with your fingertips.
Use a circular motion to massage the oil from the walnut into the scratches on the wood. The oil must remain untouched for some minutes as it solidifies and covers the crack. Buffing the surface after a few minutes will improve its look and remove excess walnut oil.
2. Coconut Oil
Coconut oil is another material that can work for superficial marks on wooden floors. However, it is limited to only untreated or newly sanded wood. It is applied similarly to the walnut but this time, with the help of a brush or sponge. The oil is allowed to sit still for some minutes and then buffed with a soft cloth.
3. Apple Cider Vinegar and Olive Oil
Apple cider vinegar and olive oil are mainstays on most kitchen shelves but are also essential materials to fix surface scratches. Combining the two materials and applying the mixture seals the marks on the wood. Like similar oils, you must allow the mixture to sit before buffing it with a clean cloth.
4. Wax Stick
Applying wax sticks like candles is similar to using walnuts to repair these scratches. However, there’s no need to warm the wax up. Simply scrub the wax stick into the scratch until the surface is smooth and buff to restore sparkle.
5. Magic Eraser
Here is a popular material among woodworkers as it helps in fixing many mistakes and damages with light scratches on wooden floors among its area of specialty. Using a magic eraser, however, requires caution, as too much can strip the hardwood floor‘s finish and surface. It is best suited for engineered wood.
6. Refinish
Refinishing involves stripping off the previous finish and applying a new layer. It is best used on wooden floors with light scratches all over. A chemical stripper or sander removes the last finish before the process is redone. This process includes staining, painting, and finishing.
7. Restore a Finish
Sometimes called Restore-A-Shine due to its ability to reinstate the shine and finish used on the wooden floor. It is suitable for previously finished floors that have lost parts of their surface due to light scratches. Finish restorers will fix minor scratches and are applied using a small pad.
Quickly apply the material in a small area at a time as it is fast-drying. Remove excess and allow it to dry for 40 minutes before coating it with a layer of Feed-N-Wax.
8. Wood Filler and Stain Pen
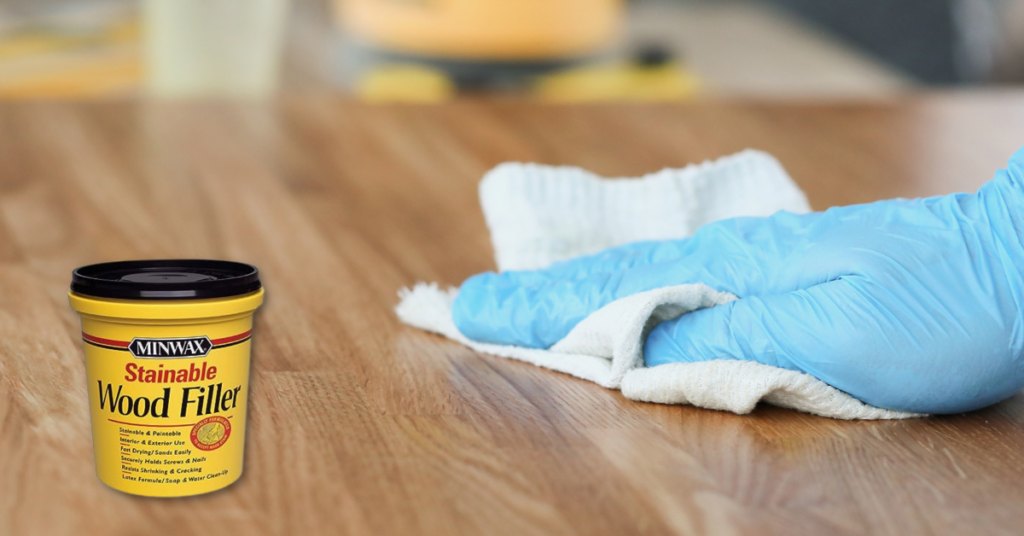
Using a wood filler and a stain pen is an effective way to fix deep gouges in your wood floor and maintain an impressive look. The wood filler covers the crack, while the stain pen blends the colors and ensures a good finish. Use a plastic putty knife or your fingers to fill the gaps using the wood filler and allow it to dry.
Ensure to wipe off the excess before allowing it to dry, as removing the filler without damaging your wood after it dries hard becomes difficult. Complete the process by staining the dried wood filler with a stain pen of the appropriate wood color.
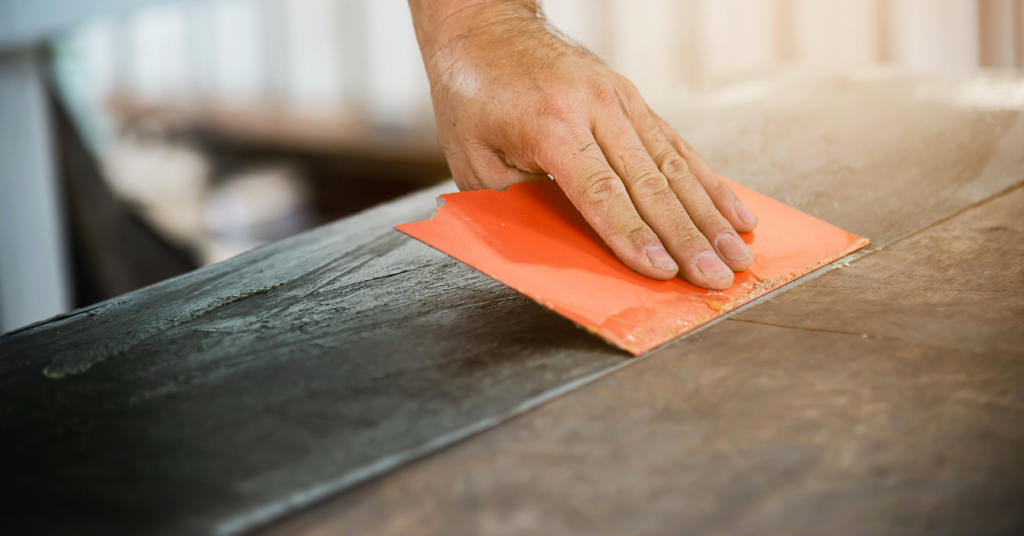
9. Colored Wood Putty
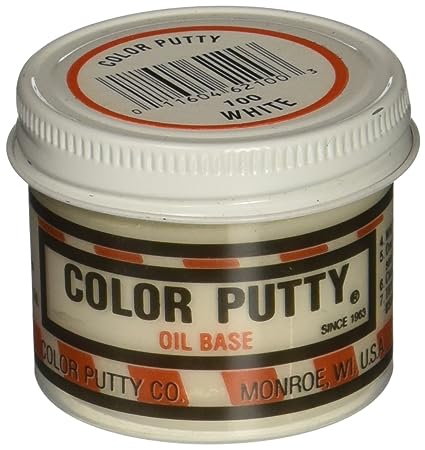
Choose the color of putty that best matches the wood floor, and then fill the crack using a putty knife. You want to tap into the putty to remove any air spaces. Wood putty does not harden like wood fillers, offering flexibility and pliability. Allow it to dry before lightly sanding it to improve its appearance. Buff and seal with polyurethane to get a durable surface.
10. Specialized Care Product
A couple of specialized products repair cracks and shine the surface of wood floors. You can also select the right sheen for your wooden floor, as the care products have various gloss ratings. They are easy to use as you don’t need to sand or buff after application. The process involves cleaning the surface like you would for any project and applying a single coat of your chosen product using a paint pad.
11. Wood Stain
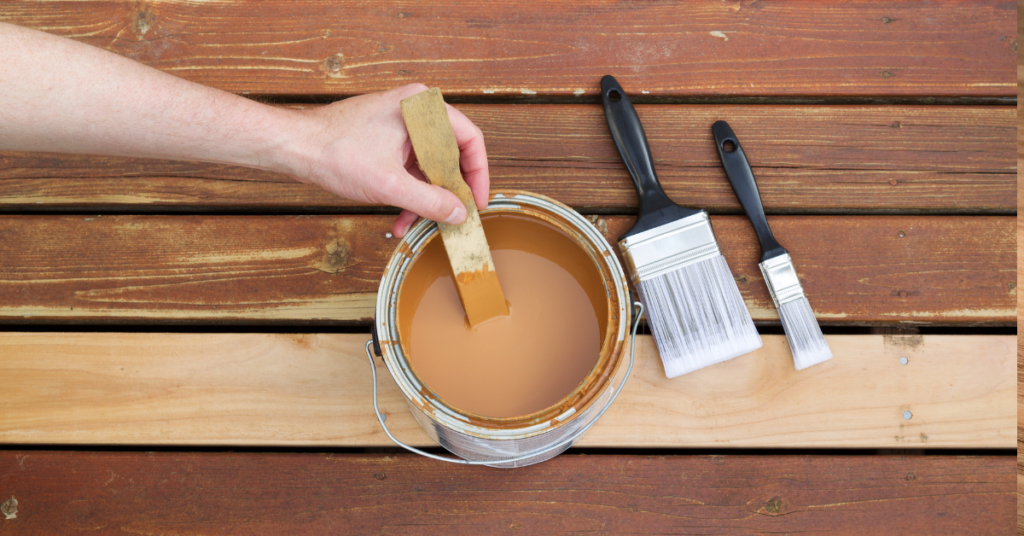
You can reduce the effect of deep scratches on wooden floors by coating the surface with a wood stain. While these stains are available in oil-based, gel, and water-based forms, the oil-based is the most preferred. Oil-based stains dry slowly, but their hue lasts longer, giving you extended protection if you can navigate its complicated application process.
On the other hand, water-based stains are easy to apply and come in various hues but have reduced longevity. Gel stains are better suited to repair cracks in already-stained wooden floors as they don’t penetrate the pores.
The application process for any wood stain type is similar as you fill the cracks with the stain, remove excess, and allow it to dry. Since these materials come in matching hues to wood, they blend in easily.
12. Replace or Patch the Affected Areas
Sometimes, the structure of the flooring is affected by deep cracks, and trying to repair the area is no longer feasible. At this stage, the best option is to replace or patch the damaged areas. The amount of work required will depend on the size of the damaged floor.
Replacing damaged floor parts requires a higher skill level than any other tip in this guide. If you lack the skills, it may be better to employ the help of professionals. Generally, this option requires a lot of effort and resources to fix.
Ways to Prevent Scratches on Wooden Floors

After eradicating the scratches on your wooden floor, it is best to protect it to avoid a recurrence. Removing marks can be expensive, stressful and may even reduce the structural integrity of your floor, especially when done frequently. Following these preventive guides keeps the floor looking good and prevents scratches.
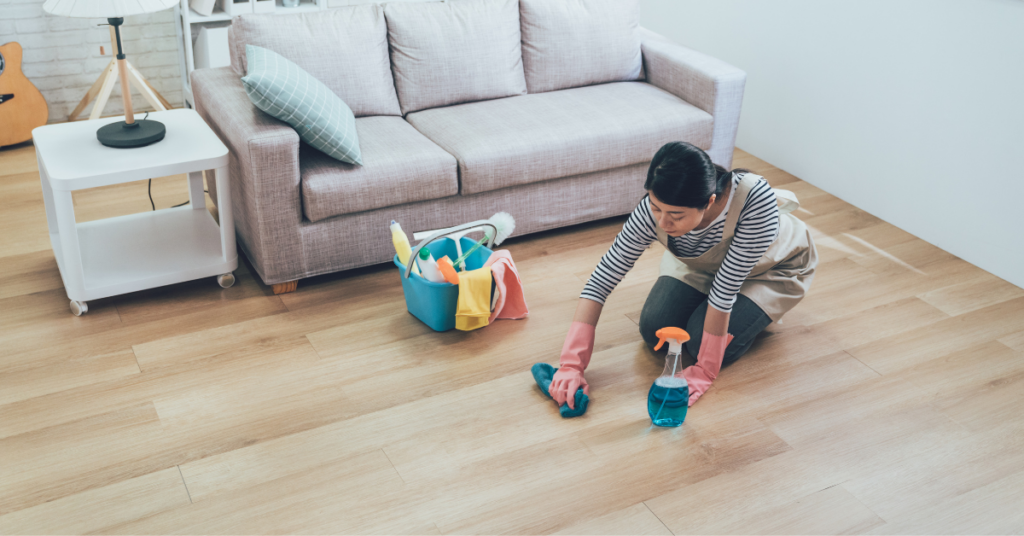
1. Clean Floor Regularly
Frequently cleaning the floor will remove sand and dirt from the surface and prevent dragging, which can lead to scratches. While regular cleaning is essential, using suitable materials is even more crucial, as abrasive tools will leave marks on the floor.
2. Reapply Wood Finish
Reapply your wood finish when required to maintain the protection on the surface. Wood finishes wear out with time and involve reapplication when this occurs. You want to keep the type of finish used initially handy to maintain this when restoring the finish.
3. Use Rugs in High Traffic Areas
High foot traffic wears out the wood and can leave marks on the surface. One way to combat this is through the help of rugs, carpets, and runners. Place these materials in areas with a lot of foot traffic, like doorways, to trap dirt and reduce the pressure on the floor.
4. Trim Pet Nails
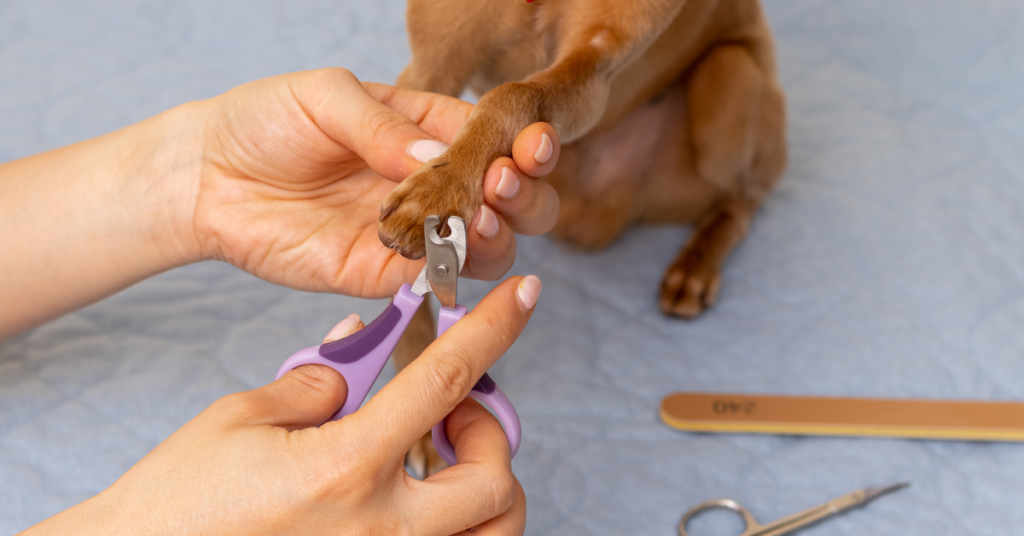
Pets are among the leading causes of scratches on wooden floors as they often drag their nails across the wood for fun. Trimming their nails and providing dedicated scratch walls for your cats and dogs will keep your floor safe.
5. Use Furniture Pads
Dragging furniture across the wooden floor will ultimately leave marks that deface the room and devalues the house. Placing furniture pads under the foot of your tables, chairs, and stools will prevent friction between the two surfaces. You also want to avoid dragging the furniture across the floor; raise it instead when moving it.
6. Keep Moisture to a Minimum
Moisture weakens the finish and soaks the wood, making it susceptible to damage. Keep the floor’s exposure to water to a minimum by quickly wiping off spills and using less liquid when cleaning.
FAQs
Do you have questions concerning fixing scratches on your wooden floor? In this section, you will find answers to some of the most frequently asked questions on the topic!
Ans: It takes about 24 hours for wood crack filler to dry, but this may vary slightly based on the environmental conditions and the type of filler.
Ans: Vaseline can help fill the dents in your wood floor as it plumps up the wood when left for some hours. The plumped wood then fills up the space created by the scratch.
Ans: Combining equal olive oil and vinegar is the best oil solution to apply on scratched wooden floors.
Conclusion
Scratches on wooden floors can be caused by shoes, heavy foot traffic, pet nails, dragging of furniture, and dirt. Leaving scratches on the surface reduces the appeal and integrity of the floor, so fixing these scratches is essential.
While there are various effective methods, the most suitable for your particular situation depends on whether it is finished or unfinished, the type of finish used (if any), and the depth and number of the scratches.

 By
By


