
Are you looking for an easy to maintain flooring that will last you for years and looks just as elegant as any other type of flooring? A hardwood flooring is just what the floor doctor ordered.
But while it needs little care, its installation isn’t the easiest. It is one of the reasons professionals charge thousands of dollars (up to a whopping $3-4k).
Not all of us have that kind of money, right? But that doesn’t mean you cannot have hardwood flooring. This detailed step by step guide covers everything you need to know to install hardwood flooring all by yourself.
So put on your DIY hats and let’s get kicking.
How to Install Hardwood Flooring: A Stepwise Guide
Before we jump to the steps, here’s a list of tools and materials you will. Make sure you have all these well in advance.
Tools Required
- 4-in-1 screwdriver
- Air compressor
- Air hose
- Brad nail gun
- Caulk gun
- Drill bit set
- Drill/driver – cordless
- Hammer
- Handsaw
- Jigsaw
- Miter saw
- Nail set
- Safety glasses
- Straightedge
- Tape measure
- Utility knife
- Wood chisel
Materials Required
- 4-mil plastic
- 4d finish nails
- Construction adhesive
- Duct tape
- Floor pad tape
- Flooring pad
- Masking tape
- Snap-together wood flooring
- Transition pieces
Step 1: Check the moisture levels of your concrete flooring using plastic
For this, all you have to do is cover 3-4 feet of the concrete flooring with plastic. To keep the plastic tightly in place and make it airtight you will need to tape it to the floor. Regular duct tape should work just fine.
Leave this there for about a day and if you notice water droplets on either the plastic on a patch on the concrete, you have a moisture-related problem on hand. In this case, it would best that you get in touch with your supplier and get help.
You do not want to install a hardwood floor over moisture as it can lead to crowning. The flooring could also end up with discernible cracks or worse, might buckle completely.
One method I have found useful in such situations is using a fastener but if you are redoing the entire house, get some advice.
Step 2: Make sure the floor is balanced
You don’t want uneven flooring, right? But if your concrete flooring has low spots your wooden flooring has a higher chance of developing cracks and worst of all, it is uncomfortable to walk on.
To check this, you can use an 8-10 feet straightedge. Make sure you mark and fill anything less than ¼ inches. You can fill up the smaller depressions with building paper but if they are pretty deep then I’d recommend you use a floor filler that you can easily find in any hardware store or even online.
Step 3: Remove the door jambs and casings
Like your concrete flooring is below the door, you want the hardwood flooring to also slip under it so your door doesn’t jam and you don’t need to conjure all your might to open or close it. For this, it is important to cut out the door jambs and moldings.
My favorite tool for this is the pull saw. You can easily find one on Amazon or Walmart. Just place a part of your hardwood flooring on an underlayer and glide the saw on the hardwood floor through the molding for a cut.
Step 4: Wrap up clearing the door jambs
Just cutting isn’t enough you also need to pry and break out the whole chunk after the cut and that’s where a chisel and hammer or a utility knife come to the party. This can be a bit challenging and time-consuming so if you aren’t up for it, get help.
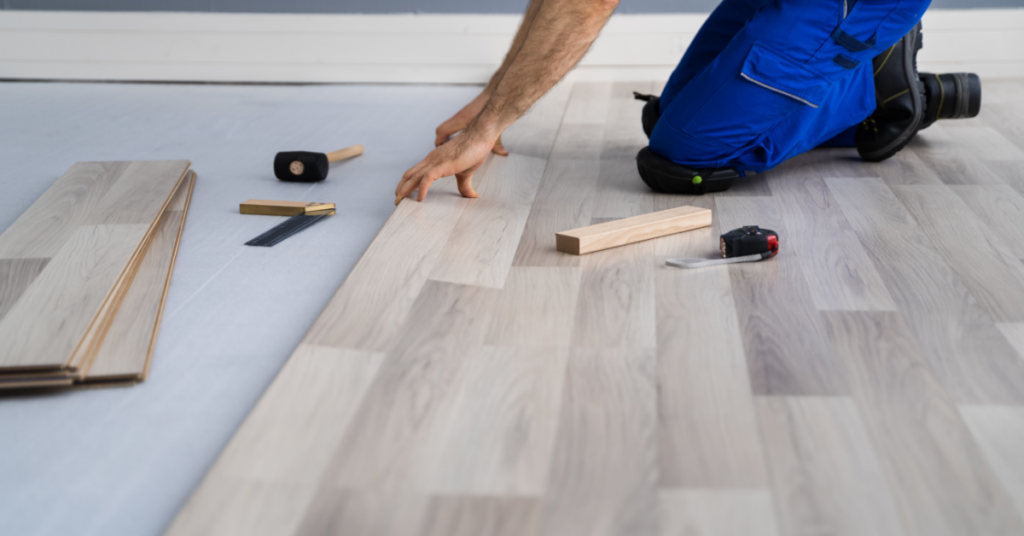
Step 5: Get started with the underlayment and the first layer
Once you have cleared the door jambs and moldings and are 100% sure the moisture levels of your concrete flooring are right it is time to get started with the installation.
The first step here would be to lay the underlayment which should also be lapped to cover the wall baseboard or about 2-3 inches of the wall using masking tape.
One of the challenges with the underlayment is the seams. You do not want to leave gaps so make sure you put them as closely as possible. Usually, the manufacturer recommends what kind of tape to use to seal these seams together but if not, go with 2-inch thick packing tape as it provides better protection from moisture.
You can also go with some patching compound which is equally good if not better in terms of sealing. The only hassle with this is that you need to make sure it is the right consistency. Plus, it needs some sanding and troweling to smoothen it out (c’mon take the easier way out, go with the tape 😉 ).
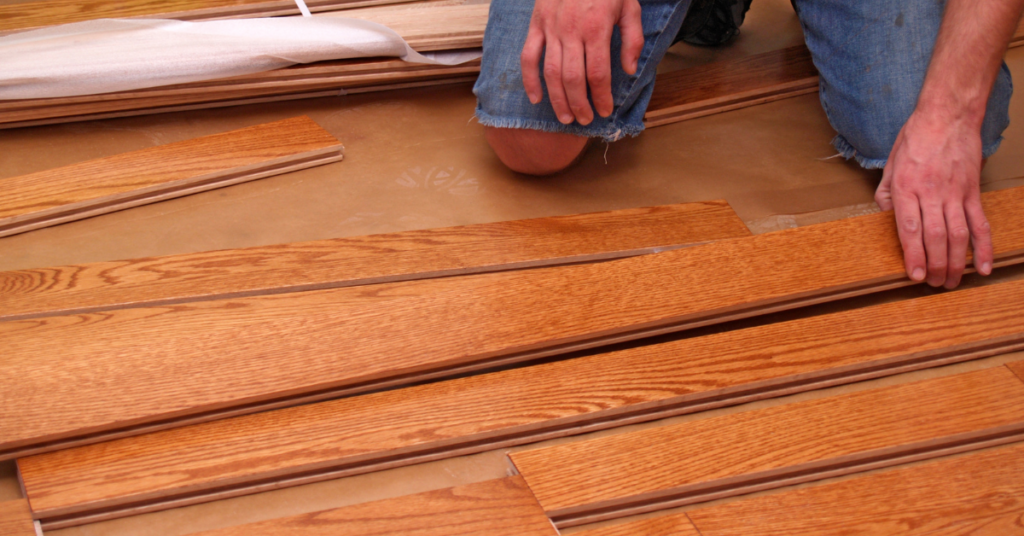
When you start laying the wooden plans, always start with the ends. Since the last row has to be about 2-3 inches wide you should cut the initial rows. You also want to ensure you leave about ⅜ inches between each piece so the wood has ample breathing room for expansion.
Step 6: Start with the second row
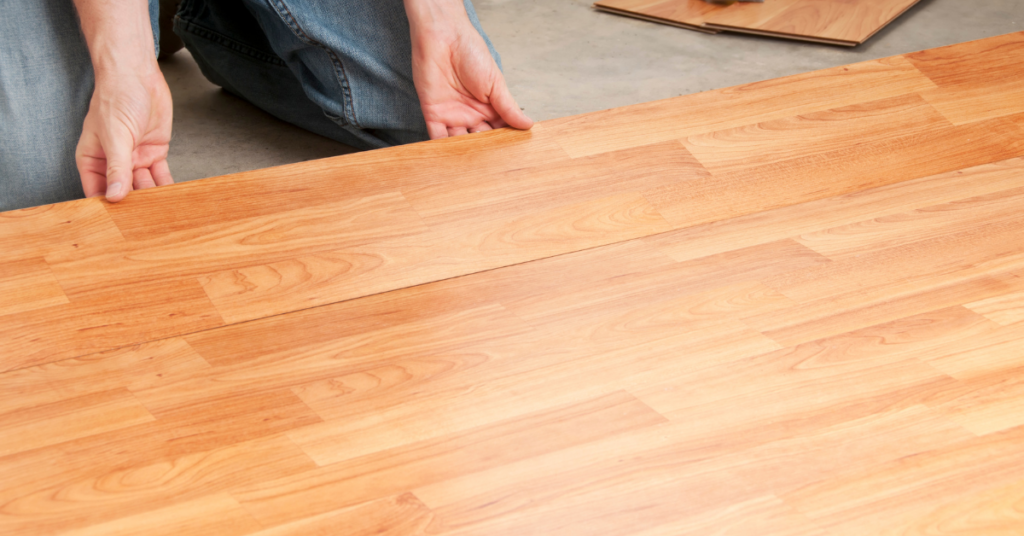
Start this row with the cutouts from the previous row. This will ensure a minimal offset of at least 12-13 inches between the joint of the first and second row.
Now, place the plant/board at a 45-degree angle into the tongue on the groove. As you start to push it down, you will hear a click which means these two pieces are now locked. Do double check to ensure they are tight enough.
Step 7: Give the joints a slight tap
Next up, take a full board and place it around ⅕ inches away from the initial cut-out piece of the second row.
Then take a tapping block and place it on the end of that board and give it a few taps using a hammer to make sure both the pieces are tight together. You want to make sure their alignment is right for which I suggest you use any scrap wooden block lying around.
Step 8: Finish up the second row
Time to place the last piece of the board on the second row and for this, you will need a board puller. Place the puller on the board and give it a few taps to tighten it.
Step 9: Fixing the door jambs
Well, now we are at the tricky bit, the door jambs. Usually, you would tilt and snap the boards but here you’ll have to cut out the locking system. This can be easily done with a razor-sharp utility knife. Once that is done, you can easily slide the plan under the door jamb.
You might have to cut out the notches but to get it right, I would advise you first draw the notches using a marker and ruler on the wooden board. Again, a utility knife will come in handy.
Step 10: Use glue for the notched board
Since it cannot be locked into the place anymore it would be best to use a strong adhesive. You can confirm with the seller or the manufacturer to know which glue would be ideal for your boards.
Once you have slid it into the doorjamb, use a hammer and the tapping block to make it tight.
Step 11: Place the transition strip correctly
A transition strip is usually used to create a separation between the wooden flooring and that inside your bathroom and kitchen so no water ends on the wooden part.
The ideal strip for this job would be one with a square nose. Pour some adhesive on the concrete end of the floor.
Position the transition strip correctly and place some weight on it for about 24-hours. I used a couple of bricks as they are heavy and large and thus no one would accidentally kick them away.
Step 12: Applying the finishing touches
Voila, you are almost done with the installation. All you have to do is remove the underlayer that’s protruding out with the help of a utility knife and put a shoe molding.
Drill a couple of holes through the mold and nail it to the baseboard while making sure you do not direct it towards the floor as the nails can lead to cracks or chip the hardwood.
9 Tips for Installing a Hardwood Floor the Right Way
Tip 1: When it comes to hardwood floors, moisture is a big no. In case you notice moisture on the plastic sheet, another thing you can do to get rid of it is run the AC for about 10-15 days, until the moisture levels are normal.
Tip 2: The underlayer can also help with moisture but you need to get one that has a vapor barrier and special padding to keep the moisture at bay. You can also get an underlayer that lowers sound transmission.
Tip 3: Get the boards 2-3 days in advance and leave them flat on the floor for about 48-hours as it will help acclimatize to the surrounding humidity.
Tip 4: Before you buy, make sure all the boards have the right color and are not broken, dented, or chipped as it will become a hindrance during the installation.
Tip 5: Never install hardwood flooring in temperatures above 85-degree F.
Tip 6: When cleaning it, avoid steam cleaning as the heat and moisture from these cleaners can cause all sorts of problems with your hardwood floor and the adhesives used during the installation.
Tip 7: Always use a tapping block. Tapping the board directly with a hammer can damage the boards
Tip 8: If you do not have any experience installing hardwood floors, opt for wooden floors that have an interlocking system. It will not only reduce the need for nails, glue, etc. but also eliminate the mess that comes with them.
Tip 9: Not leaving ample expansion room is a grave mistake. Wood swells in the summer as it absorbs the moisture and contracts in the winter and little to no space can lead to serious damages to the floor.
Conclusion
There’s our step by step guide on how to install hardwood floors the right way. We understand you do not want to pay the huge costs that come with hiring professional and with this guide, you won’t have to either.
In case you have any questions or are having trouble with installing the hardwood floor, you can write to our experts or even drop it in the comments section below. Feel free to include photos or videos to help them guide you better.
You May Also Like:

 By
By


