
The foundation is an often overlooked part of a shed building design. Builders spend a lot of time tinkering and choosing a suitable shed material and style, but more thought should be given to the foundation. Without a solid base, even the most fantastic shed design will crumble.
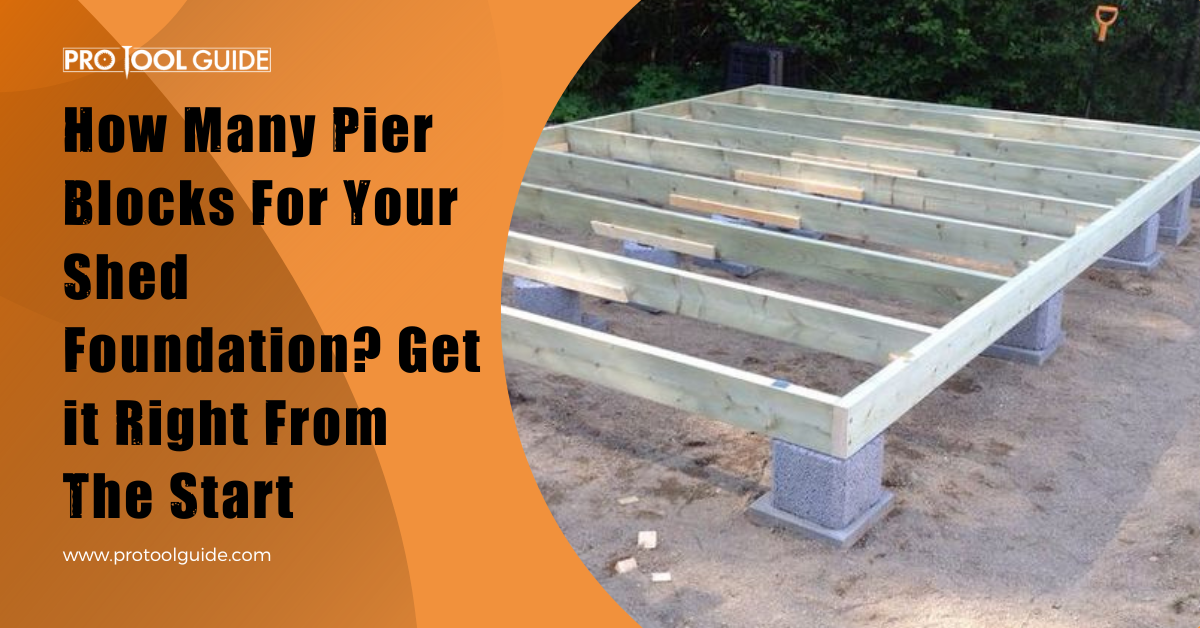
Pier blocks are popular foundation types, especially where the land is sloped, and durability is essential. One of the primary questions you’ll need to answer if you build a shed with a pier blocks foundation is the number of pier blocks to use. This is hugely dependent on the size and weight of the shed.
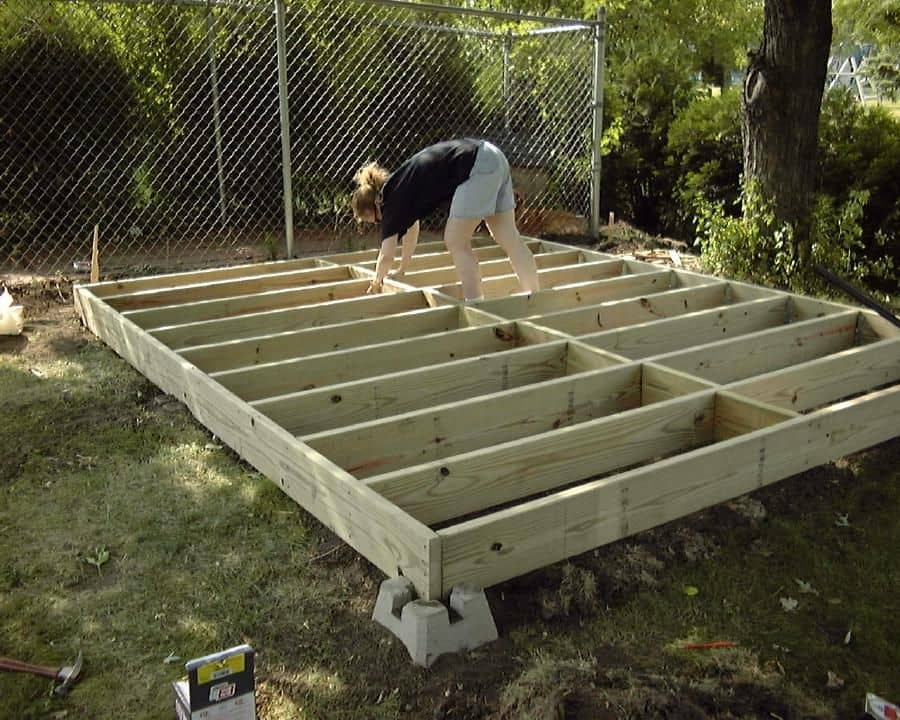
Sheds may have varying shapes and designs, but the foundations are typically less flexible. However, for stability, you must adjust the number of piers to fit the shed.
This guide will discuss the number of piers required for a shed foundation. We’ll also show how to build this foundation, among other information.
What is a Shed Pier Foundation?
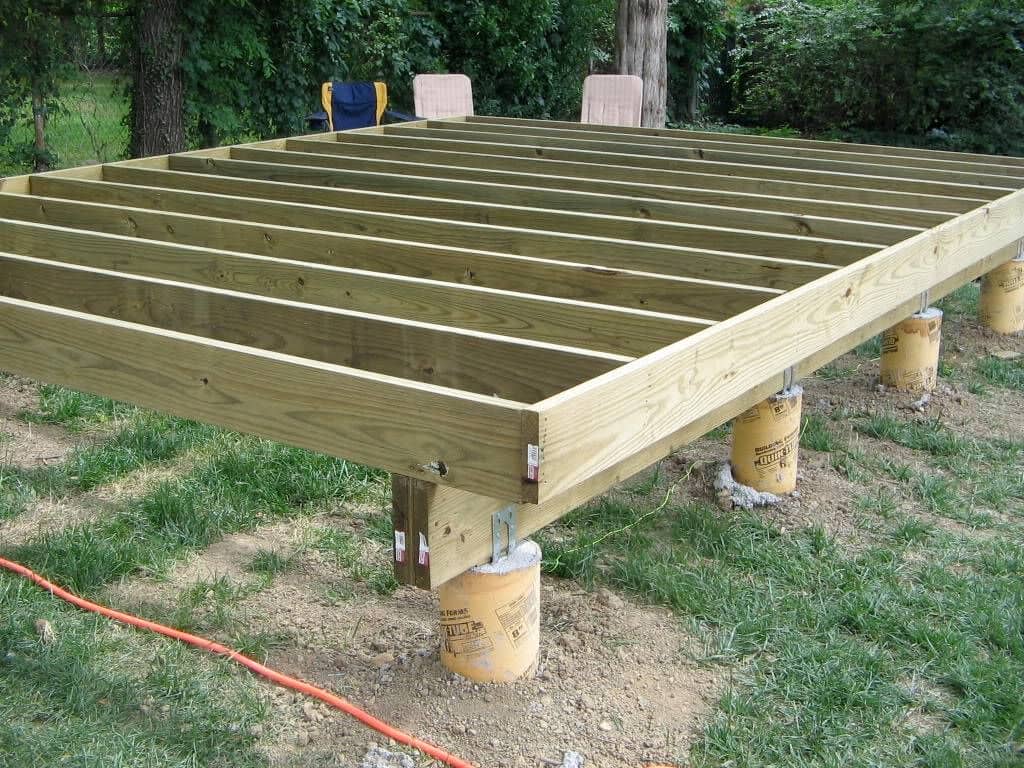
A shed pier foundation is a series of blocks cast into the ground that supports the shed base. This pier foundation is typically made of concrete and is about 12″-24″ in diameter, offering a lot of stability for the building.
The depth of a shed pier block foundation varies but is typically between 6 to 12″ deep and is often several inches above the ground. The extra height above the ground is helpful for sloped land and where you intend to raise the shed above ground level to protect against water runoffs. The vertical pillars transfer the shed load to the ground through its compact structure.
Sometimes called post foundations, piers are helpful in unstable lands and are cast below frost lines to gain stability. There are two primary types of pier foundations; however, sheds typically use masonry or concrete piers. These piers can be cast away from the site and installed.
Can You Put a Shed on Piers?
Piers are prevalent for large buildings and even for bridges, so it is not uncommon to see reservations about their effectiveness for sheds. If you’re among the people worrying about piers’ efficiency for a shed foundation, you want to stick around for this part.
Put simply, yes, you can put a shed on piers. Pier blocks are durable due to their concrete composition; they can carry your shed no matter its size. Placing your shed on pier blocks helps you save materials as the blocks are spaced generously.
Maintaining a shed on concrete piers is easier as the height above the ground allows you to make floor repairs without going through a rigorous process. It gets even better as the foundation is easy to build, besides casting the blocks. You don’t have to disturb the ground much with pier blocks to install this shed foundation.
Now, if your question is if you can place your shed on pier blocks alone, the answer will remain yes, but there’s a catch. While building the shed on only piers is possible, you can get better stability with a gravel base around the piers. However, this will mean that your shed will not have clearance above the ground. If that’s not a problem, then why not?
How Many Concrete Piers Do I Need For a Shed?
Now to the most significant concern when using pier blocks as a shed foundation: how many concrete piers do you need? Shed builders must decide on the number of concrete piers to use. Considering the effect this tiny bit of information can have on your shed, it is essential to take it seriously.
There’s no one size fits all answer to this question, as you have a lot of variables that can affect the number you need. A rule of thumb to follow is to have a concrete pier every 10 feet along the shed’s width and length.
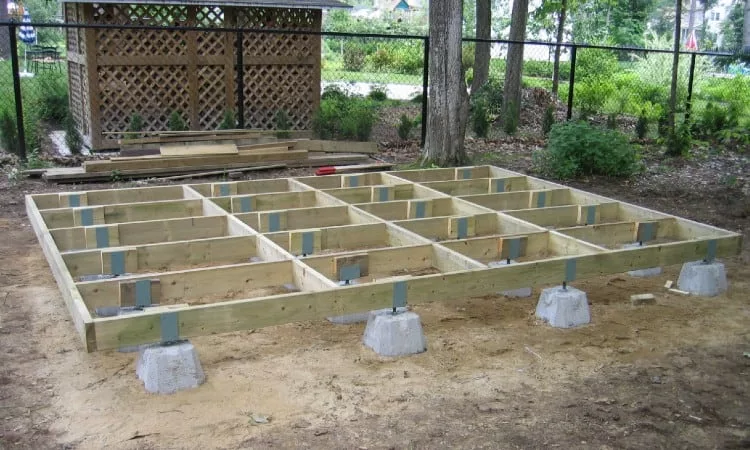
With the above information, an 11×12 floor plan shed will require 12 piers, while about nine blocks are needed for a 10×12 shed. If you’re building a more extensive building like a 16×40 shed, you’ll need between 16-18 piers. Typically, the smaller the shed, the fewer the number of piers you need. This is evident for an 8×12 shed requiring only four piers to create a durable foundation.
Another helpful guide you can use to determine the correct number of piers is to space the concrete blocks about 40″ from each other.
A couple of factors guide these figures. Here are these factors:
- Local building codes: Some municipalities have specific information on the number of piers for your sheds. They may tie this to the size of the shed or piers per area. You can follow the general guide, where the building codes do not specify.
- Shed size: The size of the shed will always affect the number of piers since it provides balance. An extensive shed will require more concrete blocks to create a stable base. This is why the general guide is often related to the ground area.
- Purpose of the shed: The aim of determining the shed’s goal is to estimate the weight the shed is supposed to carry. More weight means the shed needs more support. The piers help the shed transfer its load to the ground, so you’ll need more pier blocks when the shed is carrying more weight.
How Much Concrete Do I Need For Shed Foundation Piers?
You can buy concrete piers from building materials manufacturers near you, but as a DIY enthusiast, where’s the fun in that? Building your pier blocks offers more satisfaction and allows you to customize them to your taste. If you decide to develop these foundation blocks, you must figure out how much concrete you need.
Knowing the quantity of concrete you need will help you decide whether to utilize ready-made concrete mix bags or have the concrete commercially delivered in a truck. The concrete bags are simple since they only need moisture to activate them. They are also ideal for small projects.
Conversely, it may be better to have the concrete delivered to you for larger projects. It is typically sold per cubic yard, and one cubic yard is about 45 bags.
Without sounding too technical, there’s a simple formula for calculating the amount of concrete for the piers shed foundation. It is a generally accepted way of determining the suitable amount of concrete to use. The formula is as follows:
(Number of piers)x(radius of pier in inches)²x(depth of pier in inches)/14850 = concrete in cubic yards
With this, you can estimate the concrete you need and determine if you should make it on-site or order premade concrete.
How to Build Shed Foundation Piers?
Concrete projects often seem daunting, but surprisingly, this type of shed foundation is among the easiest to build. You’ll see how you can do it even with minimal building experience, but before then, check out the tools required.
Tools And Materials
- Power auger: Vital for effortlessly digging post holes
- Post hole digger (optional): In the absence of a power auger, you can use this tool to create the holes for the pliers manually
- A concrete mixer (optional): This tool that mixes the concrete is beneficial if you choose to make your concrete mix on-site
- Laser level: Helpful in leveling the pliers
- Magnesium float: Choose a float smaller than the plier’s diameter to finish the plier’s top
- Saw: This tool will cut the concrete tube forms for the pliers
- Tape measure: For accurate plier depth and width measurement
- Shovel: Helpful to pour concrete into the hole
- Wheelbarrow: To move concrete
- Concrete: You can mix this on-site or purchase already mixed
- Gravel (optional): Some builders use this at the hole base before the concrete for added stability
- Concrete form tubes: They guide the concrete and help the concrete take shape, mainly above the ground
Steps to Build Shed Foundation Piers
Mark Pier Location on Land. Once you’ve decided on the number of piers (remember the pier number guideline) and the shed’s location, you can mark each pier point on the ground. Remember the 40″ between each pier and one pier per 10 feet along the length and width.
1. Check For Site Slope
Most locations will feature a slight slope which you must account for while laying your pier. Laser and string line levels are tools you can use to check the slope. With the laser at the highest point, move the receiver to each pier location to determine the height difference.
2. Dig Post Hole
Here you must decide: dig by hand and build some muscles or use a more straightforward power drill to excavate the holes. You’ll do this for all the marked points, with the depth depending on the slope and the intended height above the ground.
Municipalities sometimes have specific depth guidelines for piers, so check your local laws. The most prevalent pier diameters are 12″ to 16″. Dig and excavate the soil to move to the next step.
3. Insert Pier Forms And Pour Concrete
These tubes help the concrete take shape above the ground, so you don’t have to insert them into the holes. You can save the costs of purchasing tube forms by fixing only a tiny portion (about 10-15″) into the ground. However, if you intend to follow this style, you must ensure the hole is tight enough to hold the form.
You can pour a layer of gravel for extra solidity, but this is not often necessary except for extensive sheds. For the concrete, you have to decide between buying already mixed concrete or mixing it on-site from concrete mix bags.
When mixing by hand, you’ll need the concrete mixer, shovel to pack the mix, and wheelbarrow to move it to the holes. Pour the concrete mixture into the spot while tapping the sides of the forms to release any trapped air. Ensure the concrete height is accurate before finishing up the top using a magnesium float. You can also use a concrete float, but magnesium does better.
4. Allow to Cure And Install Anchors
The time required to cure the mix depends on the design. Where the shed rests entirely on the piers, allow it to set for a week before building. Although it takes a whole month to dry thoroughly, you can start your building project after the first week.
L-brackets are fixed to the top of the concrete after it has been set using concrete bolts. They are the preferred option, as spotting where the shed runners would be by this time is easy. Other options include concrete anchor straps installed when the concrete mix is poured into the form.
You can purchase premade blocks and jump the two steps above. With already-made pier blocks, you only have to place them into the hole, adjust their height and level, then begin the shed building.
FAQ’s
Do you have questions about this project? It may have been asked severally. This section features some general questions about concrete pier blocks and their answers:
Ans: The ideal distance between the center of a pier and another pier center is three times the pier’s diameter. 40″ apart is also a generally accepted range.
Ans: Four blocks is the minimum number of blocks you need for a small shed. This number steadily increases as you move towards more extensive sheds.
Ans: The average height is about 48″, but this heavily depends on location. Some pier blocks and form installation can go as high as 50″.
Conclusion
You must use the correct number of piers to build a stable shed location on piers foundation. This figure varies depending on the size of the shed, among other factors, but a good rule to follow is a pier every 10 feet along the width and length of the shed.

 By
By


