

Maintaining a suitable temperature in your shed requires some form of insulation. You can insulate all the interior sections of your shed from the floor, walls, and ceiling. That said, the floor is an often neglected insulation location, which is surprising considering it is the most prevalent cause of heat loss in the shed.
During cold months, an uninsulated shed floor will be frigid, especially when the floor is made of concrete. The cold from the floor will easily overshadow the heat from the walls and shed. Insulate the shed floor to prevent this from happening.
To enjoy a comfortable working experience in your shed, maintaining a suitable shed temperature all year round is vital. How do you insulate your shed floor? It doesn’t matter if you’re replacing damaged insulation or adding the first one for a new shed.
If you want to insulate that floor and keep the temperature comfortable, follow this guide for more information.
Types of Insulation
Adding insulation to your shed is straightforward when you understand the correct material. There are various materials used for insulation, all with their designs and usefulness. We’ll show these various insulation types and how they differ.
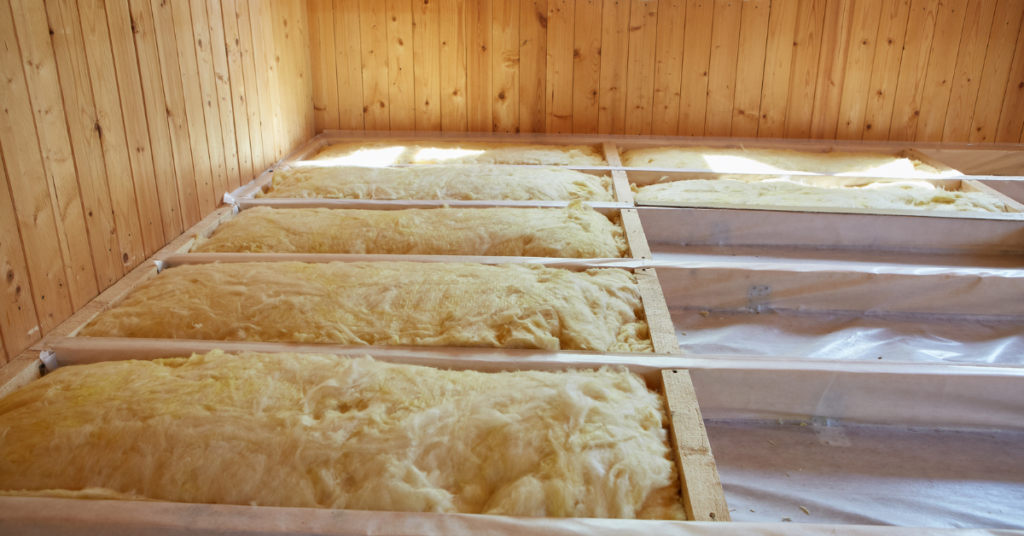
1. Fiberglass
Fiberglass is arguably the most popular shed floor insulation material, with its fibrous materials helping to maintain the temperature. It is made of tiny fiberglass that intertwines and forms a thick material with air gaps. The structure blocks the free flow of heat from one part to another.
The affordable padding material is sometimes called batt insulation and features a paper-faced vapor barrier. So you won’t need to install a separate vapor barrier. When fixing this insulation, you have to cover all your skin as it can give a terrible itch when it touches your skin.
2. Spray Foam
While spray foam is primarily used to insulate walls, it can also be used on floors. The chemical is mixed on-site and forms a foam applied to seal air pockets and create a layer preventing the shed from losing heat. There are open-cell and closed-cell spray foam types, all with varying features.
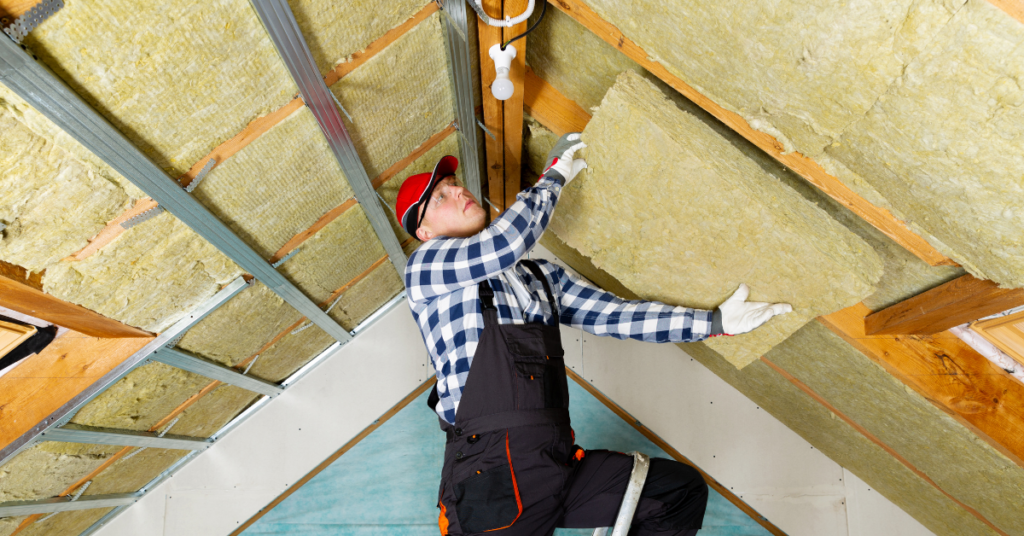
3. Rockwool
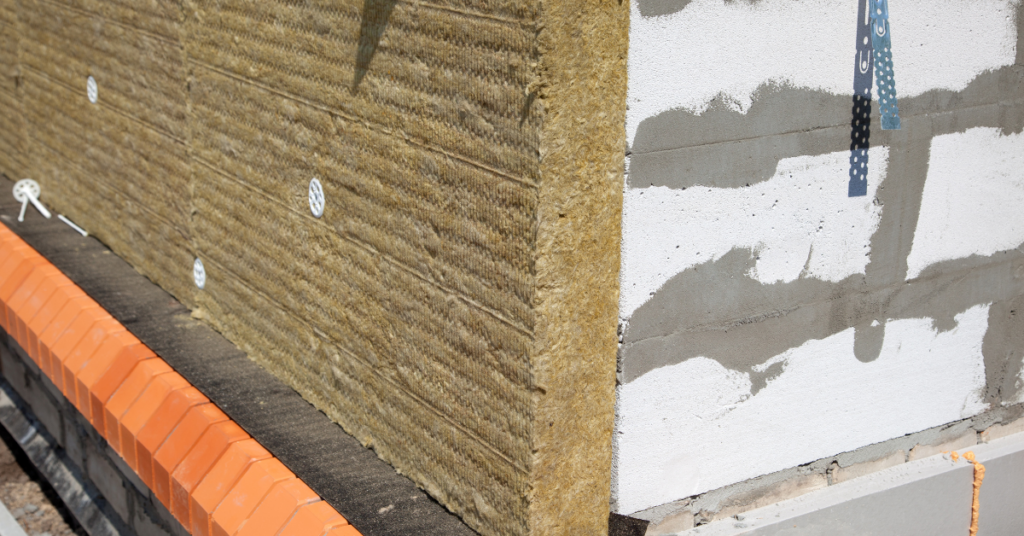
This insulation from the mineral wool brand and its structure is similar to the fiberglass insulation. However, rock wool is made from spinning different materials and lava rock. The materials will elongate and form several layers of fibers with excellent insulation capacities.
Rockwool inhalation is easy to use by rolling into place but is only suitable for wooden sheds. While it is not as affordable as fiberglass, it is more accommodating to the skin. You’ll need a vapor barrier when fixing rock wool since it has no vapor barrier.
4. Foam Board
This type of insulation is less flexible than the others, with its rigid structure made from polystyrene. This insulation will be most efficient when fixed on metal sheds with few studs.
The foam board’s rigidity means you don’t need studs to hold them as you can glue or screw them to the floor surface. They also do not itch the skin, so you can install them without special overalls. Foam boards have impressive moisture resistance, preventing moisture from reaching the shed floor from the ground.
How to Insulate Shed Floor
How you insulate the shed floor will depend on the present state of the shed. Are you building a new shed or adding insulation to an already existing shed?
In this article section, we will guide you on how to fix floor insulation material. Also, we will provide you with information on how to install shed floor insulation in a pre-built and a new shed.
1. Insulating a Pre-Built Shed
Even for an already-built shed, you’ll still be faced with a decision between fixing the insulation from the top or bottom. Your decision will depend on how easy it is to remove your shed floor without damaging it. Accessible shed floor removal makes fixing insulation from the top the right choice. Otherwise, you’re better off going under.
However, installing shed floor insulation from the bottom is only possible if the shed is not permanently attached to the ground. You’ll also need a crane to raise this shed.
Fixing From The Top
- Remove subfloor: First, you’ll need to clear everything on the shed floor to give you access to the area. Then you can remove the shed’s subfloor to expose the studs.
- Attach wood blocks: Wood blocks or scrap wood between the studs are vital to prevent the form boards from falling. They act as shelves where the insulation boards can sit. Use a nail or screw to install wood blocks or scrap wood between the gaps in the floor frame.
- Measure and cut foam board: The idea is to have the foam boards fit snugly into each joist cavity. So use a tape measure to get the dimensions of the cavity and cut the boards accordingly. You can cut using a table saw, but a cordless jigsaw gives you more flexibility.
- Install insulation panels: Snugly fit each foam board into the cavity – this will be fine with the correct measurement. The size of the cavities will guide the suitable insulation thickness to use.
- Replace floor: With the foam boards in place, you can replace the shed floor previously removed.
Fixing From The Bottom
- Jack the shed: Remove heavy equipment like tractors and tools from the shed to make it lighter for the crane. Lift the shed so that working underneath is possible.
- Measure the joist cavity: Go underneath the shed and measure the spaces between each joist. The information is essential in getting the right size of insulation material to fix.
- Fix insulation: The insulation material can be a rigid foam board, but fiberglass or rock wool rolls are preferred. Depending on the size of the joist cavity, you may need more than a single batt layer. The batts should fit snuggly and not be compressed, as this can reduce their efficiency.
- Cover the insulation material: Use OSB sheeting or plywood to cover the insulation and prevent rodents and pests from damaging it. You can get even better protection by covering the plywood with hardware cloth.
2. Insulating a New Shed
Padding a new shed is easier as you don’t have to go out of your way to regulate the temperature of your shed. This method is similar to fixing insulation after raising a pre-built shed. However, this is less hassle since you won’t have to lift anything.
- Add OSB sheathing during floor framing: Ensure you add OSB sheathing or pressure-treated plywood between the frames as you build. These materials will hold the insulation and prevent them from falling under the shed.
- Add insulation: cut and install your chosen insulation material between each cavity. You can use foam boards, fiberglass, or rock wool.
- Install vapor barrier: some padding supplies do not have vapor barriers, which stops moisture loss. Install this vapor barrier between the insulation material and the floor.
Spray foam is another suitable material for padding your shed floor. Closed-cell spray foam is ideal for new shed construction.
FAQ’s
You’ll find answers to challenging questions you may have about insulating shed floors here:
Ans: Insulating your shed floor is vital to maintain a comfortable temperature inside the shed. It can keep the shed warm in cold winter, allowing you to work long hours and reduce energy costs.
Ans: Using a rubber mat is a temporary fix to your insulation needs. It is also easy to accomplish since you don’t have to raise the shed or remove flooring. Rubber mats are heat- and cold-resistant, blocking outside temperatures from reaching your shed interiors.
Ans: The climatic factors where the shed is located are the most significant determinant of insulation thickness. In a frigid region, you’ll need a thicker insulation material. Sometimes layering the insulation is enough to achieve the desired thickness.
Conclusion
It is possible to insulate your shed floor as a DIY enthusiast, although the process may require some guidance. Padding a new shed during construction is straightforward; however, the process gets a little more complicated for an already-built shed. Nevertheless, you can complete the project in a day or two by following the steps highlighted in this guide.

 By
By


