

A skid foundation is one of the oldest foundations, with its portable structure endearing it to builders to move their sheds. This type of foundation involves two or more pieces of lumber laid on the ground before building the foundation frame.
Skids are not buried in the ground so that they can remain mobile. This raises the question of their stability. While skids have decent strength, they may be unsuitable for areas with strong winds and floods.
If you’re unsure where to put your shed or expect to move it in the nearest future, using a skid foundation will save you a lot of hassles. You can move the shed across the backyard or to a different property with a skid foundation. Its portability and mobility are the most prevalent reasons for using this foundation for your shed.
We’ll show you an effective way of installing and using skid foundations for your shed. But first, let’s see some of the different types of foundations used in sheds.
Types of Shed Foundations
Builders can choose from a variety of foundations when building their sheds. Their choice should be based on availability, climate, and preference. See the most popular foundations to use for your shed:
1. Skid Foundation
These are a series of runners placed on concrete or gravel. The skid is attached to the shed but not to the ground making it easy to move to another location. Skid foundations are easy and affordable; however, they are unsuitable for sloping areas.
2. Metal Jacks Foundation
Metal jack foundation is a relatively new shed style with built-in leveling of up to 6”, making it suitable for areas with slight slopes. It is one of the easiest to install as you only need simple tools like screwdriver, drill, and pliers. Metal jacks are excellent for small sheds but are not frostproof.
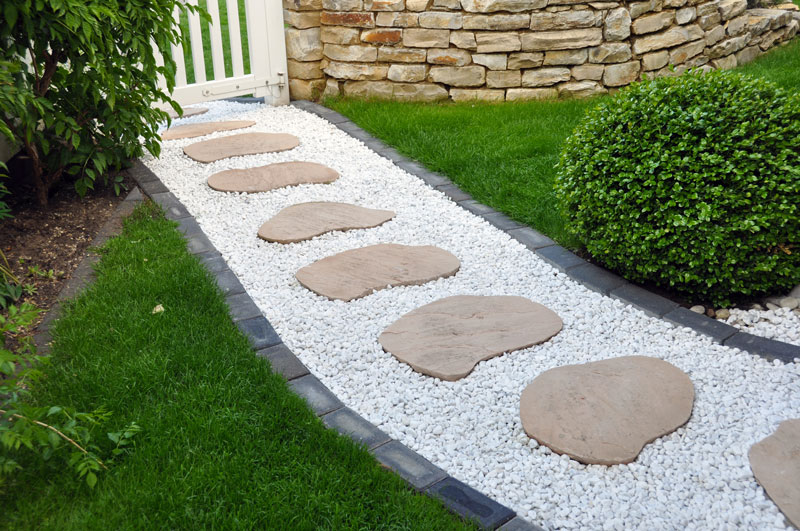
3. Pavers
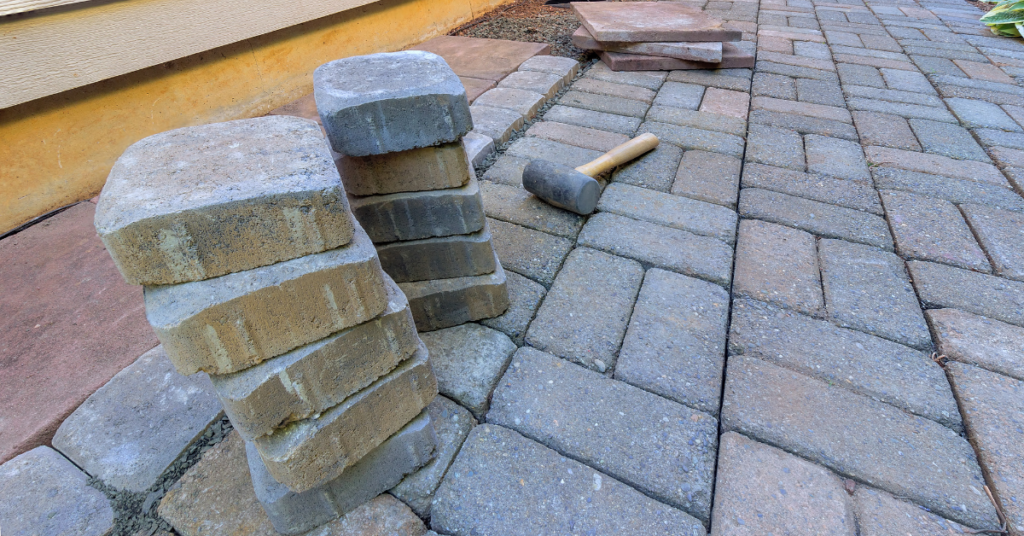
Pavers foundation is an affordable shed base where pavers are held to the ground using polymeric sand. Installing this foundation is easy but prone to sinking over time.
4. Concrete Blocks
Concrete block foundations provide a durable base and are great for leveling slant lands. It is a popular type of foundation, So it’ll be easy to find help where needed. The problem with this shed foundation is that some parts of the bottom need adequate support, causing sagging with time.
5. Gravel Pad
Crushed stones like limestone are used in a pad to create a durable foundation that can provide a flat base on a high-sloped land. It is labor-intensive as the top soil is dug out, and a pad is constructed for the crushed stones.
6. Post and Beam Shed Foundation
The foundation uses timber of high quality to make a foundation. You’ll need to dig the ground to install the post to get a durable base. Using concrete to set the posts in the ground makes it a frostproof option.
7. Concrete Foundation with Footers
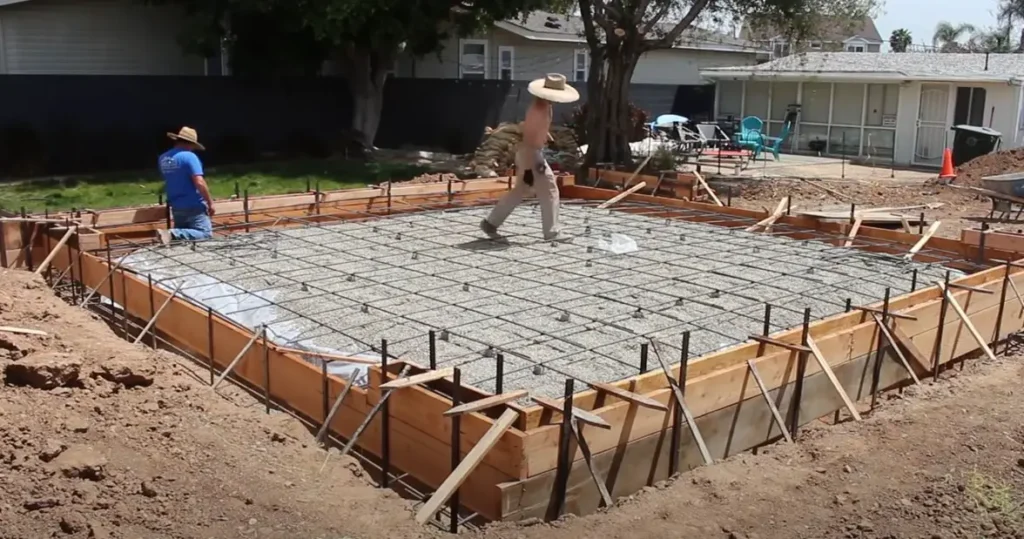
Concrete foundation with footers, blockwork, and a flat top, making it the most durable shed foundation suitable for any shed size. Building this type of foundation takes considerable resources but is a worthwhile investment for a permanent shed.
How to Build a Shed Foundation on Skids?
One of the primary advantages of making skid foundations is the simple installation process. You’ll see shortly why a skid foundation is excellent, no matter the experience level. Follow this step-by-step process to learn how to fix a skid base for your shed.
Step 1: Plan
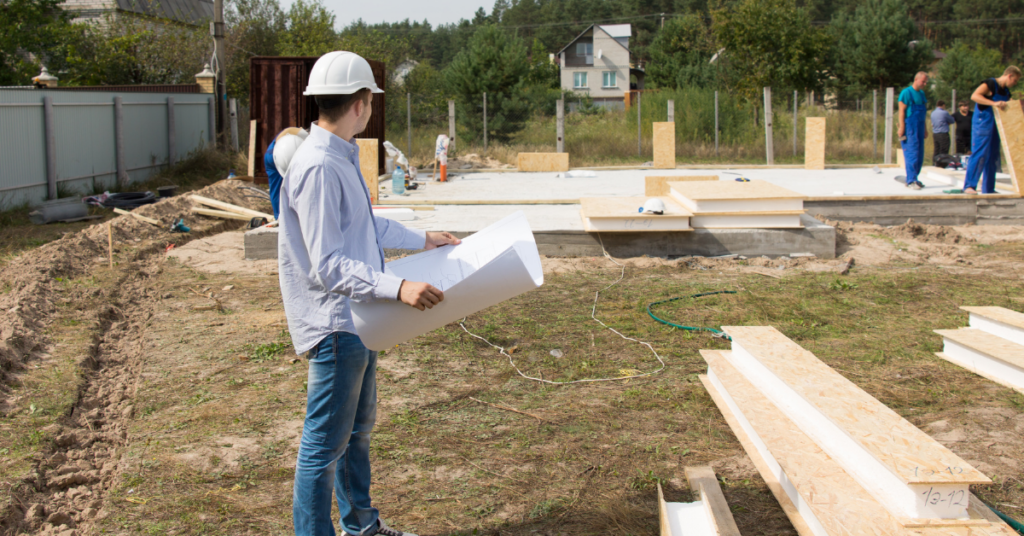
The initial step for any shed foundation is planning, where you decide the shed size, materials to use, and position of the skids. Cedar and pressure-treated lumber are the ideal choices of material for this project. When deciding the position of the skids, line them along the length of the shed. This will help when pulling the shed.
Sheds that’ll accommodate heavier materials will require giant skids. The size of the shed will also affect the size of the skid you use. All these and more are considerations during the planning stage. Skid foundations are typically not regarded as permanent structures, so they do not require permits: however, ensure to confirm from your local municipal.
Step 2: Site Preparation
Preparing the site for the skid involves choosing and marking a suitable location. Only use slid ground with enough room to pull the shed when moving. Choose an area free of rocks and obstacles preventing the shed from moving.
While the flat ground is ideal, a slide slope to encourage drainage is an excellent location to site the shed. Use any suitable clearing tool, like a rake or bulldozer, to remove debris and flatten the area.
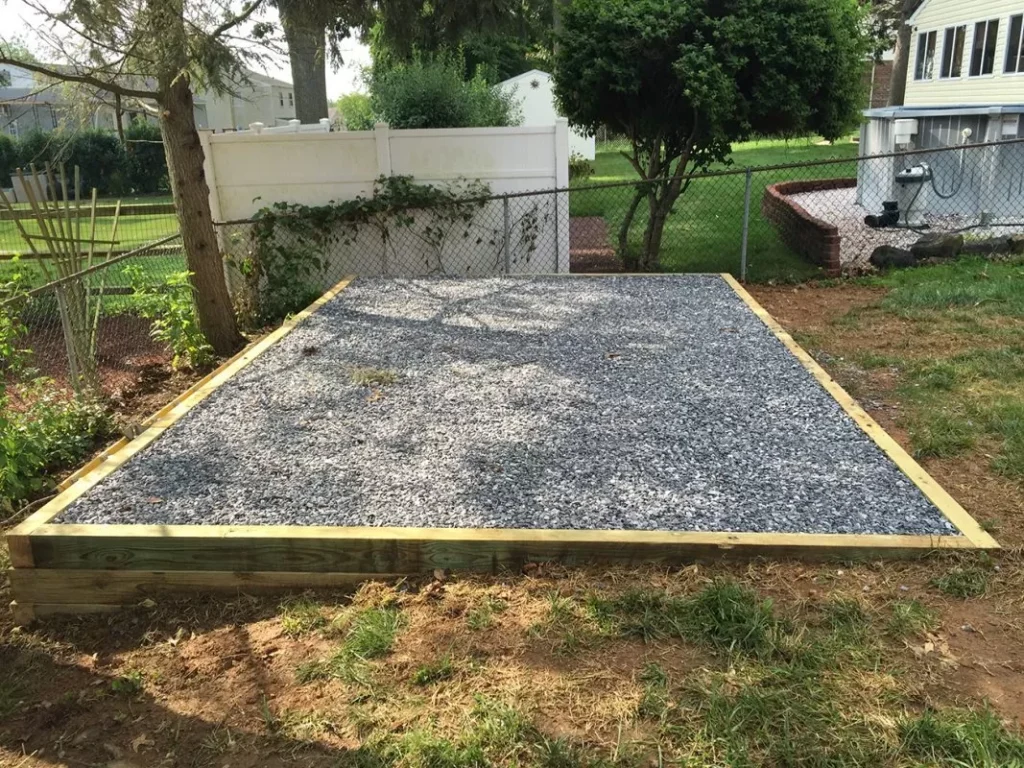
Step 3: Lay the Gravel
Skids do not sit on plain soil because they can quickly soak lumber and lose quality. It is also easy for the skids to start sinking over time when placed on the earth. This is why you need an initial base that you can make from various materials. For this guide, we’ll be using a gravel base.
First, lay a landscape fabric on the ground to prevent weeds from sprouting before pouring a layer of gravel on the surface. The gravel thickness will depend on the shed size, as a deeper gravel level is essential for more extensive sheds. Complete the step by compacting and leveling the gravel.
Step 4: Lay the Skids
Skids must be straight and level to form a stable base for your shed, so choose only the suitable lumber for this project. Standard skid sizes include 4×4, 4×6, and 6×6, with the larger sizes commonly used for bigger sheds. Cutting a 45-degree angle on both ends of the skid will ensure its glides effortlessly on the ground.
Drill a 1” hole about 4” on both ends to attach the pull chain. Cross braces are connected between the skids for better support when pulling. Lay the skids along the length of the floor while the distance between skids should be kept under 6 feet.
Ensure the skids are level using a spirit level. You can add or remove gravel under the skid where needed. Laying the skids from the lower ends helps with achieving a level surface.
Step 5: Secure the Skid
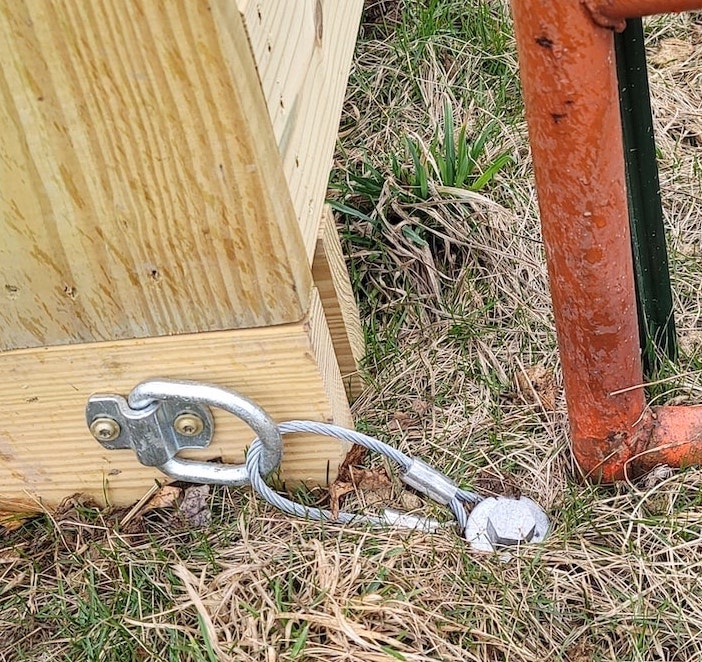
Skid foundations are not buried in the ground, but you must secure the base or shed to the ground to prevent getting carried by strong winds or water. Auger-style and arrowhead anchors are some methods you can employ to secure your shed.
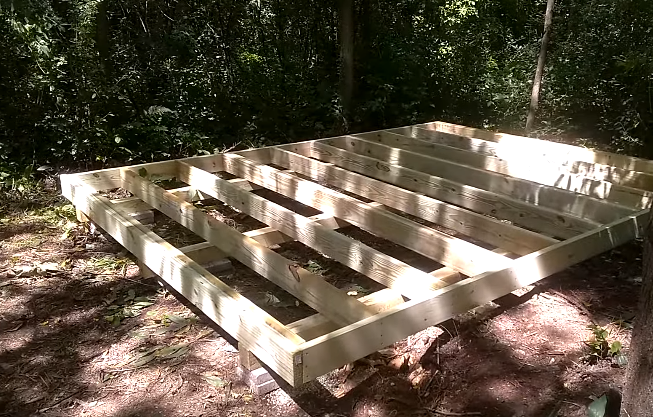
Step 6: Build The Shed
After laying and leveling the skids, you can build the floor directly on the skids. You must attach the floor frame to the skid before fixing the board. Joists on the skids hold the skids and floor frame together.
Benefits of Using a Shed Foundation Skid
If you’re not yet sold on using skids for your shed foundation, here are practical reasons why it is a great choice:
1. Portability
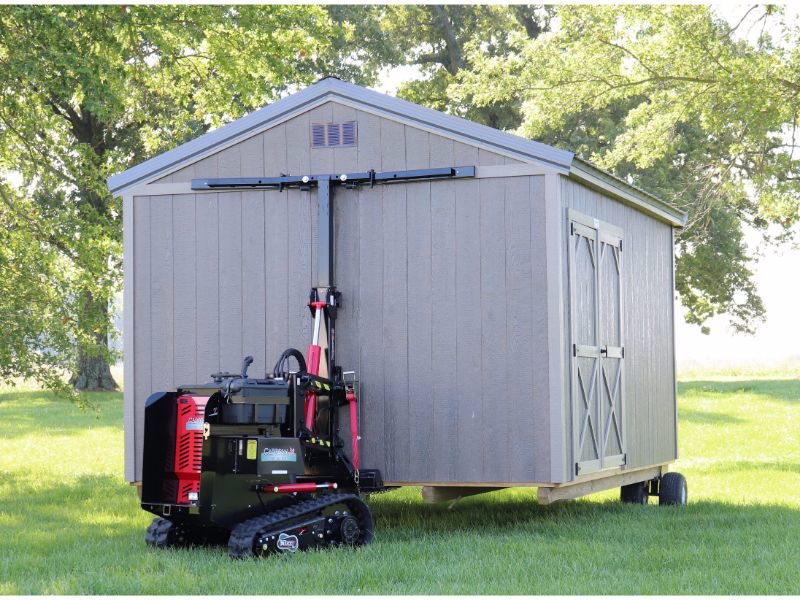
Sheds become portable and movable when built on a skid foundation. The skids are aligned as runners during installation and pulled using a pull chain when moving to a new location an excellent option for building temporary sheds.
2. Protection From Moisture
Since the skid is not attached to the ground and is placed on easy-to-drain materials like gravel, the skid gets good moisture resistance. This way, it is resistant to decay and rot. It also raises the shed floor above the ground preventing moisture from damaging the frame and board.
3. Easy to Build

Due to its simplified process, you do not need expert building knowledge to build a skid foundation. This building process can take only a few hours to complete and be handled by a single person.
4. Cost Effective
Skid foundations are affordable, requiring only a few pressure-treated lumber as runners and braces. You’ll notice a considerable cost difference compared to more expensive shed foundations like concrete and deck blocks.
5. Perfect For Small Sheds

Sheds built on skids are perfect for small sheds as they exert less stress on the skids and are easier to pull. It’ll suit smaller sheds better if you arrange the skids in runner-style.
FAQ’s
Are you worried about a particular shed foundation skid problem? Follow this section for popular questions and their answers.
Pressure-treated lumber and sometimes pine are the most commonly used materials for skids. Gravel and landscape fabric is the other essential materials for this project.
The number will vary based on the shed’s size, weight, and purpose. However, every skid foundation must have at least two parallel skids.
Lay the skids along the length of the shed and parallel to each other. The spacing between each skid should be wide enough to accommodate the shed floor joist and braces.
Conclusion
Skid foundation is an easy-to-install, inexpensive base for your shed. It is perfect for small sheds and makes it possible to move them when needed. While there are many types of foundations to build your shed, skids provide portability and mobility.

 By
By


