
You should pay more attention to where you keep your potatoes if you intend to have a healthy tuber when you’re ready to cook. Potatoes require specific storage techniques to prevent rot or sprouting. Proper ventilation and a dry area are among the most vital properties potatoes need for storage.
To keep the potatoes healthy and prevent damage to other materials in the kitchen, you should understand the best way to store them. Making a potato storage chamber is an excellent way to keep them fresh and away from different materials like onions that can cause them to rot.
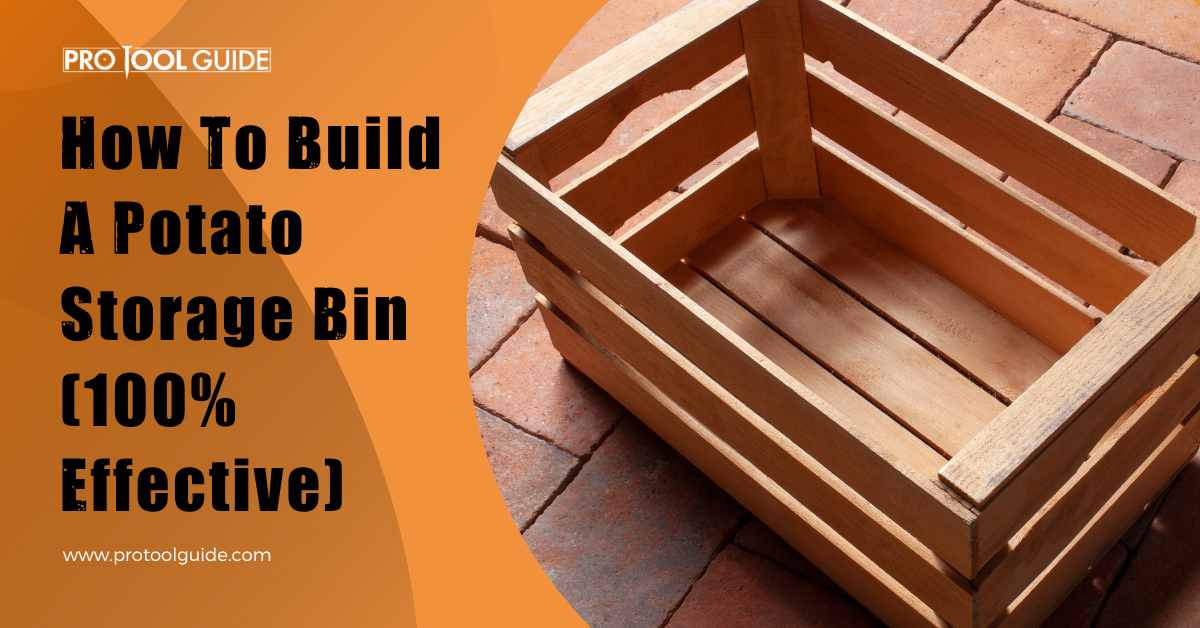
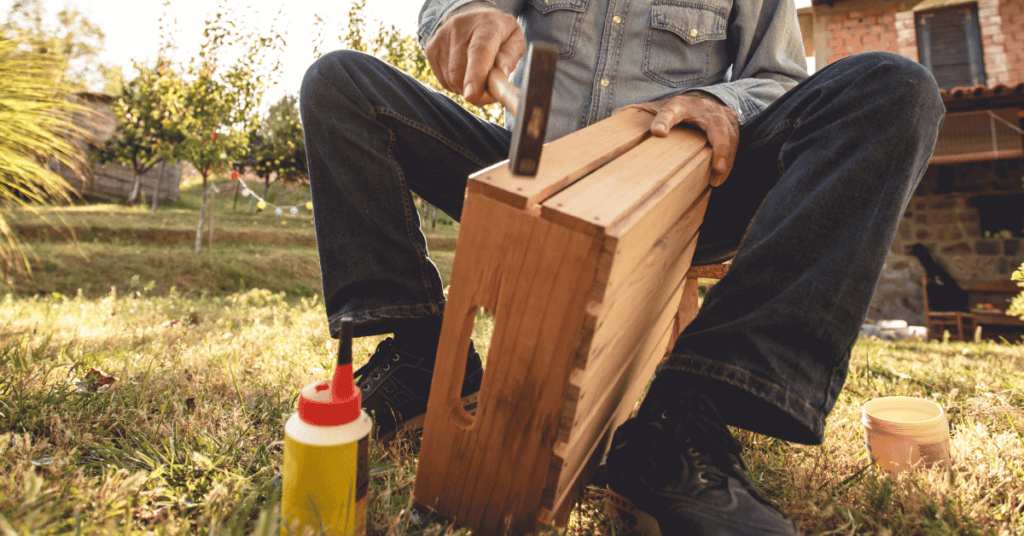
Potatoes are usually stored in crates, bins, or boxes with enough aeration to maintain dryness. Building a potato storage bin is easy, especially with a guide. This piece provides a straightforward guide on how to make a storage box for potatoes using wood: however, you can utilize other materials to make this box.
Optimal Potato Storage Conditions
Potatoes will last for a long time if stored in their optimal conditions. It is of great importance to know the best storage conditions for potatoes which will keep the tubers fresh.
- Ventilation: Most plant-based food items require enough air for storage as it helps maintain a suitable temperature. The atmosphere should be conducive, so you must do more for the potatoes to stay cool during hot months.
- Dry Area: Keep the area dry as moisture induces rot in the potatoes. It is best to raise the storage above the ground and avoid places like under the sink where water droplets may dampen the space.
- Darkness: Storing potatoes in a dark area will prevent them from sprouting and losing nutrients to the shoot. Light causes potato shoots to grow from the tuber.
What is The Best Way to Store Potatoes?
Now that you know the best conditions to store potatoes that will ensure a longer shelf life, you want to find the best places to store these tubers. These places can be regular home areas or specially built structures.
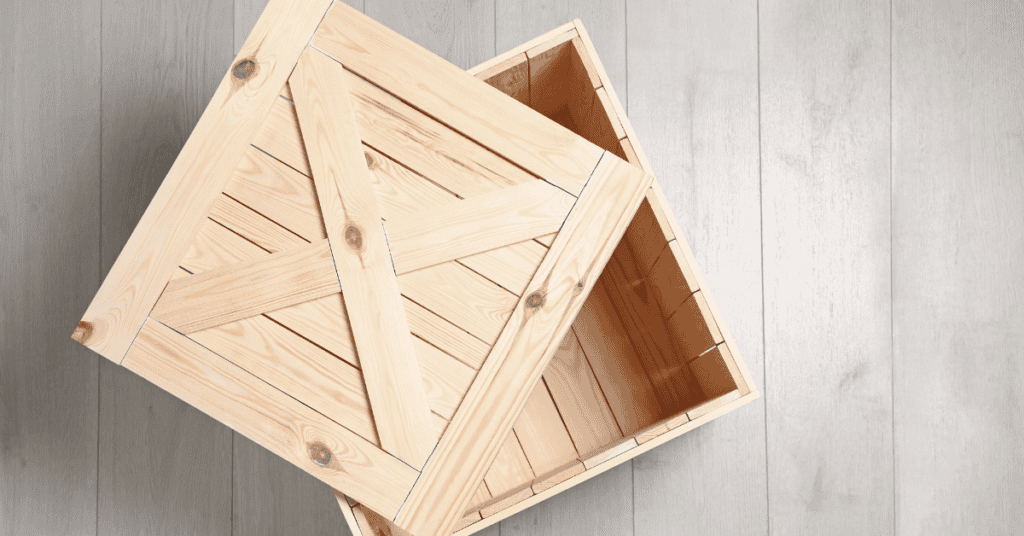
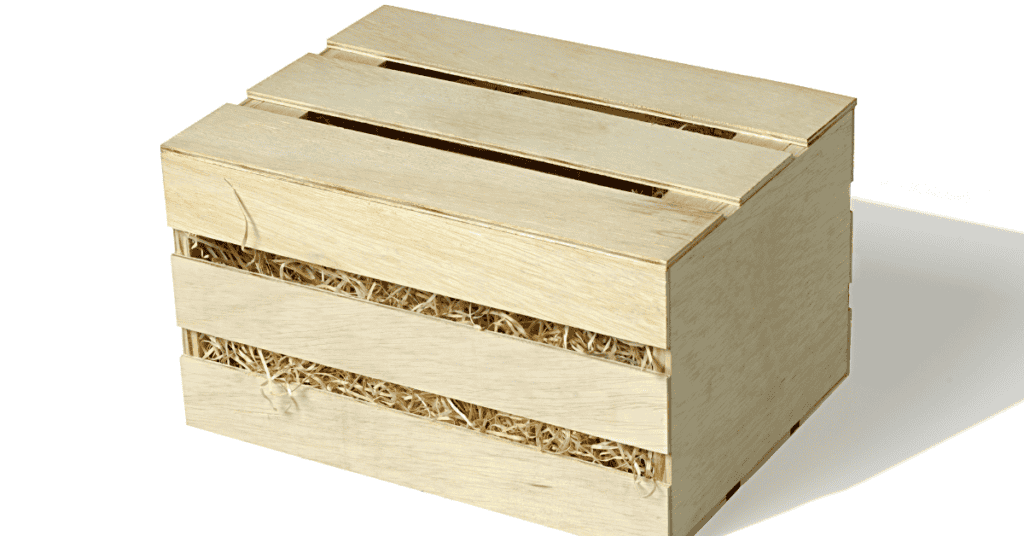
1. Wooden Boxes/Crates

Wooden boxes are considered one of the best places to store potatoes as they are easy to build and feel gentle on the tubers. Wood is not a good conductor of heat or cold, so you don’t need to insulate the box.
One of the problems with this storage idea is insects’ affinity to it. Insects tend to attack wood more, so you need a particular plan to keep them away. You can quickly build wooden boxes using DIY guides or purchase already-built bins from stores, and as a DIYer, wooden bins are your best bet.
2. Thermobox
Potatoes require certain atmospheric conditions to stay healthy; the thermo box provides those conditions in its electricity-powered metal box. The thermo box is a suitable storage for potatoes with a high-efficiency rate once you can sort its power. This option is more expensive as the setup costs a lot while your energy bills also increase.
3. Plastic Containers
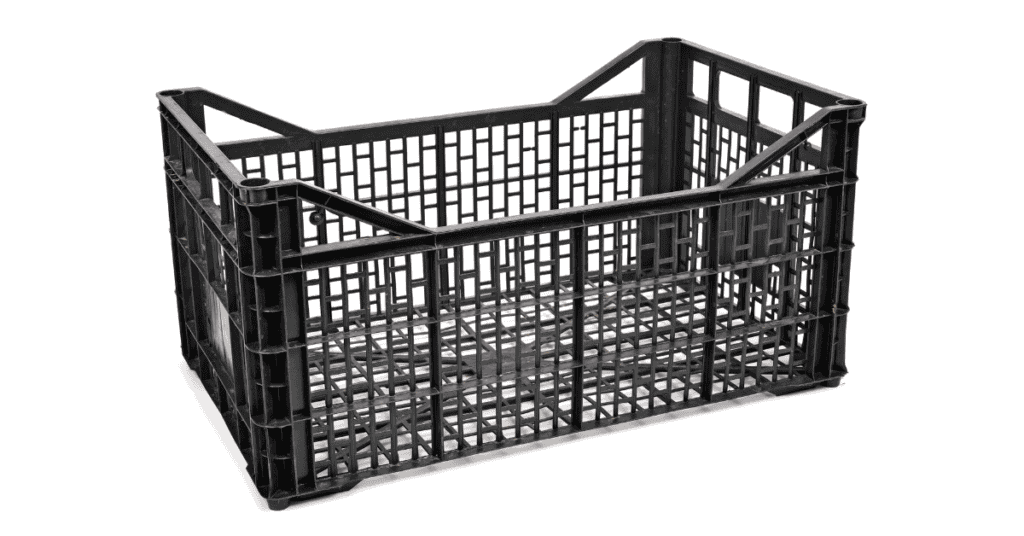
Using plastic containers to keep your potatoes is simple and easy to implement, as you can buy the required size from stores. However, the plastic material would require insulation to protect the potatoes. You can use a piece of polystyrene or cotton blanket as insulation. This is an easy option that would not require a lot of effort.
Supplies Required
Before building your storage box, you should prepare all the required supplies, including the tools and materials. You may already have the tools in your garage if you’re an ardent DIYer; however, you can rent or borrow the tools where necessary.
Materials
- 3-inch nails
- 2-inch screws
- Lumber: plywood and boards
- Hinges for the lid
- Insulation (optional)
- Wood glue
- Stain
Tools
- Hammer
- Table saw or hacksaw
- Tape measure
- Screwdriver
- Sander
- Framing square
Step-by-Step Instructions to Build a Potato Storage Bin
Thankfully, you only need elementary carpentry experience and simple tools for this bin. After gathering all the supplies for this project, here’s a simplified process of building a wooden storage box for keeping potatoes:
Step 1: Cut The Lumber
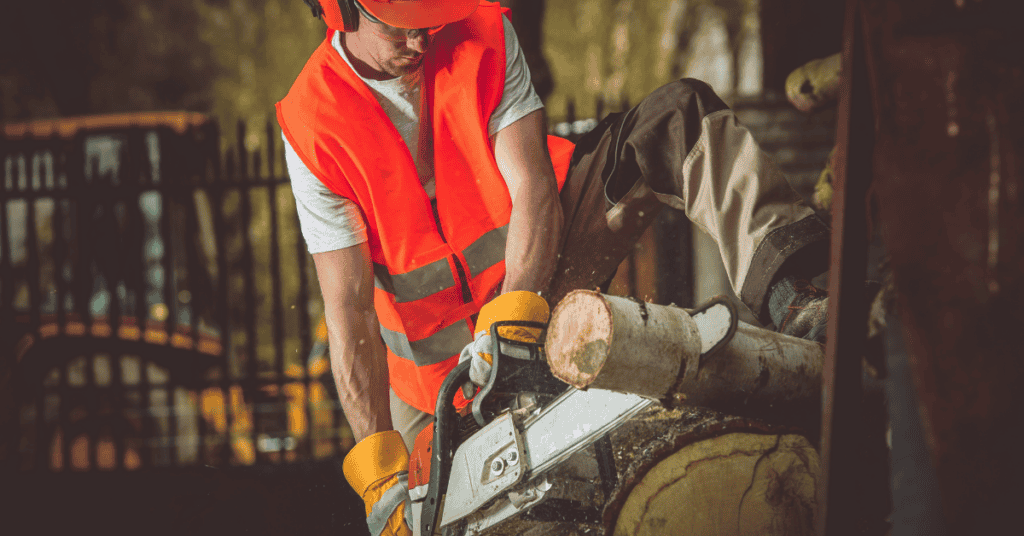
Typically, you’ll need more materials, including lumber, for larger, more complex boxes. Use the saw to cut the lumber down to size, depending on the storage box size you want to build. This idea features two potato bins and an extra storage layer, requiring more materials.
Measure with the tape, mark, and cut the beams with a suitable saw. After the process, you should have all the pieces required to make the storage bin, which includes:
- Six pieces of 11½” long 1×1 lumber for the cleats
- Two pieces of 1×2 lumber for the trims
- Two pieces of 1×2 lumber for the bins
- One piece of ¾” plywood for the top
- One piece of ¾” plywood for the shelf
- Two pieces of 1×2 lumber for the door
- One piece of 1×4 plywood for the back
- Two pieces of ¾” plywood for the partitions
Remember, these wood pieces may vary depending on the box size you want to build.
Step 2: Add BackBoard
Attach the two sides built in the first step with the correct backboard dimension using the ¼” plywood. Place the back plywood on the two side pieces so that the sides for 90° with the rear plywood are flush with its edges, and secure the attachment using finishing nails. Ensuring the sides are flush with the door board is vital, as slight errors may affect the door.
Step 3: Build Sides

Cut the required dimension off the ¾” plywood sheet for the side and attach cleats to the inside. The cleats should divide the board horizontally into three almost equal parts. Repeat the process for the opposite side while ensuring to attach the 1×1 cleats using glue and nails.
Step 4: Make The Front Frame
Construct a front frame using 1×2 lumber such that you have an outer support and short trims cutting the structure into three parts, similar to the attachment to the side pieces.
Step 5: Add The Top
Cut the top from the ¾” plywood and position it on the box before securing it with wood glue and nails. You may want to sand the edges to smooth and prevent injuries.
Step 6: Build The Potato Bins
By now, the box must have taken shape with a clear idea of what the final project will look like. The style of the drawers for this box is such that when you draw them out, they tilt downwards, so it is easy to access the potatoes.
You must utilize the measurements from the already-built box frame to get containers that fit into their chambers. Start by cutting the curved sides from plywood before building the front face frame, which you’ll attach to the sides. Use cutouts from ¾” plywood for the back and front frame while repeating the whole drawer-building process for each of the three bins.
Step 7: Fit The Bins
After making the bins, the next thing to do is center the containers in the open storage area. Install hinges underneath the bins to hold them in place and a handle at the front of the bin so it’s easy to access.
Step 8: Build a Door For The Top of The Unit
The top area features a different storage location where you can keep other materials apart from potatoes, so it does not contain a bin. Instead, plywood covers the base, while a door with lathes keeps it secure.
To build the door, use the 1×2 lumber to build the frame before covering it with ¼” plywood. It is vital to make correct measurements so the door fits snuggly and does not leave spaces where insects can reach your stored item.
Step 9: Finish
Before proceeding with this step, fill the dents and cracks the nails create with wood putty, then stain the bin to improve its look and keep pests away. The type of finish you use depends on your needs and the interior.
Tips to Preserve Potatoes
Are you looking to store potatoes for a long time and still maintain their freshness when you’re ready to use them? Here are helpful tips for preserving these tubers:
- Do not refrigerate potatoes, as extreme cold temperatures can damage them.
- Insulate the storage bin when using materials like plastic that can easily transmit extreme temperatures from the surroundings to the potatoes.
- Do not overstack the potatoes when storing them to avoid high competition for air.
- Do not put potatoes in closed bags, as ventilation is one of the core properties required for prolonged storage.
- Keep potatoes away from apples, bananas, and onions as they secrete chemicals that rot potatoes.
Summary
Storing potatoes requires more effort to keep them fresh than most other food items. However, you can keep your potatoes for a few months with a simple storage bin in the correct position. Building this box depends on style, size, and design, with some basic crate designs requiring minimal materials and experience.
If you’re looking for a more complicated design that stands out while serving as a potato storage unit, the easy-to-make storage bin process is an exciting option.

 By
By


