

Tiles are beautiful flooring materials that leave a clean floor. They are common in the bathroom and kitchen walls as they are easy to clean and keep water away. If you’re a DIY tiler, you will encounter outside corners, sometimes called external corners, which require different tiling techniques, especially to cover the edges.
Installing tiles is a rigorous process that can take several days to complete. A single mistake can ruin days of labor, so handling tricky parts like an external corner where the edge of the tile is exposed requires careful planning.
Bullnose tiles come with rounded edges and are easier to install; however, bullnose tiles come in standard sizes only and would require trimming for an uneven floor. If you prefer straight-edge tile but are looking for ways to get a neat finish in that outside corner, you should stick around as we dissect the subject.
This guide will show how a DIY tiler can cover an outside edge without the popular bullnose. But that’s not all; there are tile-choosing and installing tips from our team of expert tilers.
Choosing The Right Tiles

Tiling external edges come with challenges, but with the correct tile, most problems are solved. Choosing the best tile for the project should be your first call and should be based on certain factors. Here are the factors to consider that’ll guide you in selecting the best outside edge tile:
1. Slip Resistance
Tiles installed on outside edges should be slip-resistant to prevent people from slipping off the edge and sustaining severe injuries. This is especially important in areas prone to moisture.
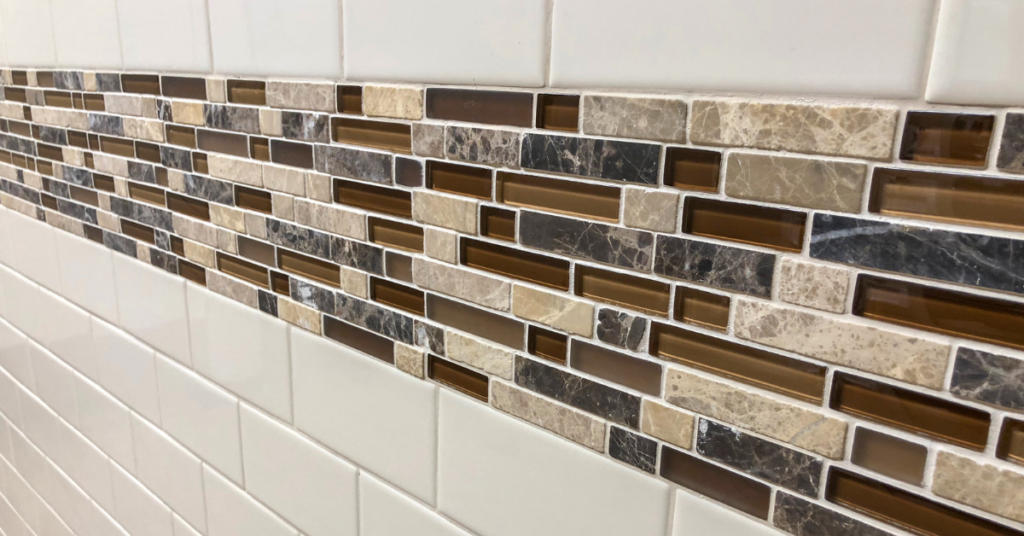
2. Color And Pattern
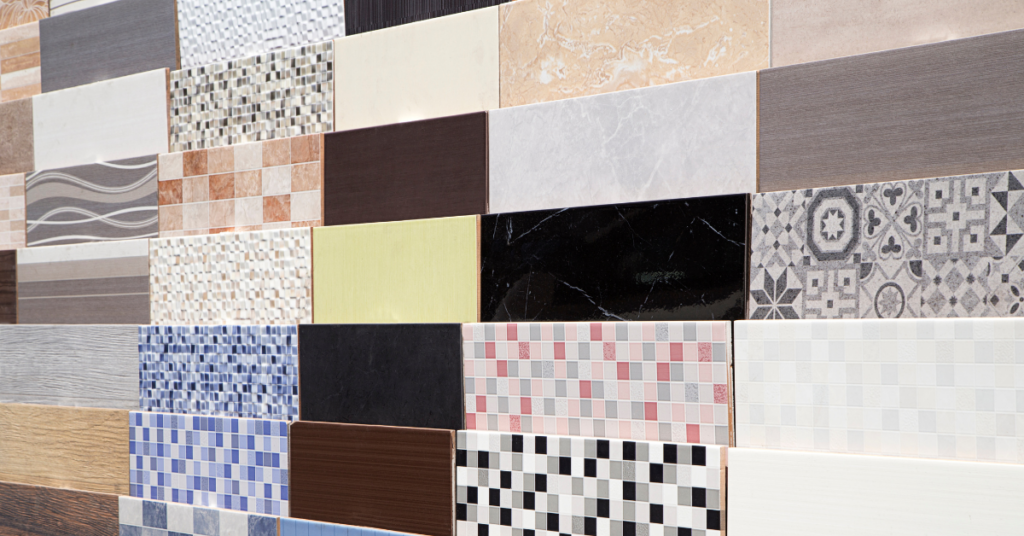
Choose an outside corner tile that matches the color and pattern of the remaining tiles. There should be a seamless progression of the design without being constrained to a particular color. Exterior corner tiles are still part of the general tiling and should have a similar pattern.
3. Evaluate Tile Profile
Some outer corner tiles come with mitered edges set at 90 or 45 degrees which perfectly fit corners. You should evaluate the tiles and decide on the right profile based on your needs and the type of tile. Remember, all shapes are welcome except the rounded bullnose outer tiles.
4. Matching Thickness
The outer tile’s thickness should match the thickness of the tiles used in other areas, as any difference will cause an uneven surface which is unappealing and can even lead to slips around the edges.
Importance of Properly Preparing The Wall Before Tiling
Wall preparation ensures tiles align, are appealing, and last long. When preparing the wall for tiling, certain features are at the forefront. Here are the benefits of wall preparation before tiling:
- Ensure an even surface: The wall should be flat and level to prevent poorly aligned tiles during installation. With the correct wall preparation, you can remove bumps and uneven parts that make the tiles unappealing.
- Improve adhesion: Adhesion is arguably the primary reason for preparing the wall before tiling, as adhesion improves when the wall is carefully set. The key here is to make the adhesive stick better and hold the tiles in place for longer. Cleaning the walls and removing dust, grime, and particles will improve the adhesive’s sticky abilities.
- To Prevent tile movement and cracks: Walls typically move due to contraction and expansion, which often translates to tiles or other wall finishes. When this happens, the tiles can move out of place or crack, disturbing your clean design. Proper till preparation is carried out to prevent wall movement and prevent a transfer to the tiles.
- Moisture resistance: Rooms like the bathroom and kitchen see a lot of water splashes on the wall, which can damage a wall that was not set correctly. With good waterproofing, you can prepare a wall for tiling.
- Time and cost-efficient: This might sound counterintuitive, considering wall preparation may cost you a few extra bucks and time, but it saves you a lot of hassles in the future. Repairs are expensive, so increasing the tiles’ durability through proper wall preparation is an efficient way to go.
Cutting Tiles For The Corner
Getting ready to install the outside corner tile also involves cutting the tile. You’ll need utmost precision to cut the tiles to the required sizes since most come in standard sizes.
1. Measure And Mark
The first step to cutting the tile is measurement and marking. Use tape to measure the outside corner where you want to install the tile and transfer the dimensions to the tile while marking with a visible pencil.
2. Select Cutting Tool
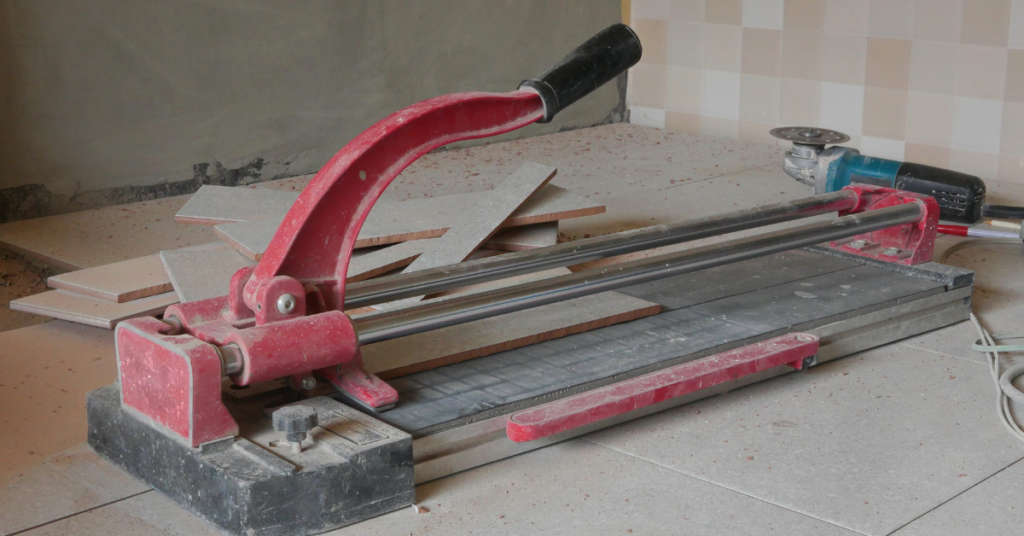
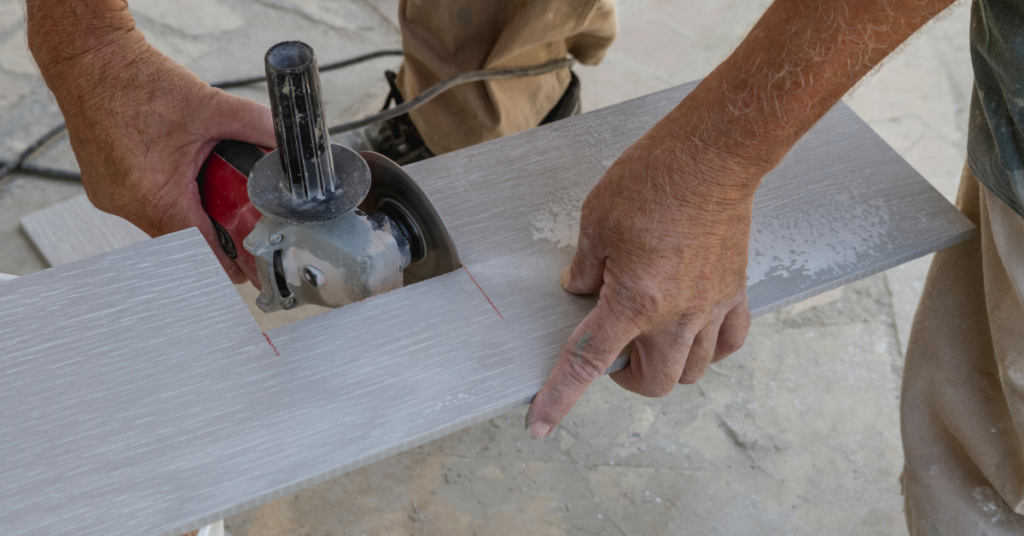
There are various cutting tools for tiles, all with varying features and strong points. Choose the cutting tool depending on your needs and available tools since some are easier to get. Some tools include a wet tile cutter, angle grinder, tile nipper, and tile cutter. Some, like the angle grinder, have a lot of power but lack control, while others, like the tile cutter and wet tile cutter, offer a lot of control.
3. Cut
Using your chosen cutting tool, slowly cut through the tile while wetting the blades to enable smooth cutting. Follow the marked lines to cut out the tiles required for your outside corner.
Installing The Tiles
After cutting the tiles to their exact outside corner measurement and cleaning the wall of dirt and grime, you can proceed with the installation. How do you install tiles on an outer corner without using bullnose tiles?
1. Apply Tile Adhesive
Adhesive for tiles is a specialized glue for holding tiles firmly to the ground or wall. Adhesive demands vary based on the location of the outside corner tile, the type of tile, and more. With a notched trowel, spread the adhesive on the back of the tile and make sure it covers the back area.
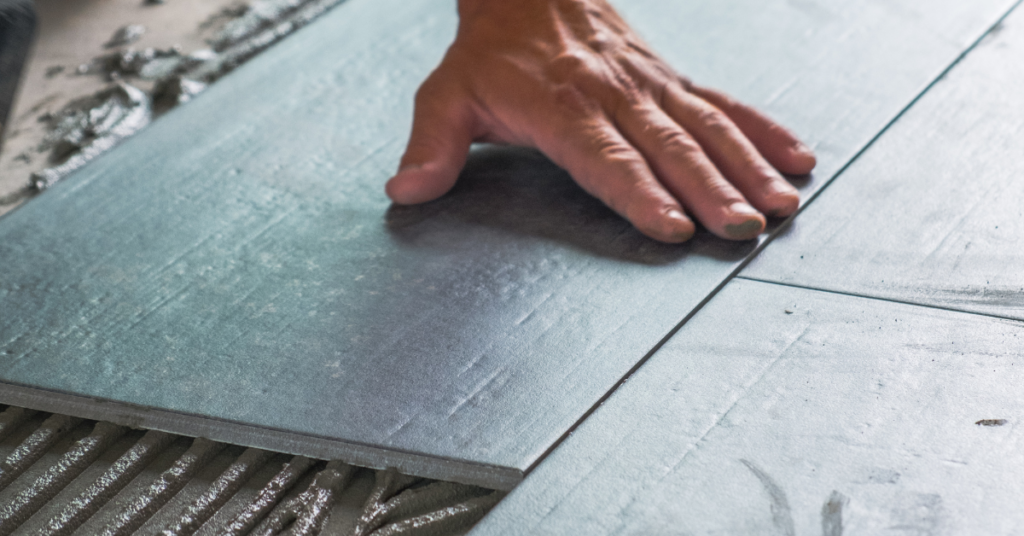
2. Install Corner Tiles

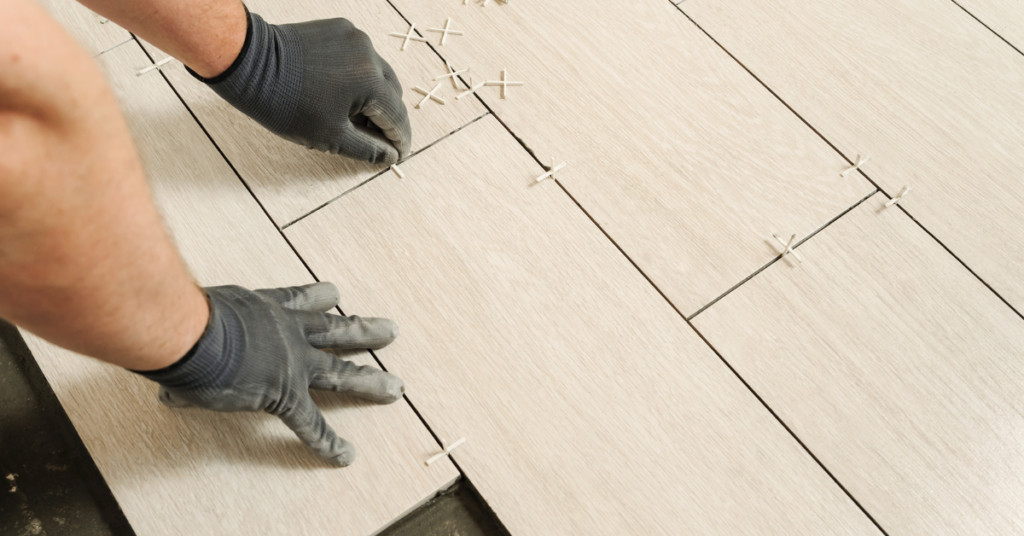
Carefully lay the tiles on the exterior corner while pressing it firmly. You may need to slide or twist it to remove air pockets between the tile and the floor. Generally, airtight additions like these will adhere better.
3. Align The Tiles
Repeat the process to install other tiles along the outside corners. Here you need to make sure each tile matches the adjacent for a clean look while also carefully placing the tiles so there are minimal spaces between tiles. You can utilize tile spacers to get a uniform arrangement.
Use a spirit level to check the tiles’ level and plumb during installation. Errors here can be adjusted easily since the tile is still wet. Uneven tiling leaves a poor job at the end, so you want to check that the tiles are flat and even.
4. Grout The Tiles
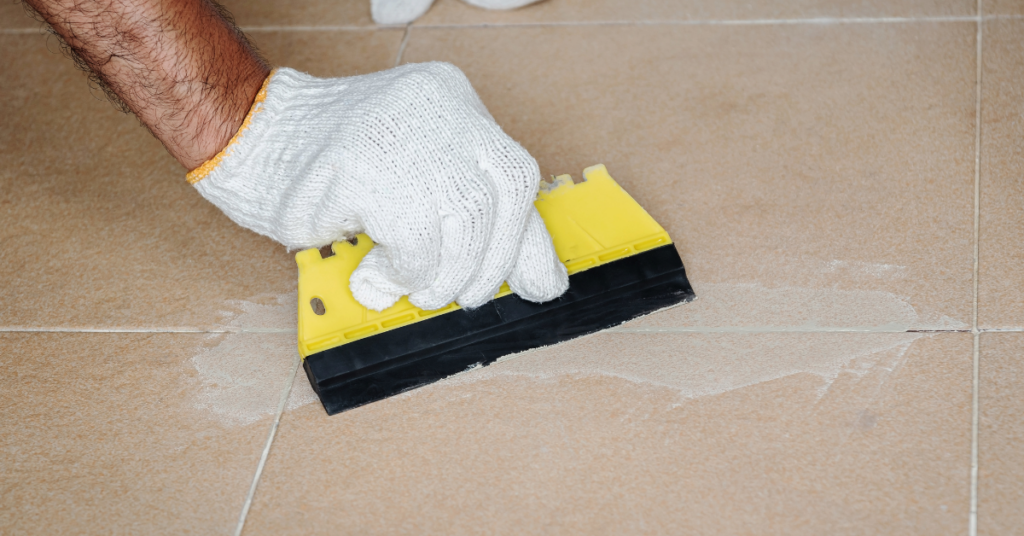
Before you grout the tiles, wait for 24 to 48 hours so the tiles can dry. Remove the tile spaces and seal the tiles using grout. Grout keeps the tiles in place, preventing them from moving and cracking along the edges, which is common, especially in outside corners. With a grout float, apply the grout into the tile spaces and wipe out excess using a damp rag.
5. Clean And Seal
Allow the grout to cure for about 48 to 72 hours before thoroughly cleaning the till, removing any grout or adhesive on the tile. Use a tile cleaner or mop with mild detergent for a clean tile look. Sealing with a tile seal is vital as it prevents the tile and grout from staining.
Finishing The Corner
There are many ways to finish the corner after tile installation with bullnose. Here let’s quickly see some ways to finish the corner.
1. Mitered Edge
Mitered edges are typical for stone tiles, leaving a 45-degree angle on the corner for a clean joint. You’ll require high-precision skills, precision cutting, and alignment tools.
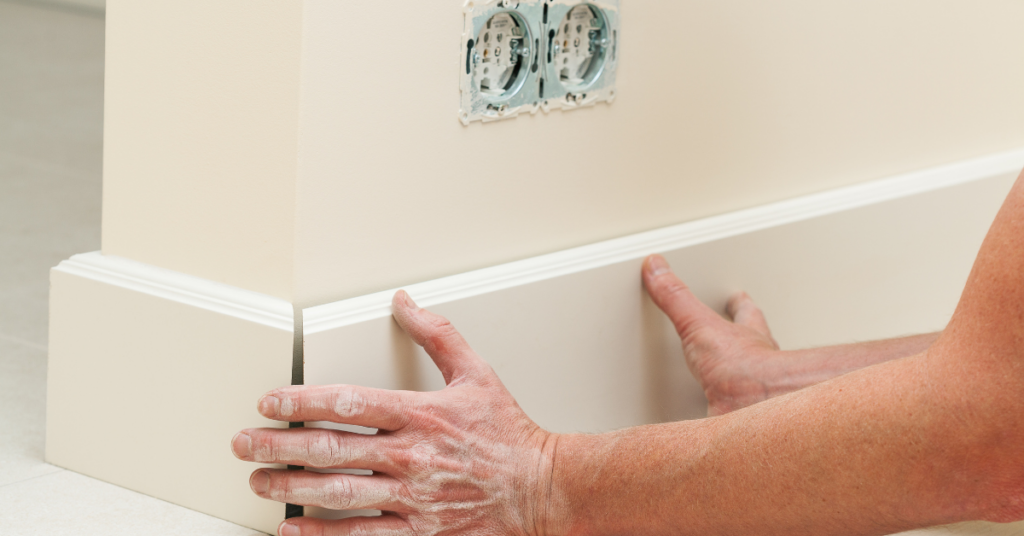
2. Custom Trim or Border Tiles
Custom trim or border tiles are made in varying shapes and styles to fit into different designs. You can use these unique edge tiles to finish your corner tile installation.
3. Metal or Plastic Corner Edging
Instead of trying to design an appealing corner, why not hide it completely using an attractive material? These corner edgings are installed before tiling and can be made from stainless steel, plastic, and aluminum, with varying degrees of durability and style.
FAQ’s
Here are some questions that may arise before, during, or after the corner tile installation and their precise answers:
Ans: Install the external corner tiles at the end, where you can correctly measure the exact space remaining.
Ans: While regular tiles can be used in place of unique exterior corner tiles, it is recommended to use specialized corner tiles.
Ans: Sealing is optional; however, it prevents the tile and grout from staining. Non-porous tiles are less prone to stain, which means they can do without a tile sealer.
Conclusion
While regular tiles can be used to lay outside corners, it is best to use specialized tiles and finishing for the best results. Tiling outer corners require a little more attention as the area is prone to cracks and damage. You can lay tiles in this area by following simple processes and finishing with suitable materials.

 By
By


