
If you’re serious about maintaining your precious furniture or antique wooden pieces, you’ll do anything to fix cracks immediately after they appear. Cracks appear when you neglect maintenance and use the wrong wood joinery practices.
If you’re faced with a split wood in your home and looking for a DIY method, there are many ways to do this. Experts have advised, and DIY enthusiasts have tried a handful, but are they effective? Some methods have proven to be effective repairs for split lumber.
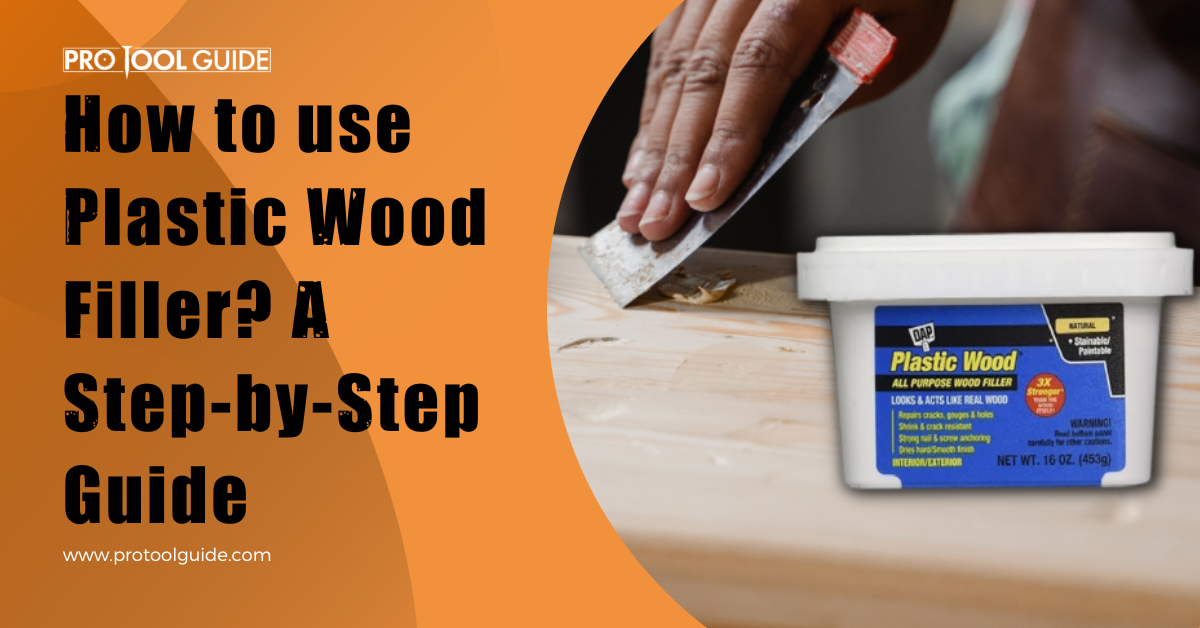
Plastic wood filler is one of the most widely used materials for repairing cracks in wood. It isn’t just cracks that they take care of; they cover imperfections and leave an impressive finish. Plastic wood filler is versatile, making it the go-to choice for many.
Are you wondering how to use a plastic wood filler? We’ve compiled a step-by-step process from our team of experts on how to use this filler. But before then, what is plastic wood filler?
What is Plastic Wood Filler?
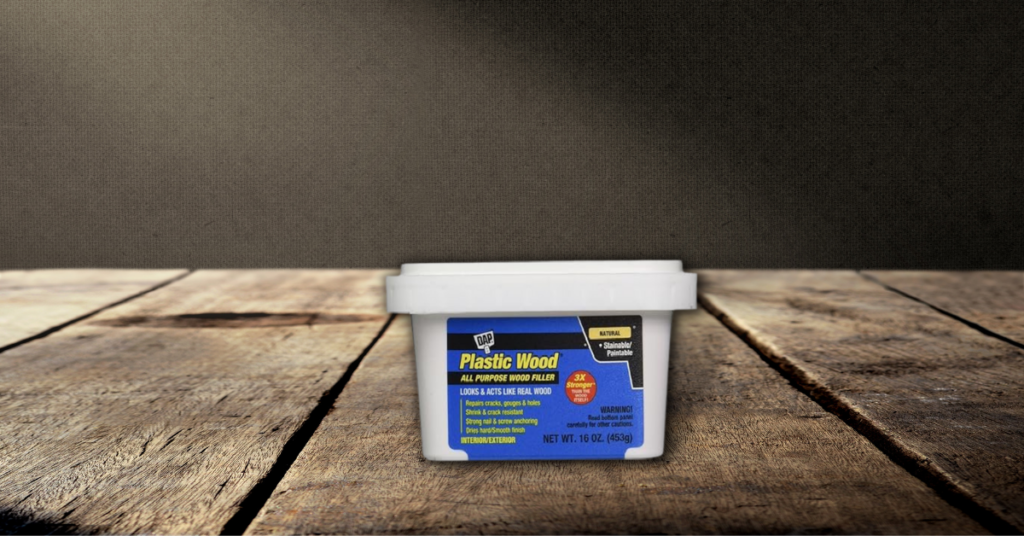
Plastic wood filler is a material in a putty form used to fill holes, cracks, and split wood. These imperfections can be on interior and exterior surfaces. Plastic wood filler combines wood fibers, resins, and a suitable adhesive.
Another name for plastic wood filler is wood putty, typically used on unfinished wooden surfaces. Wood putty can be sanded, painted, or stained, allowing you to customize the finish. It gets even better with wood putty, as there are also different varieties from which to choose.
Types of Plastic Wood Fillers
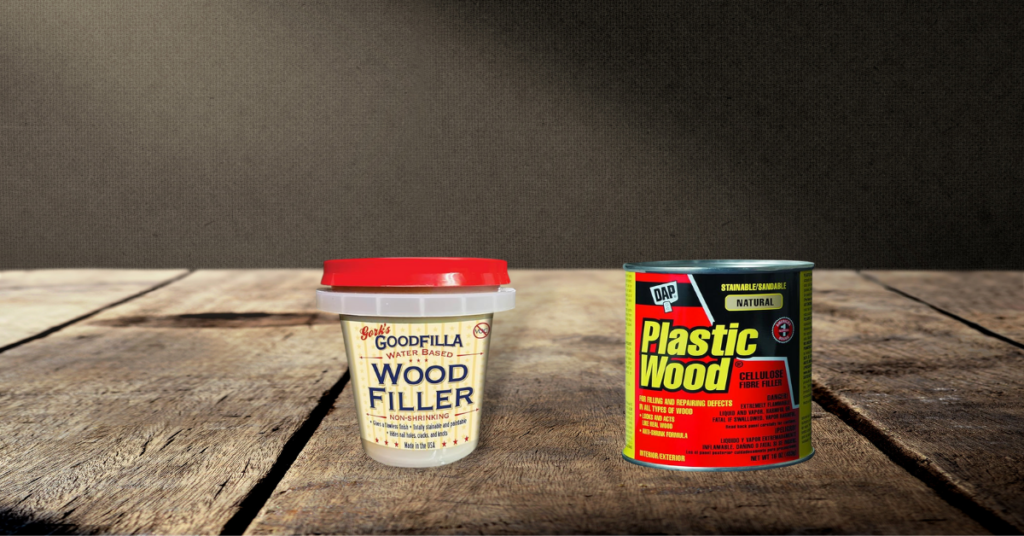
One of the advantages of plastic wood fillers is their flexibility. They can be made using various materials, with the condition of their resins forming the basis for the difference. There are two primary types of wood putty, and we’ll briefly discuss them below:
1. Solvent-Bases Plastic Wood Filler
The resin is a solvent-based filler suspended in a solvent like acetone or mineral spirit. The combination makes the filler stronger, more durable, and less likely to shrink as it dries. Solvent-based fillers are helpful for extensive repairs, especially for areas that may be subjected to stress and moisture.
However, the filler type has its drawbacks, like its strong odor, which demands a lot of ventilation. Wearing a piece of protective equipment before handling this filler is also vital.
2. Water-Based Plastic Wood Filler
On the other hand, water-based plastic wood filler has its resin suspended in water, making it easier to work with. It has no pungent smell, but its durability is limited. Water-based fillers often shrink as they dry, leaving behind an unbalanced surface.
It is better suited for smaller areas away from moisture and high traffic. Unlike solvent-based fillers, water-based fillers are not toxic and can be handled without personal protection equipment.
Uses of Plastic Wood Filler
As earlier mentioned in this guide, plastic wood fillers do more than fill cracks. Stick around if you want to know how to utilize wood putty.
- Filling Nail and Screw Hole: Holes formed after nailing leave the surface unbalanced, but wood putty can cover these holes for a level surface.
- Repairing Damned Trims and Molding: Wood putty can replace caulk to repair damaged moldings around windows and doors. Not only is this vital in maintaining the shape, but also in preventing further damage.
- Filling Gaps Between Wood Boards: Gaps may appear between wood pieces, especially in flooring, with the wood putty helping to close those gaps and provide a tight seal.
- Repairing Gouges and Cracks in Wooden Pieces: Plastic wood filler helps cover dents and cracks that typically appear in wooden furniture.
- Smoothening Rough Surfaces: Using wood putty, you can smoothen your rough wooden surfaces.
Other uses include filling holes in door frames and window sills, repairing damaged wooden toys, and filling gouges in wood sidings.
Step-by-Step Guide to Using Plastics Wood Filler
Wood putty uses are typically affordable since you don’t need to break the bank to cover a large area. Using the filler is beginner-friendly, with a working time of less than an hour, depending on the project size. Learn how to use the plastic wood filler in this section.
Supplies Required:
- Wood putty
- Putty knife
- Oscillating sander or sandpaper (choose a variety of grits from medium to very fine)
- Rags
- Tack cloth
- Finish of choice
Here are a few steps you need to follow while using the plastic wood filler. Read on to know more.
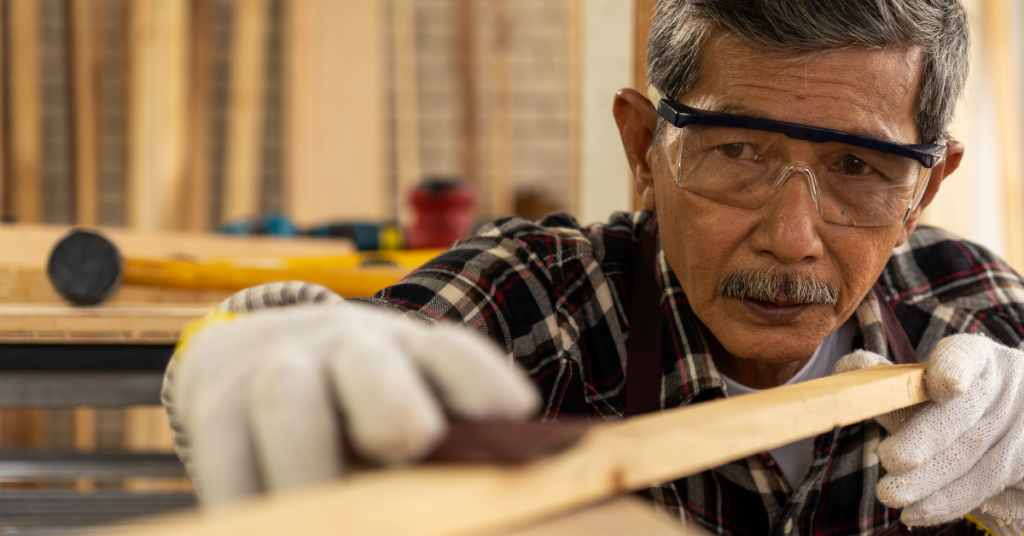
1. Identify the Repair Areas
Take some time to inspect your wooden pieces and identify all the areas that require fixing. The problem can include nail and screw holes, dents, cracks, gouges, and rough surfaces. Remember, wood putty is effective for small holes and unfinished surfaces.
2. Mix Wood Putty
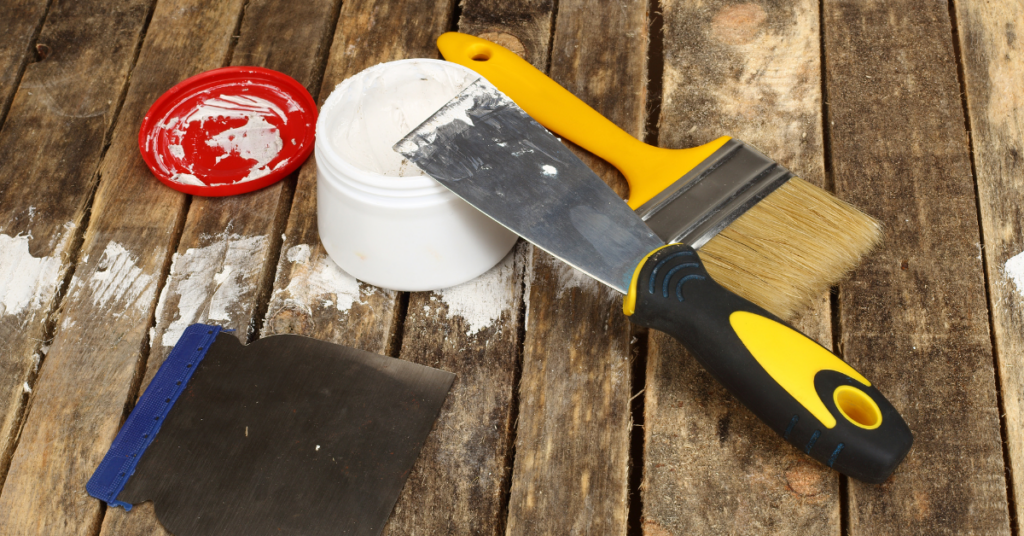
Wood putty often forms lumps and separates after sitting in its container for a long time. But you want a smooth consistency, so mixing with your putty knife is vital. Use the knife to turn the filler inside its container to form a consistent mix.
You may need to add some thinner while mixing to restore its paste-like consistency. However, this isn’t necessary most of the time, as turning for a few seconds is enough.
3. Apply the Plastic Wood Filler
There are two ways to apply wood putty, with the most suitable depending on the dent size. The putty knife is excellent for langer holes, while your finger will do the job on tiny cracks and marks. Inspecting the dents in the first step will help you to choose the most suitable application method.
Use the putty knife or your finger to scoop some putty and press it firmly into the hole. Scrape off the excess while ensuring not to poke into the crack. Depending on the putty type, you may need to work faster to beat the drying time.
4. Smoothen
After removing the excess filler from the surface, it is crucial to smoothen it before it dries. Remember, you have to be conscious of the drying time. Use your finger to smoothen the surface by going back and forth on the putty. This activity does two things: presses the putty further into the crack and leaves a smooth surface.
5. Allow to Dry
Allow the putty to Dry for about thirty minutes to an hour before working on it. Wood putty does not harden even after drying, but it is vital to let it solidify before sanding.
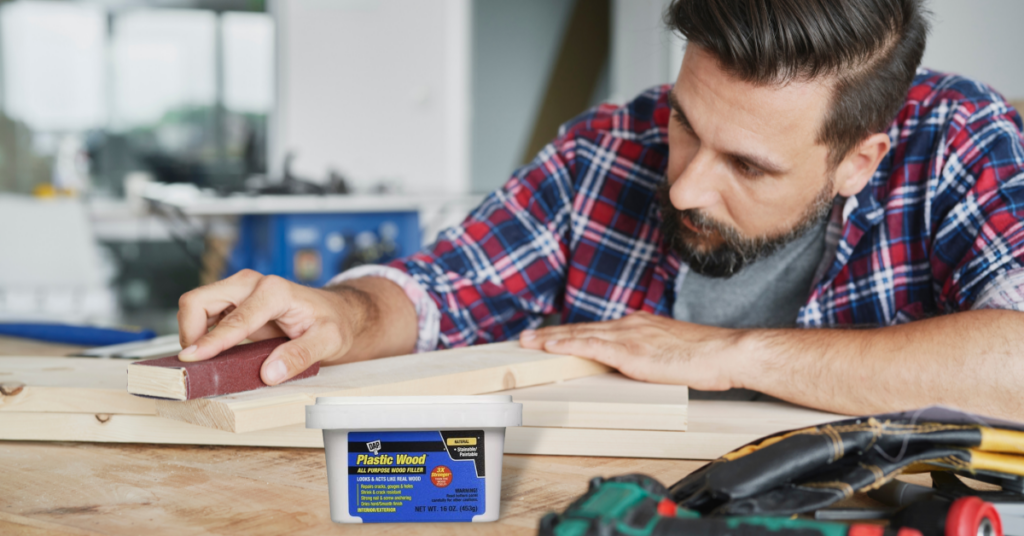
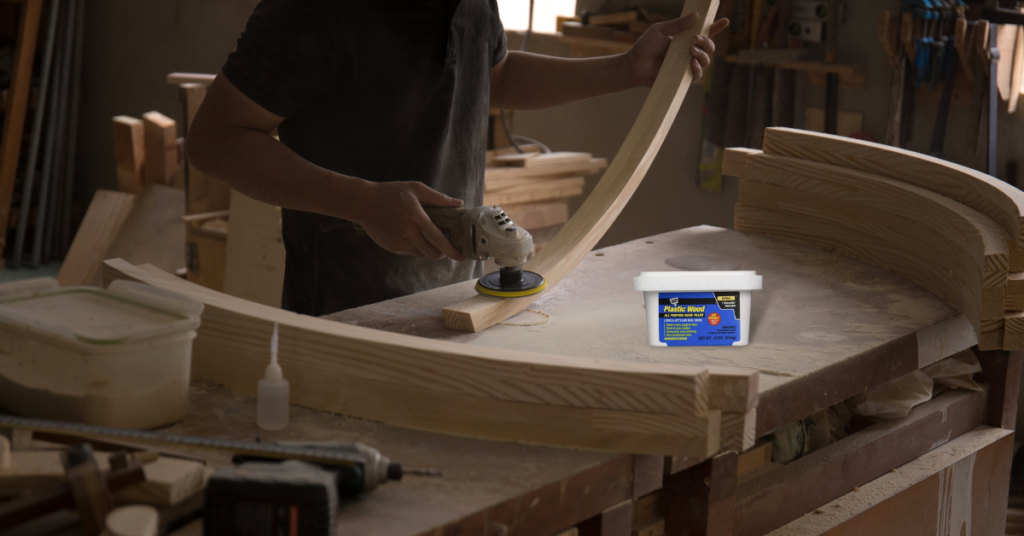
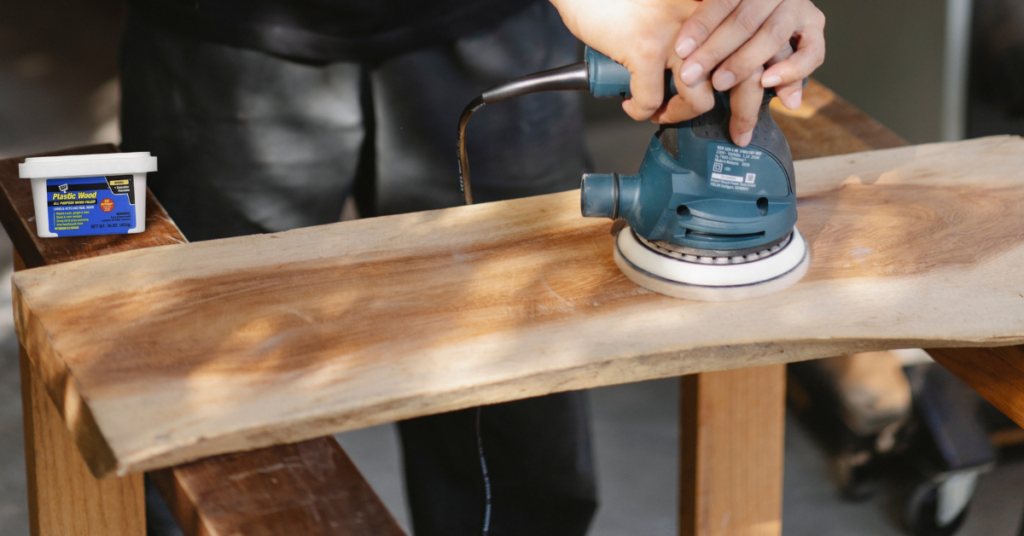
6. Sand
After waiting, you can sand the plastic wood filler using a sander or sandpaper. If you have a large area to cover, you can reduce the stress using an oscillating sander. Always start with medium-grit sandpaper of 120 before switching to finer-grits of 180- to 220.
It is essential to sand in the direction of the wood grain to create a similar pattern as the wood. The patterns make staining easier and more appealing.
7. Wipe the Dust
Sanding always leaves dust particles around the work area, which is not ideal for a clean finish. Wipe the surface using a tack cloth to remove the dust. The cloth picks up dust without leaving visible marks on your putty finish. You can also use a shop vacuum for more extensive projects.
8. Finish
Wood putty typically leaves the area looking patchy since the color may differ. However, you can blend the area using the right finish. Remember, wood putty and wood absorb stains differently, so don’t expect a perfect blend even after staining.
Additional Tips for Using Plastic Wood Fillers
Here are some additional tips for your wood putty application. Following these tips will make the putty more effective:
- Always clean the surface and let it dry before applying plastic wood filler to boost adhesion.
- When applying multiple filler coats for extensive gouges, you must allow each layer to dry before adding the next.
- Only use plastic wood filler on unfinished surfaces. The finish makes it challenging to adhere to the surface, and sanding the putty on a finished wood will strip it of its stain.
- The strength of the filler depends significantly on the binder.
- Applying plastic wood filler in the crack will not stop it from widening, so you may have to find another solution.
FAQ’s
In this section, we’ve compiled the answers to some widely asked questions about plastic wood fillers.
Ans: It takes about two to four hours for plastic wood filler to dry. However, many other factors can affect its drying time, like the putty thickness, environmental conditions, and putty type.
Ans: Although plastic wood filler is not waterproof, it is water-resistant. However, it will not withstand prolonged exposure to moisture.
Ans: Put a plastic under the lid to trap the moisture so the putty remains pliable and moist. You can also place the container in a ziplock bag, although this is less effective.
Ans: Plastic wood filler is wood putty and is a combination of wood fibers and adhesive. Wood putty is used on unfinished wood, while wood fillers are suitable for finished surfaces.
Conclusion
A plastic wood filler or wood putty is a repair paste that can fill nail and screw holes, gouges, cracks, holes, and dents and smoothen rough surfaces. It is suited to unfinished surfaces and can absorb stains or paint. This filler is easy and takes less than an hour to complete, even for a beginner.

 By
By


