
Hardwood floors look exquisite and give any space a refined touch. Their ease-of-maintenance and their ability to last for years on end make them one of the most coveted flooring options for modern homes.
Granted, their installation cost is pretty steep. If DIY installation appeals to you, read our guide on how to install hardwood flooring. It will save you a lot of your hard-earned money. Once you get that out of the way, the only thing that remains is the occasional refinishing your floor will need. Remember, hardwood floor refinishing is a must for maintaining its timeless look!
Professional finishers charge upwards of several thousand bucks. Multiply that with the number of times (at least ten to twelve) your floor will require refinishing during its lifespan and you are looking at a lot of dollars spent on maintenance.
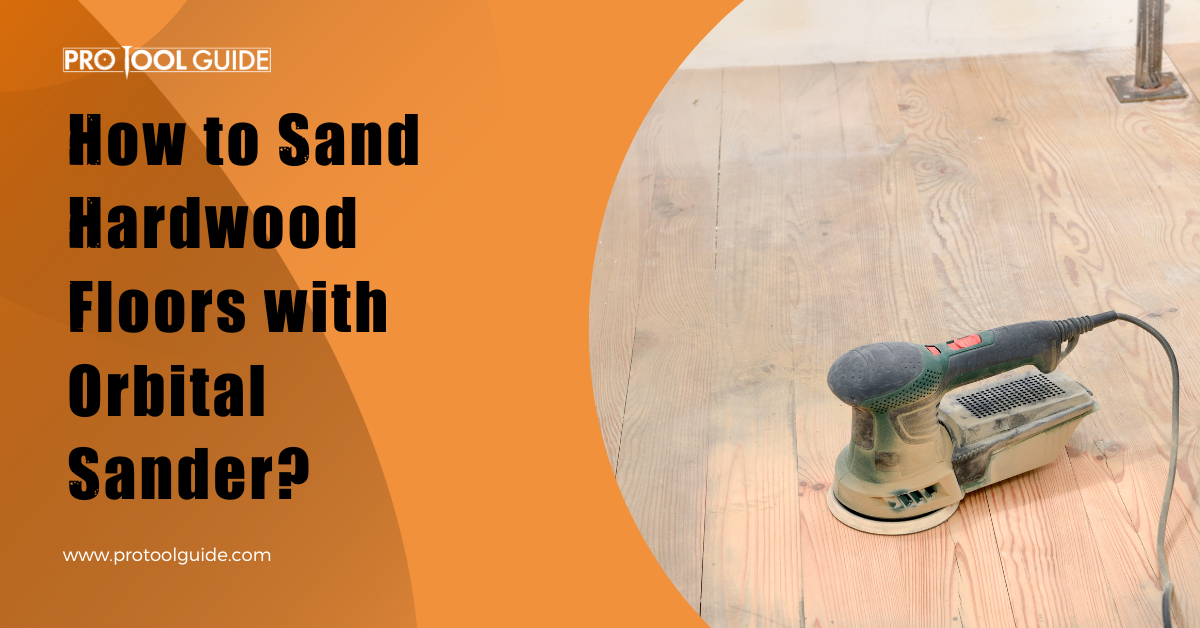
In this guide, we will instruct you on how to sand your hardwood floors by using an orbital sander. Sanding is a prerequisite for hardwood floor refinishing. But let us first understand what an orbital sander is and how it differs from other sanding tools.
Looking to buy an orbital sander? Check out this review of the 10 best random orbital sanders.
Orbital Sander Overview
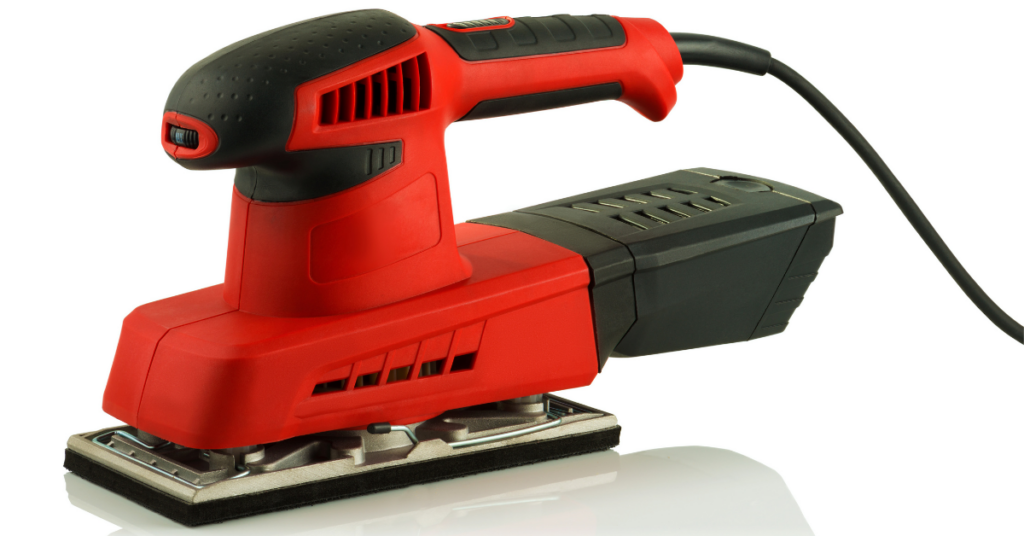
An orbital sander is one of the most commonly used wood-sanding tools by professionals worldwide. It is very easy to operate once you have learned the basics.
The base of an orbital sander has a distinct square shape which allows it to access corners and edges. There are clamps or hooks on all sides of the base for securing the grit paper or sanding paper to it.
Another similar tool is a random orbital sander. The difference is in the shape as well as the movement of the foot. While the square foot of an orbital sander moves in short orbits to create a distinct pattern on the wood, the random orbital sander has a round base that spins rapidly to leave less distinct marks.
You can also use a belt sander to do the job or simply sand across the grain by hand.
Advantages of Using an Orbital Sander
More efficient than a random orbital sander in some cases, here are a few advantages of a generic orbital sander that every DIYer must be aware about:
- Its square foot gets into corners and edges with ease. In comparison, the round base of a random sander cannot be used to sand corners.
- It uses sandpaper that is cheaper as compared to the custom-made disks of the random orbital sander.
- An orbital sander leaves less distinct grain marks on the wood as opposed to a belt sander. This means that there are fewer chances of the floors getting damaged while sanding.
- Sanding with an orbital sander goes faster than sanding by hand.
- Orbital sanders are typically simpler to operate and also less expensive than random sanders.
With so many advantages to offer, it is no wonder that orbital sanders are the go-to sanding tools of both professional woodworkers and DIY enthusiasts alike.
Now that you have decided to use an orbital sander for your hardwood floor refinishing job, let us delve into detailed instructions for it. However, before you begin, make sure to read our expert guide on how to use an orbital sander.
All right then, let’s begin.
Sanding Hardwood Floors Using Orbital Sander: Steps
1. Gathering Required Supplies
Assuming you have bought or rented an orbital sander, other materials you will need for your hardwood floor refinishing project are:
- Three types of sandpaper: a 30 to 40-grit, a 50 to 60-grit, and an 80 to 100-grit sandpaper
- 120-grit sanding screen
- Pole sander
- Plastic sheets
- Painter’s tape
- Putty knife
- Nail sets
- Floor finisher
- Paintbrush
- Lambswool applicator
- Denatured alcohol or mineral spirits
- Protective goggles
- Dust mask
- Earplugs
- Gloves
See also: Woodworking 101 Guide for Beginners
2. Preparing The House
Before you begin to sand your hardwood floors, it is important to prepare all the rooms. The steps you need to follow are as follows:
- Clear all the furniture and curtains out of the room.
- Cover the doors, vents, windows, as well as immovable surfaces and furniture with plastic sheets. Secure them with painter’s tape. This is done to protect them from getting covered in dust while you sand the floor.
- Use pliers to remove any nails or staples. If any wooden boards are loose, nail them down.
- Inspect the flooring for signs of damage. Repair any holes or scratches using the putty knife and a wood filler. Let it dry completely and then wipe the floor with a wet cloth to clean all the uneven and loose dust.
- Clean the floors using a hardwood floor cleaner. Further, allow the surface to dry fully before proceeding to the next step.
3. Sanding The Floor
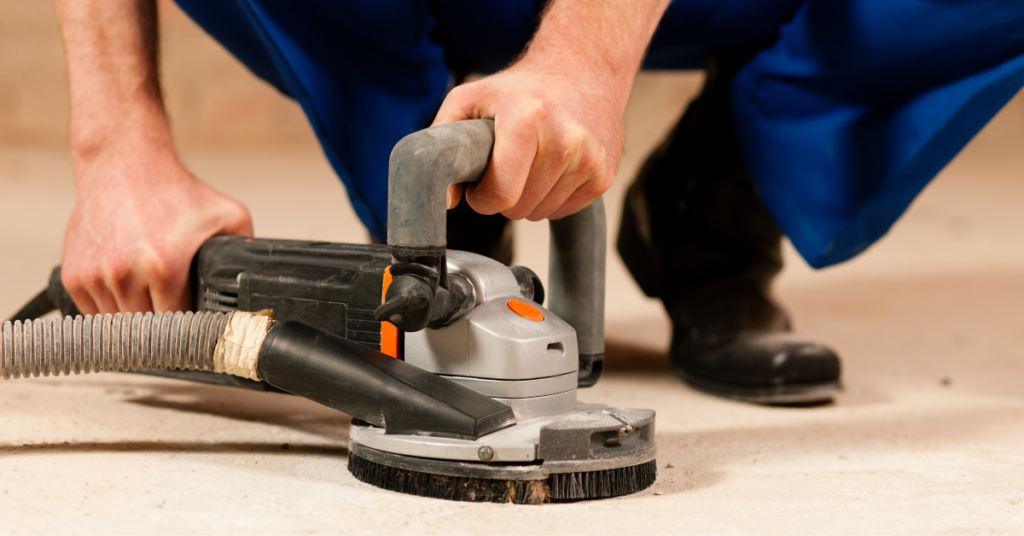
To sand the hardwood floor you should follow these steps:
- Attach the Sandpaper to the Orbital Sander
The three sandpaper pieces need to be attached in three steps. For the first pass of sanding over the floor, you should attach the one with the coarsest grain, that is, 30 to 40 grain. Use progressively finer grain sandpapers with each pass or round of sanding to get the smoothest finish by the end.
Depending on the previously applied finish on the floor, you need to use different grain sizes of sandpapers. For instance, if your hardwood floor had a top coat of paint, it needs to be sanded with 20-grit sandpaper to remove all traces of it. On the other hand, varnish requires sanding with 36-grit sandpaper.
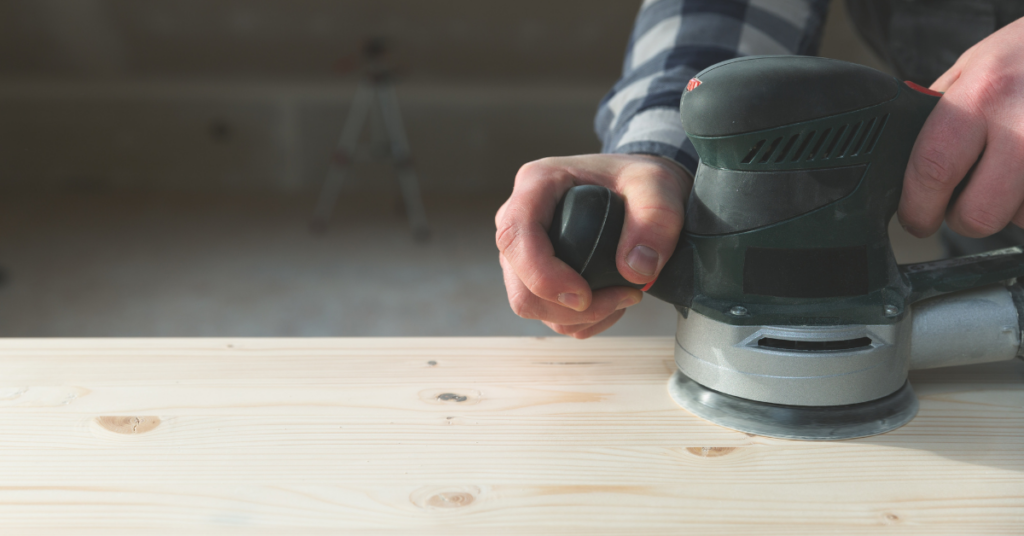
- Position the Orbital Sander
Place the orbital sander on your hardwood floor to align the grain along the length of the hardwood boards. Never angle the sander or there will be marks on the floor.
Choose the point of the floor where you will begin sanding. This will depend on the shape of the room and the position of the doorways. You can also start centrally and then pan out from there.
Wear the protective goggles, face mask, earplugs, and gloves before you switch on the orbital sander.
- Move the Orbital Sander Around the Floor
After placing the sander in the right position, switch it on and use it to begin sanding. Move the sander in a similar fashion to a lawnmower. Continue to gently nudge it forward as you finish one patch. Sand the wooden floor patch by patch in this manner.
Take care to not leave any surface unattended so that you get an even finish. This can be done by overlapping the patches. Go over the same patch multiple times to get a smoothly sanded surface.
After completing a few rounds of sanding over the entire floor including the corners, switch the sander off.
Keep in mind, a sign that indicates even sanding is the color of the floor. When you are assured that the entire floor is uniform in color, proceed to remove the coarse sandpaper and attach the next grit level. Up ahead, wipe the dust off the floor and repeat the aforementioned process again.
Another few rounds of sanding later, attach the finest grain (80 to 100 grit) of sandpaper to the base of the orbital sander. Make several passes over the entire floor to finish sanding.
Bonus Read: How to Paint Kitchen Cabinets Without Sanding
4. Cleaning the Dust
Use a vacuum cleaner or a large enough cleaning mop to clean the floor of all the dust left behind after sanding. Once you are done with that, use a clean cloth to wipe any remaining dust particles or hair strands off the floor.
5. Buffing the Floor
Hardwood floor refinishing is incomplete without staining the floor. To prepare the surface for sealing and staining, buffing is an important step.
Attach the 120-grit sanding screen to the pole sander and move it back and forth in the direction of the grain. This will buff the floor to remove small sanding marks and give a smooth finish.
6. Preparing the Floor for Staining
To allow the stain to penetrate the flooring evenly, mix a measure of alcohol or mineral spirits with twice the amount of water. Put this mixture inside a spraying bottle and spray it over the entire floor. Spread it with a piece of clean cloth. Finally, let it dry completely.
This solution results in the wooden surface accepting the stain more efficiently.
The next step in hardwood floor refinishing is applying a wood stain. Ensure adequate ventilation before you do that. This is because stains can emit toxic fumes which can be harmful to you if inhaled.
7. Staining the Hardwood Floor

Staining gives wood its characteristic hue. It is necessary to give your floor the perfect finish.
Select a corner from which to begin staining. Once you have done that, you are ready to begin staining. For this, apply the stain using the lambswool applicator one by one over two-foot sections of the floor. Ensure that the stain is applied evenly and that it isn’t too thick or thin.
Wipe the extra stain with a piece of cloth, before you move to the next section. Apply the stain in the next section while making sure to meet the edges of the previously stained section.
Edges and corners are harder to stain with a lambswool applicator. Instead, use the paintbrush to stain them. Make sure to cover the entire length of the floor in this manner.
When you are finished, allow the stain to dry. If you feel that the stain is light and you would prefer a darker tone, you can reapply another layer of staining on top of the dried one. Repeat the process until you are satisfied with the color of the hardwood floor.
8. Sealing the Hardwood Floor
The final step in any hardwood floor refinishing project is applying a sealer. This helps to protect the finish against normal wear and tear.
A polyurethane sealer is well-suited for this purpose. It can be applied using either a high-density foam roller or a paintbrush. Apply in a similar manner as the stain and let dry for a shining and glossy finish. Before applying a second coating, buff the surface with a sanding pole once more.
When the final coat of sealer dries, you should wait for 24 hours before you can move the furniture back in. There you go! Your hardwood floor refinishing is successfully done!
Conclusion
Using an orbital sander to sand hardwood floors is a time-consuming and slightly daunting prospect. To be sure, there is a lot of hard work and sweat involved. However, with enough motivation and proper guidance you can do it all by yourself. What’s more, you can save a lot of money in the process.
We have provided detailed instructions on sanding with an orbital sander along with other necessary steps involved in hardwood floor refinishing. You can now use this guide to achieve a perfect refinish of your beautiful wooden floors.
Are you a fan of DIY projects that involve woodwork? Check out this list of 13 Creative DIY Table Legs Ideas for your next woodworking DIY project.

 By
By


