
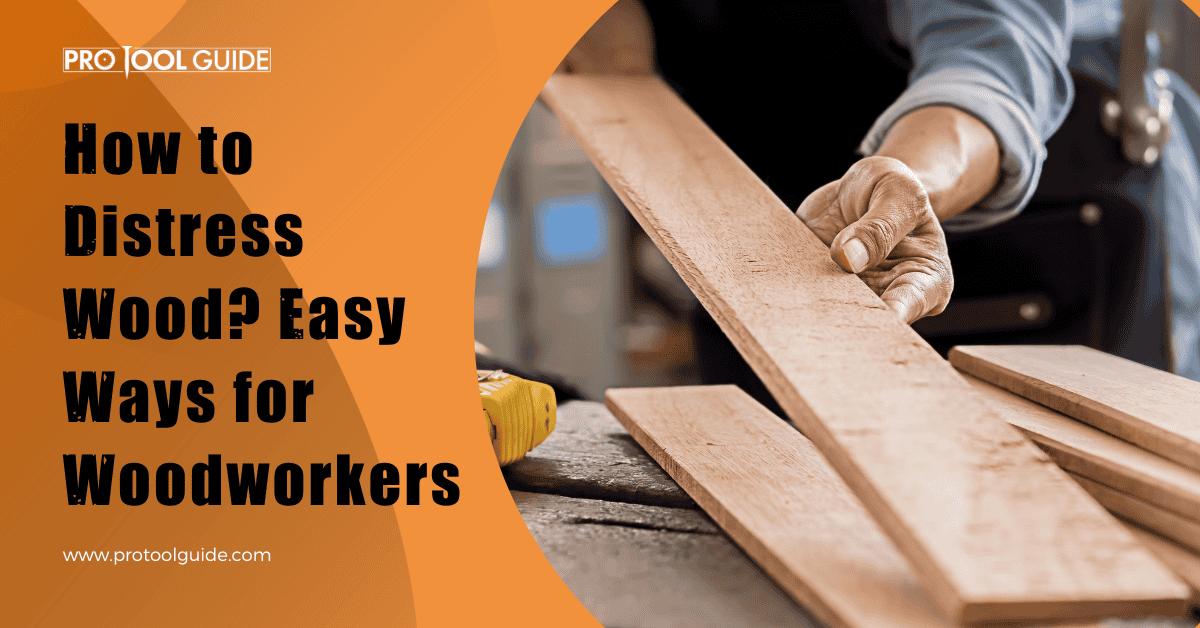
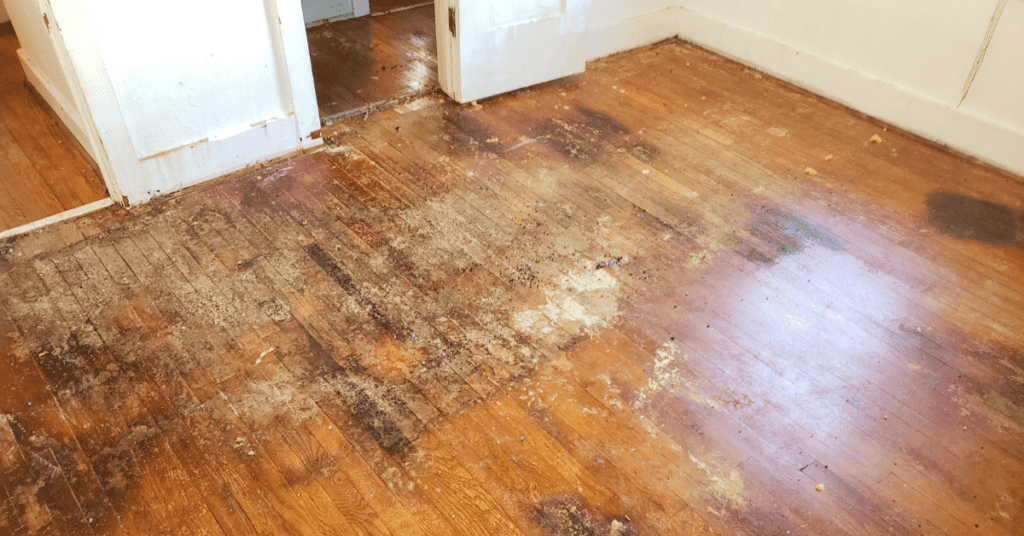
Old and worn-out furniture no longer calls to be replaced. There is something about aged wood that gives a dignified and rustic look to any space. The charm of the antique has always drawn people in, yet the price at which antiquities sell puts them out of many people’s budgets. This is where wood distressing comes in.
The distressed visage of time-worn wood is due to overuse, scratching and bumping, weather changes, wood-eating insects, and excess moisture or heat. Artificial distressing aims to give the same rugged appearance to wooden items as exposure to these elements would.
If you are wondering how to distress wood, you are at the right place. Several methods can be used to achieve either a distinctive or subtle worn-out look. This guide showcases 11 easy ways for woodworkers to do just that. Read on.
11 Easy Ways to Distress Wood

1. Sanding
One of the easiest ways to give any piece of wood a weathered look instantaneously is to sand it. The friction between the sandpaper and the surface of the wood causes grooves and roughed-up patches to appear on it.
There are several ways to sand wood. These are:
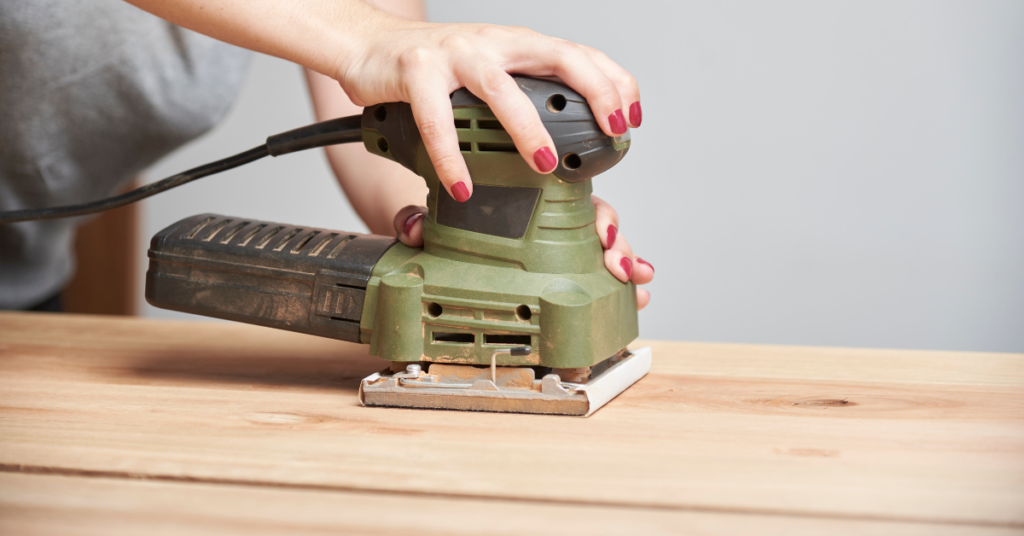
Sanding Wood Using Electric Sanders
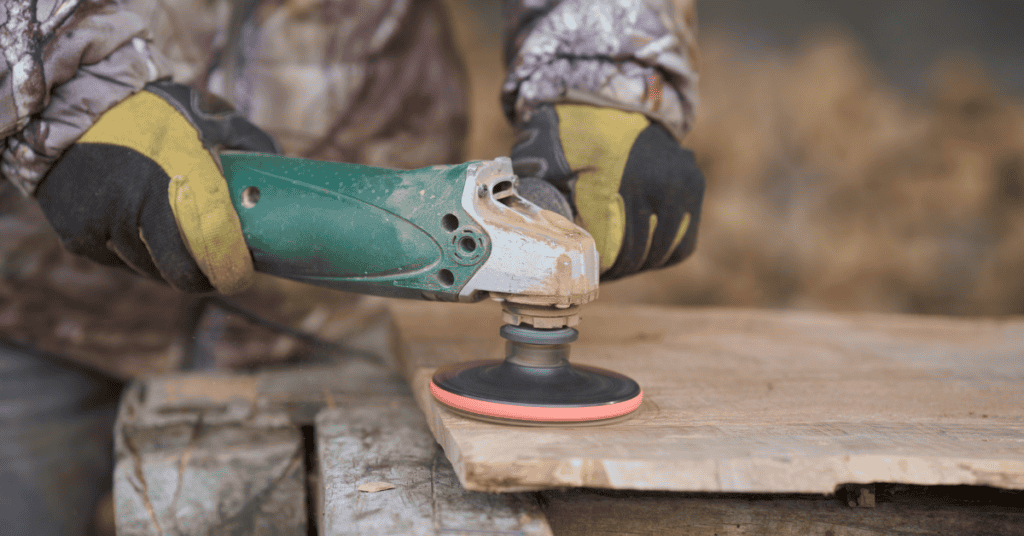
Electric sanders, such as orbital sanders or belt sanders are easy to use and provide quick and effective sanding. But using them to sand small surfaces with the object of achieving a naturally aged look can be counterproductive. Large surfaces, however, can be sanded at arbitrary spots using a random orbital sander with great success.
Sanding Wood Using Sandpaper
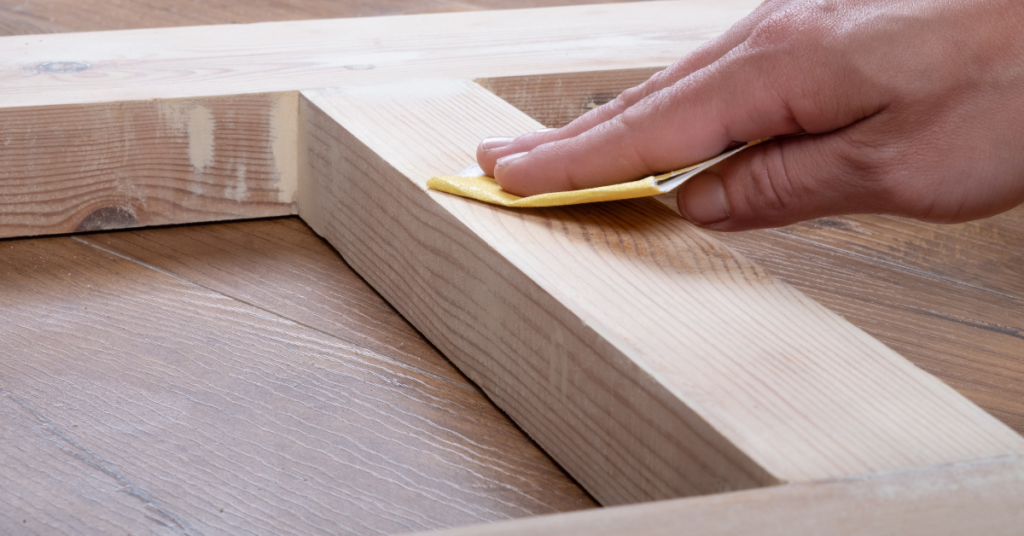
Manual sanding with sandpaper is a sure-shot way to achieve an organic and timeless look. This method has the following advantages over machine sanding:
- Greater control over the amount of pressure you apply through your hands
- Freedom to draw natural patterns over the surface of the wood
For a layered and distressed look, you can paint the surface between two consecutive sanding sessions.
2. Applying Candle Wax
This is a very useful technique to give a textured look to any wooden surface, whether bare or finished. It can also be used to achieve multiple layers of distressing.
On Bare Wood
The bare surface of the wood can be made to look damaged with the help of wax and some paint. This can be done with the help of a candlestick by following these steps:
- Just rub one end of the stick at random places on the wooden piece.
- Then pour some paint over the entire surface.
- After a little while, rub the semi-dried paint off with a clean cloth to leave an unevenly painted surface that looks weathered and beautiful.
On Painted Wood
Painted wood can also be made to look distressed with the help of wax. And it’s super easy as well. Here’s what you should do:
- Rub random areas on the surface of the wood with an untinted candle.
- Select a different color of paint than the one already used on the wooden piece and apply it to the entire surface.
- Allow it to dry.
- With a clean cloth, wipe the painted surface. You will have to use a little pressure to do so.
- The paint will be wiped off from the waxed spots leaving the piece looking old and distressed.
- If you want, you can add a third layer of paint with a different color. Apply wax on the painted surface and simply repeat the above-mentioned steps.
3. Physical Damage
Wood that has survived through years of use is bound to have dents and scratches. To recreate that look on artificially distressed wood, you have to induce wear and tear. If you don’t know how to distress wood by careful physical damage, you can use the following techniques:
Hitting Wood With a Hammer
A hammer or any heavy tool can be used to create dents on the surface of the wood. Hit random spots on the wood with adequate force to create depressions on it. You can mix it up by using different instruments or even different ends of the same instrument to give a naturally beat-up look to the piece.
Pressing Wood Against Solid Objects
Chainlinks, metal screws, gravel, or any hard and raised objects are ideal for this purpose. Lay these down on the ground and press the wooden piece against them by putting weight on top of it. This will create a pattern of gouges and deep impressions on the surface, resulting in a worn-out look.
Chipping the Edges Off
Heavily-used furniture gets knocked around often, leading to its edges getting a little worn off. The same look can be achieved instantaneously by using a chisel. Angling the chisel’s tip against the edges, chip away random portions to create a thoroughly roughed-up look. Just remember to notch the wood at irregular intervals.
Scratching the Wood With a Wire Brush
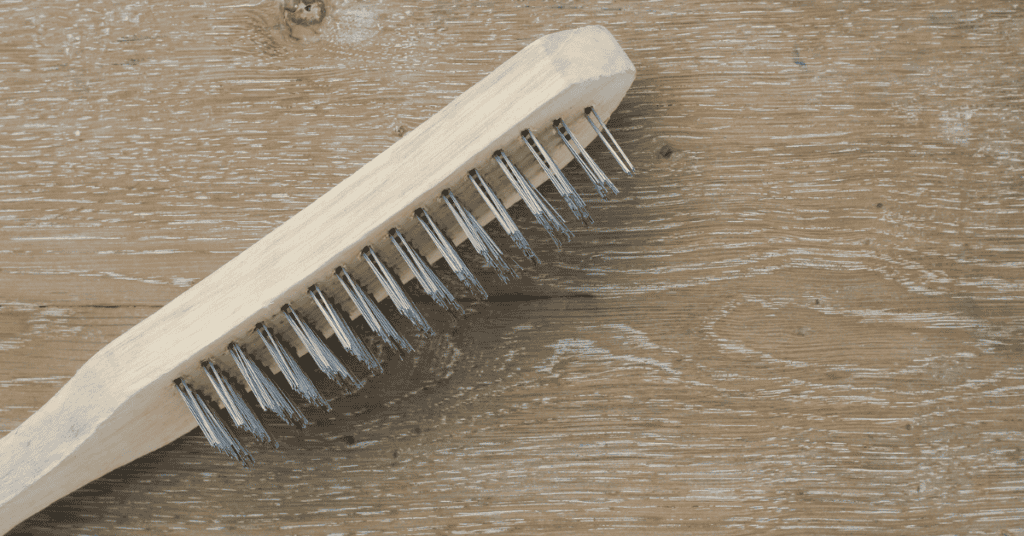
A wire brush is a great tool to easily create scratches on the surface of wooden objects. You can do this by fitting a brush attachment into a drill and running it along the grain of the wood. Or else, buy a wire brush to use manually. Easier to do on softwood, this process is simple enough and the resulting texture will make the wood seem properly weathered.
Inserting Nails Into The Wooden Piece
To mimic the worm-eaten look of wood, it is best to create artificial holes at irregular spots on it. For this, insert nails into the wood and make sure to drive them all the way through, so that the sharp ends come out from the other side.
Further, remove the nails and reinsert them at other spots. This will make the wood look like it has been a residing place for insects at some point in time in the past.
4. Painting With a Hard-Bristled Brush
Using a hard bristle brush to paint wood is a good technique to give it a worn-out look. The important thing here is to take an extremely dry brush. An old brush is likely to be very dry and as such, suitable for this task.
Dip the brush in paint and wipe off the excess paint away. In several multi-directional strokes, paint the surface of the wood to give a distressed appearance to it.
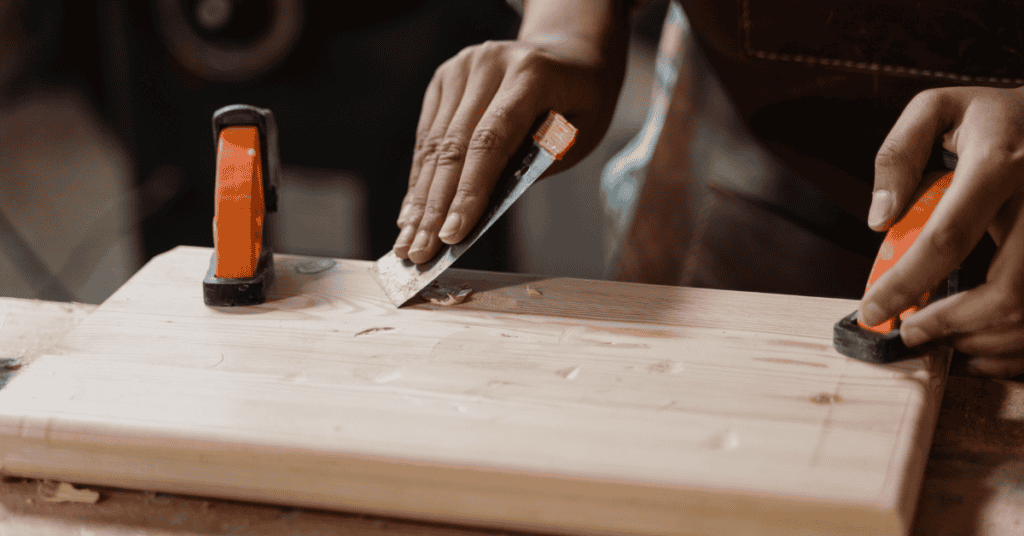
5. Scraping The Paint Off
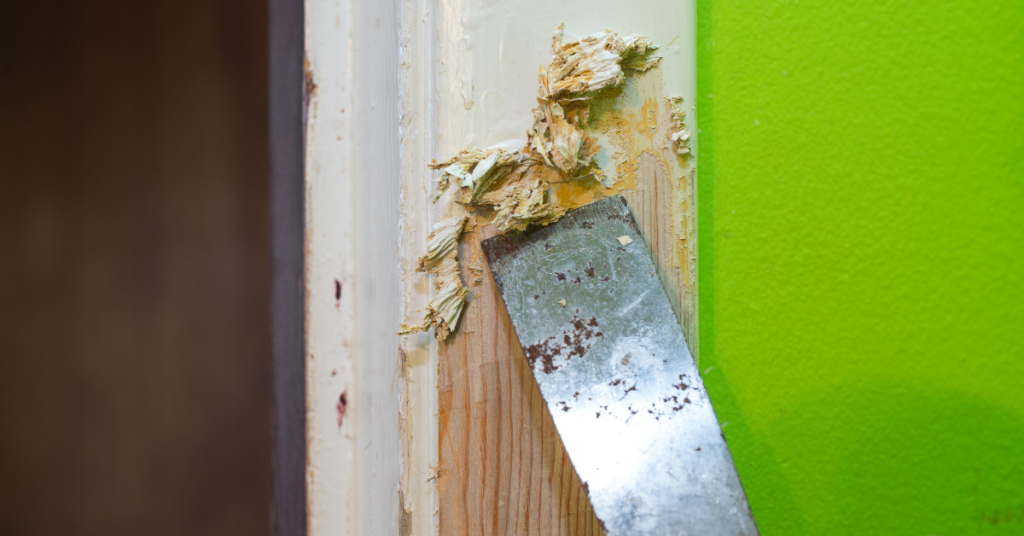
A metallic scraper can be used to scrape off some of the paint from a wooden surface to help in achieving a faded appearance. If the wood is yet unpainted, apply a thin coat of paint, allow it to dry for a bit, and then scrape the paint from random spots.
And if you do not have a scraper at hand, you can use any hard, thin, and flat object. For instance, a credit card can help you scrape paint off easily.
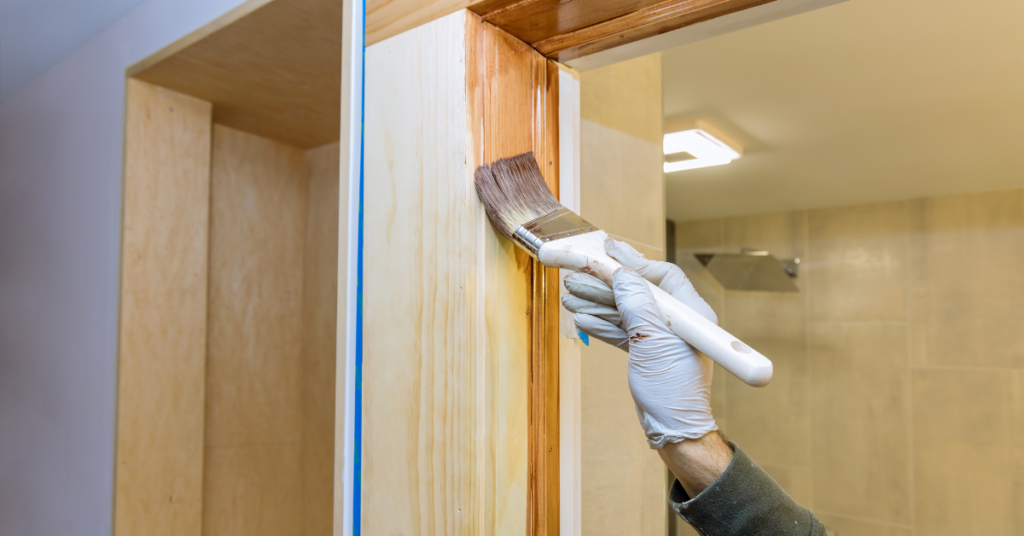
6. Distressed Staining
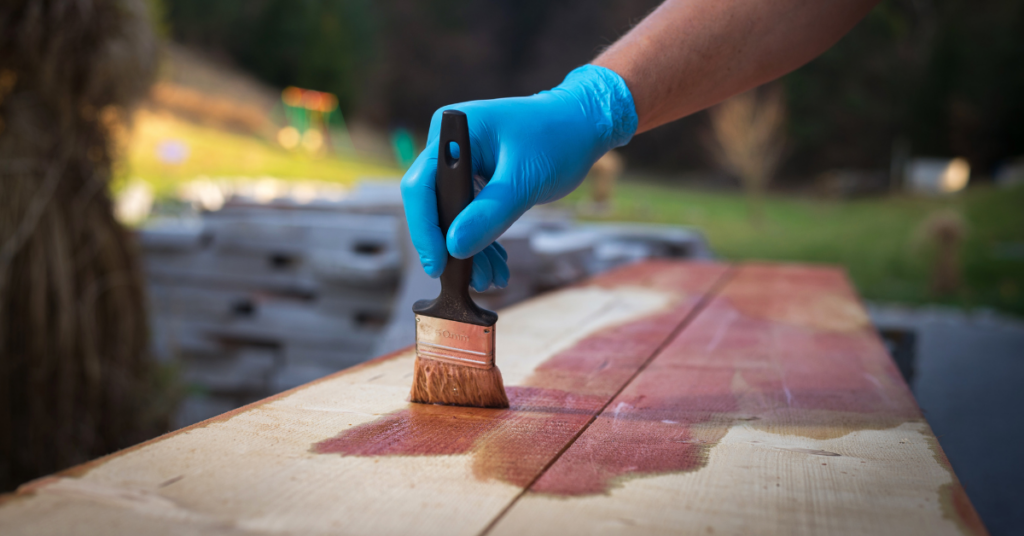
Staining damaged surfaces will bring out the dents in focus. However, you might just choose to not stain the piece at all. This can give it a bare look that can work well for certain decors. Simply apply a clear coating to finish the surface and you are done.
Having said that, if you choose to stain the wood, you can do so by dipping a brush into a liquid wood stain and applying it over the surface. Unlike paint, which you apply in a haphazard fashion for a distressed look, staining needs to be even. If you want, you can use a piece of cloth dipped into the stain to help it collect into the dented regions on the wood.
What you can additionally do is wipe off the stain with a clean rag a little while after applying it. This will provide a subtly faded appearance to the wood.
When your furniture is stained properly, its weathered look will be highlighted and the artificial dents will stand out beautifully.
7. White Wash Pickling
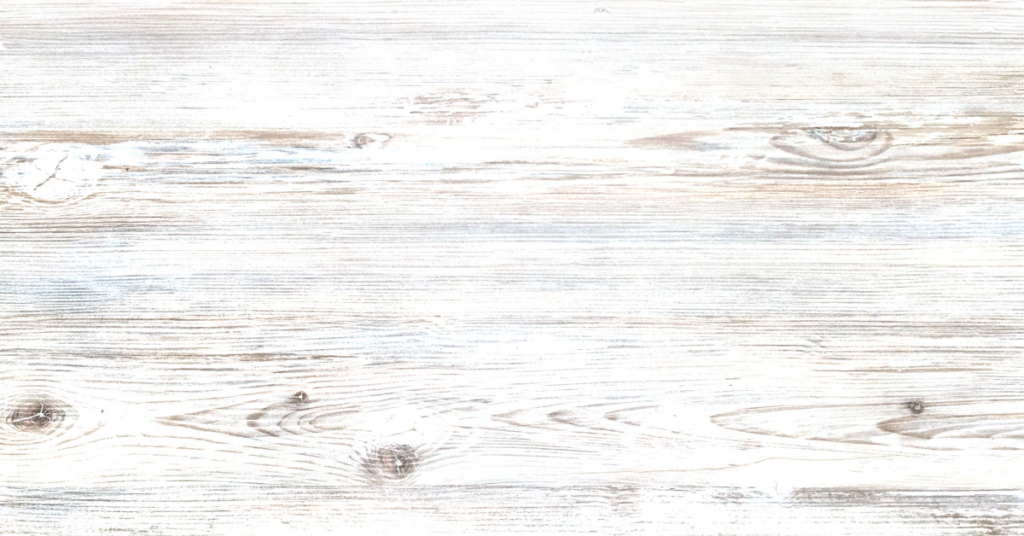
Another way of creating a distressed look is to use a white-wash pickling solution. It resembles staining, the only difference being the color. While staining imparts a darker hue to wood, whitewashing is suitable for giving a faint white appearance.
Whitewashing can be done in a single coat or a few coats. Remember to wipe the semi-dried coats of paint off with a cloth for a distinctively aged look.
8. Using Dark Wax Polish
Applying dark wax polish makes the wood look suitably aged. If you are wondering how to distress wood with dark wax, know that it is easier than you would expect!
Begin by sanding the piece a little using increasingly finer grits of sandpaper to remove any previous coats of paint the piece might have had. Apply a paint of your choosing along the grain and allow it to dry for a while.
In the next step, sand the edges and random surfaces on the piece to achieve a weathered appearance. The final touch is achieved by applying two coats of dark wax polish, for example, smoked oak. Not only will this protect the wood, but also give a dark and distressed appearance to the wood.
9. Wet Distressing
DIY enthusiasts will love this technique of distressing wood as it is simple, quick, and creates little to no mess. Additionally, the worn-out appearance that the wood achieves with this method is subtle and looks like the real deal for lovers of the rustic and rugged theme.
Wet distressing can be done in a few easy steps. These are as follows:
- The first step is to paint the furniture using chalk paint.
- Allow the paint to dry for at least fifteen minutes to an hour.
- Take a clean cloth and dampen it by using clear water.
- Squeezing excess water out, rub the damp cloth over the chalk paint, starting at the edges.
- A useful tip is to apply a little pressure while doing this. Light pressure over flatter surfaces and greater pressure around the edges helps achieve the desired look with ease.
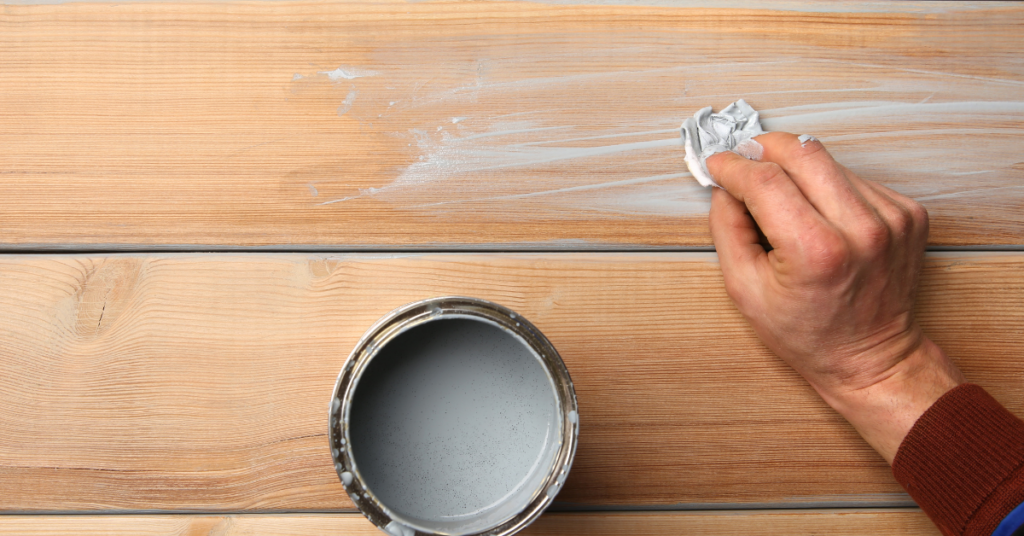
10. Rinsing Off Paint
For a lightly-aged look, rinsing the paint off works well, especially on bare pieces of wood. The technique is fairly straightforward. You start by painting the piece in paint of your choosing and then letting it dry for a while. Do not allow it to dry completely though. Semi-drying is perfect.
Next, pour some water over the painted piece and gently rub it with a piece of cloth. This will wash off some paint while keeping the rest intact. Simple, right?
11. Painting Wood With Solid Objects
And by solid objects, we mean blocks of wood or a medium-sized stone. As opposed to painting with a brush, this method creates an uneven and messy look that mimics worn-out wood.
Simply dip one end of the woodblock or stone in paint and move that end over the surface. You can even apply multiple layers of different colors of paint using this technique.
Useful Tips While Distressing Wood
While we have seen how to distress wood, in order to achieve the look you are aiming for, it is helpful to follow some useful tips such as:
- If you have to pick a piece of wood to distress, use softwoods such as pine, cedar, and fir. They are easier to distress than hardwoods.
- If you are building distressed furniture or artwork from scratch, buy inexpensive wood. More often than not, it will have some indentations and wear and tear already and you won’t have to do the extra work.
- Practice on scrap pieces of wood before you start work on the main piece, just so you know exactly what amount of pressure or what kind of technique you should employ.
- When using tools to hit wood for distressing, make sure to start with blunt tools instead of sharp ones.
- Aim to sand the edges and jutted out parts of the furniture for a naturally aged look as these are the parts that are most likely to get rubbed, bumped, or scratched.
- If you want to lock in the artificial distressing that you have conferred upon the wood, you should apply a polyurethane finish on top. As a plus, your furniture will get a shiny appearance as well.
- When it comes to staining, choose a stain that suits the project at hand. To illustrate, if you are working on a wooden cabinet, you should use a chestnut-colored stain to give it an appropriately ancient look.
- For a natural alternative to chemical staining, you can use a mixture of tea, steel wool, and vinegar. If you don’t have steel wool, use nails or staples dipped in vinegar instead.
- Whether it is sanding or staining, doing too much too soon isn’t advisable and will mean extra work trying to undo the damage! Instead, sand or stain a little at a time until you have achieved the desired look.
Conclusion
Distressing wood is necessary to create an aged look in pieces that are relatively new. As we now know, this can be carried out in a plethora of ways.
In this guide, we have described how to distress wood and listed 11 easy and efficient ways to do so. Choose any one or a mix of these to achieve the desired appearance on your beloved furniture!

 By
By


