
A shed is labor and cost intensive and should last for years with this input level; however, only a few people enjoy their sheds for that long. Pest, moisture, and natural wear and tear destroy the sheds quickly. Maintaining this building in your backyard is an important task that can take several methods.
One of the ways to maintain your shed is by installing shed skirting. Shed skirting is installing a protective material, usually facade material, to the exterior base of the shed. It is done to protect and beautify the shed.
Shed skirting is a preventive measure, meaning you must install the material before damage occurs. Learning how to skirt the base is beneficial if you own a shed or intend to build one. We know this, so we’ve included several ways to shed skirting and prevent environmental damage and pests.
What is Shed Skirting?
Shed skirting is installing a unique material around the exterior of the shed’s bottom. The primary aim of fixing this material is to protect the shed from damage from moisture, pests, UV rays, and rodents. Skirting will also improve the shed’s appeal.
Things to Consider While Choosing Shed Skirting
Some factors should guide your choice from the numerous shed skirting options. Here’s what you should consider before making a decision:
- Material: Skirting can be made of wood, metal, vinyl, or concrete, all with different characteristics. You should consider the material you want before proceeding to see other factors.
- Climate: Skirting options have the most suitable environment, often tied to their materials and environmental resistance level. Consider your environment and ensure the skirting option fits your area’s climatic conditions.
- Purpose: The purpose of installing the skirting should be at the forefront to avoid making mistakes. If you’re adding skirting to improve the shed’s look, ensure to choose an option with great appeal.
- Cost: Budgets can be a significant limit to the option you choose, especially if you’re on a strict budget. Consider the prices and your budget to determine the most suitable option.
Tools And Materials Required
Fixing skirting at the base of a shed is a small project that can be completed within a short time, depending on the size of the shed. With the right tools and materials, its installation and efficiency get better.
Tools
- Chalk line of string
- Level
- Hammer
- Working gloves
- Circular saw, or miter saw
- Measuring tape
- Jigsaw
- Screwdriver
- Drill
- Tin snaps
- Snaplock punch tool
- Utility knife
Materials
- Skirting material of your choice (vinyl, bricks, lattice panels, or treated lumber boards)
- Lattice caps or trim pieces (if using lattice panels)
- Gravel or landscape fabric (optional)
- Metal brackets or 2×4 lumber for attaching skirting to the ground
- Pavers or concrete blocks for leveling the shed (optional)
- Nails or screws
- Pressure-treated lumber for framing (optional)
DIY Shed Skirting Plans And Ideas
Shed skirting utilizes several materials in different styles to make the protective exterior layer. The plans in this section will cover various skirting designs, with some more suited to certain shed types.
1. Mobile Shed Vinyl Skirting
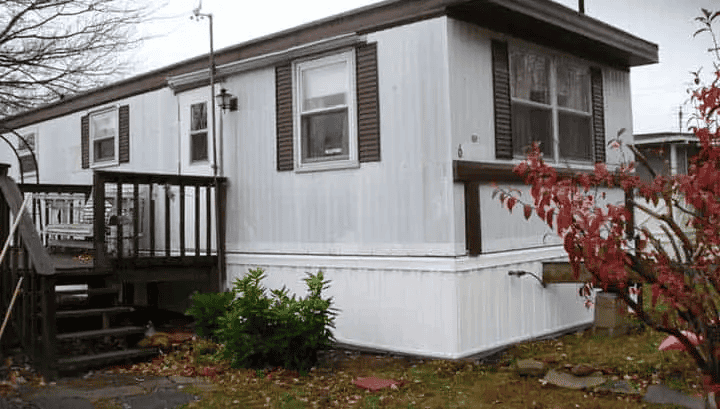
Mobile sheds often have a large space between the ground and the shed space as they are placed on skids or stones. Vinyl is a great way to cover the opening and the shed’s base without it looking out of place. This idea utilizes vinyl that matches the shed’s exterior.
Ensure to keep the vinyl height below 48” for optimal performance. This material is easy to maintain, and soap and water clean the vinyl, preserving its appearance. Attach the back rail at a location with solid support, as this will serve as the basis for other additions like the panel and rails.
The shed plan features a simplistic description of vinyl installation for mobile sheds with clearance above the ground. The installation is divided into five sections, each providing a further explanation to complete the skirting.
2. Faux Stone Shed Skirting
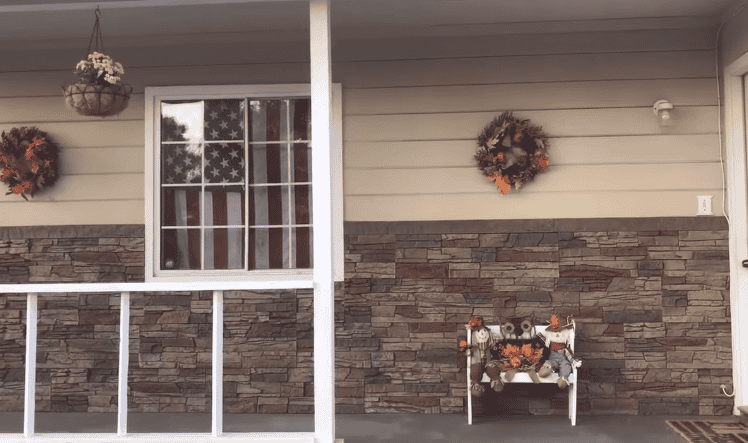
Faux stone looks like actual stone designs when installed as shed skirtings. It is excellent for Mediterranean climates but can be expensive to purchase. This fake stone idea is a perfect choice if you’re looking for an attractive look that blends with dry surroundings.
It is popular among shed owners due to its durability, waterproof and impact-resistant structure. Faux stone is easy to install and can be completed in a day. You can get it directly from manufacturers or big box hardware stores. The fake stone comes in about 11” high, with a 1” shiplap edge which is tall enough to cover most shed bases.
The process starts by attaching a mini craft paper across the shed base exterior as a precaution against damage. Use a staple gun to hold it down while ensuring it is flat on the surface. Align the faux stones on the wall with the numbers on each piece, ensuring you don’t arrange similar parts together.
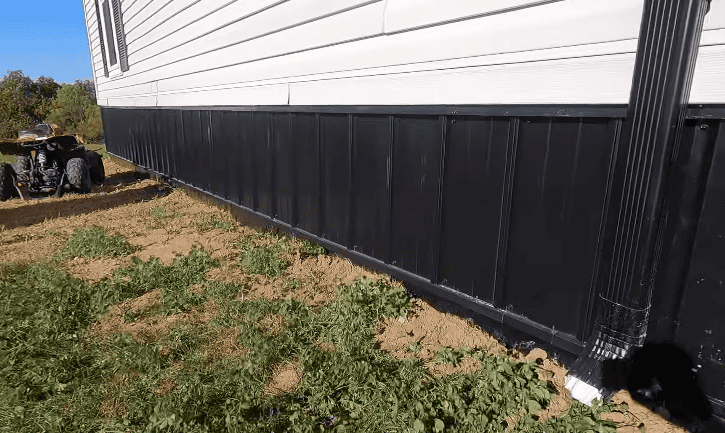
3. Commercial Metal Shed Skirting
Commercial metal is available in sheets and represents a highly durable option for your shed’s skirting. It is helpful in places with harsh weather that can damage other less durable materials. Working with metal can be challenging, so getting sheets that fit the height you want to cover is ideal.
This guide is a comprehensive video showing all the processes involved in fixing commercial metal as your shed skirting. In this plan, damaged vinyl skirting is replaced by metal sheets, and the rails from the previous installation are used. You must install rails that are not already present for the metal installation.
Start by measuring the area and purchasing sheet sizes requiring minimal adjustments. You’ll see how to bend the metal sheets around corners, including all the necessary tools. Follow this complete guide for details.
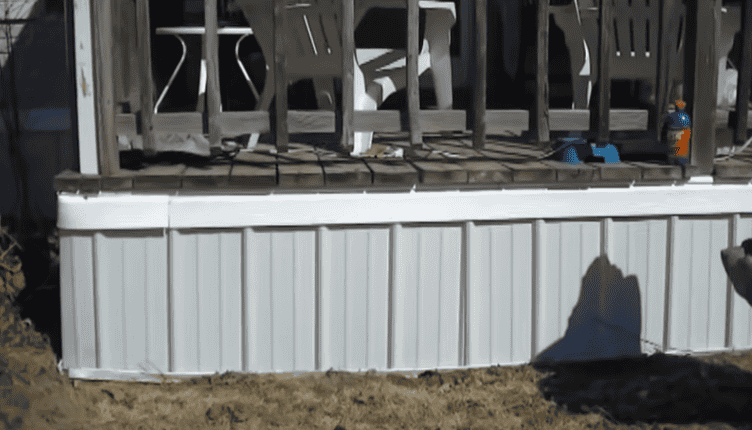
4. Vertical Vinyl Skirting
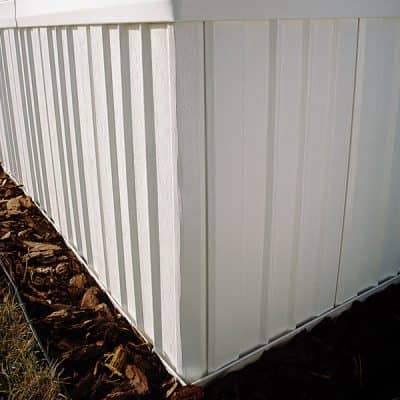
Vertically fixing the vinyl material to the shed bottom gives a unique and attractive look. This plan includes the entire material and tools list, a guide on measuring for the required skirting, and a complete plan for installation.
After purchasing the correct number of vinyl panels, ensure they include vents if you’re installed on a shed with ground clearance. The ideal is one sq ft. for every 200 ft. of vinyl. The process shows installing the top backtrack before preparing the ground around the shed walls. Hiding the cut ends behind the vinyl siding corner posts keeps a clean attachment.
Other steps in the procedure include preparing the ground, installing the bottom track, and cutting and fixing the vertical panels. Attaching corner panels will require bending the vinyl. Make the bend to match one of the panel ribs occurring every 3” for improved strength.
5. Shed Skirting Using Pressure-Treated Lumber
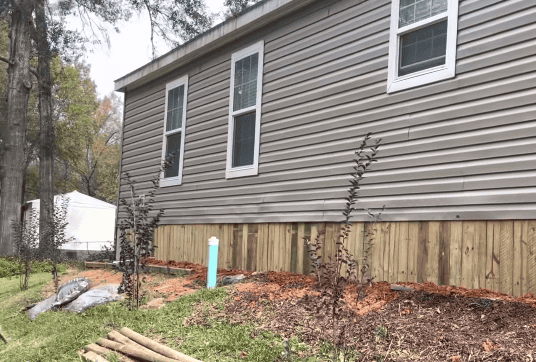
Pressure-treated lumber is an attractive way to skirt your shed, especially if you build a wooden block deck or wooden stairs attached. It is easy to complete for most DIYers as it involves cutting wood and attaching it to the rails below the shed.
It is vital to use boards that have been pressure-treated to prevent insect attacks and provide good resistance against harsh weather. Use a hand or miter saw to cut the lumber to the exact dimension. You can further protect against fungal and bacterial growth by applying special wood chemicals to the lumber.
The idea shows how to install these boards to the underside of the shed. It is suitable for dry or temperate climates as moisture will cause deterioration. Pressure-treated boards are affordable, so they are within reach for DIYers under a strict budget.
6. Chicken Wire Shed Skirting
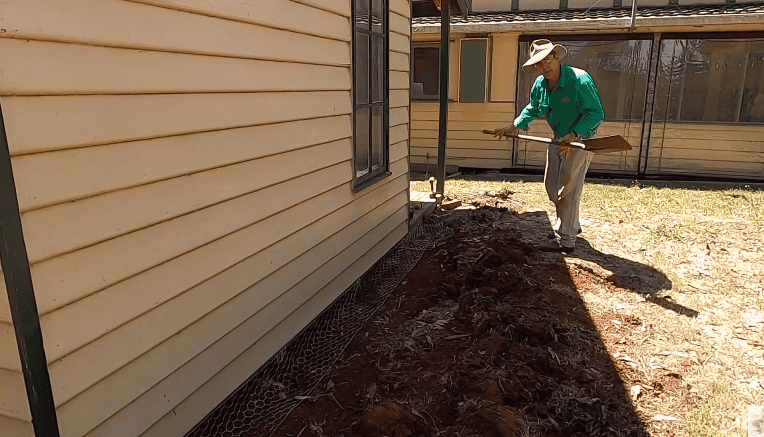
If you’re looking for an inexpensive and easy-to-install shed skirting, the chicken wire method is one to consider. It uses regular chicken wires to close the area below the shed.
This is suitable for mobile sheds with clearance above the ground. It is an excellent choice when you want to maintain the ventilation under the shed but prevent rodents, pets, and significant pests from entering the area.
It starts by measuring the area for the skirting and cutting the wire. Remember you need extra wire for the rail above and the ground below. The chicken wire extends to a few inches on the floor. Follow the plan to see how this wire is attached, ensuring it doesn’t come off quickly.
7. Hollow Block Shed Skirting

Hollow blocks are common building materials in temperate regions but can also be skirting options. They are durable with minimal maintenance needs. However, block shed skirting can be expensive and labor-intensive.
The plan uses hollow blocks to cover the bottom area of the shed. Mortar is only needed on top of the block layer rather than between each block since they interlock. Ventilation cuts are installed with air gaps to maintain the airflow underneath.
For this project, you’ll need some masonry experience to align the block, mix, and apply the mortar. The skirting is plastered to cover the blocks and get a smooth, clean surface you can paint if needed.
8. Shed Skirting Using Steel Roofing
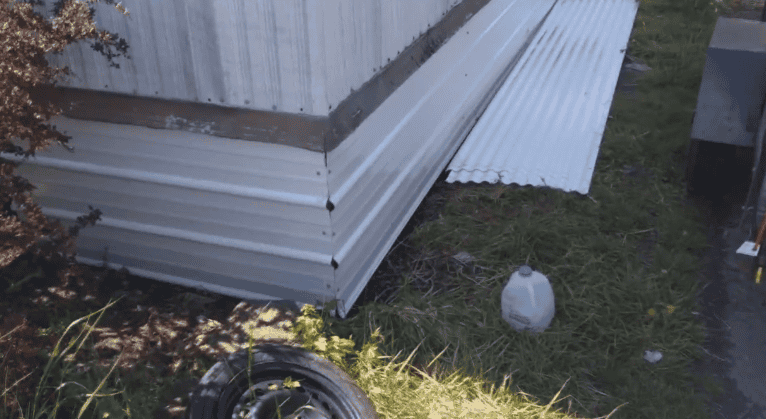
Steel roofing is typically used to cover a building but can also serve as a skirting material for your shed. If you have leftover steel roofing from roofing the shed, you can use them as skirting. Steel footing sheets are costly, so consider the costs before proceeding with this method.
Use pressure-treated 4×4 as posts to support the sheets. A special steel cutter is included in the plan to cut the sheets to the required measurements.
After the installation, gravel is placed in front of the skirting to fill gaps and aid water absorption into the ground. The plan is detailed, with the builder explaining the process while building. You can add corner pieces to cover the edges, which will mean extra costs.
9. Rodent-Proof Metal Skirting
If you stay in areas that see a lot of pests, like rodents constantly trying to break into your shed from underneath, a rodent-proof solution becomes vital. This idea is rodent-free, carefully designed to cover all small holes and block rodents. The shed with clearance above the ground has a door built into the skirting to access the shed.
To make a rodent-free Skirting, ensure the setup must be tight and free from mistakes. This plan utilizes several tarps and cover materials for extra protection before installing the metal sheets.
Ensure to install the trims to the shed siding and the frame below, as it’ll provide a guide for installing the sheets. After installation, corner pieces are attached to the setup to hide corners and rough installation between two sheets.
10. Duraskirt Concrete Boards
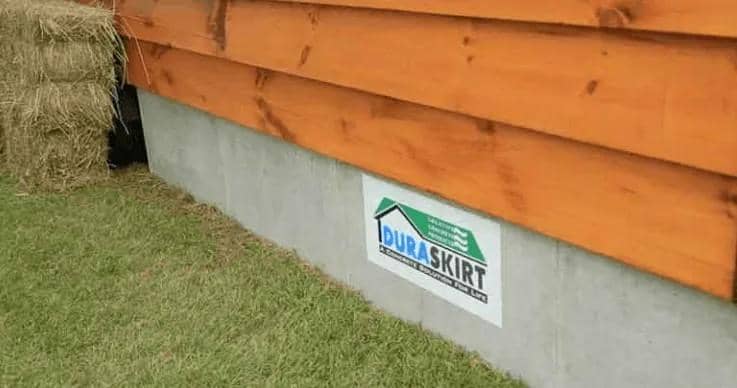
Duraskirt is a material made from concrete for skirting. Skirting materials made from concrete is highly durable, and this Duraskirt cover lives up to its reputation. Installing these boards takes a few steps only, as no footing is required to mount them.
Give ½” to 2″ gap to the rim joist when installing, and use small concrete blocks to adjust the height if necessary. Place the Geotec fabric on the ground and stand the Duraskirt board with the top against the galvanized joist fastener.
You’ve secured the board by adding a retainer clip and fixing galvanized joist fastener. Additional fasteners like screws may be required for a solid installation. Ensure the panels are correctly aligned by checking frequently using a level.
FAQ’s
Have you got any lingering questions about Shed Skirting? Check this section for answers to common questions.
Ans: Brick is the most durable shed skirting option as the material has an impressive strength that can withstand harsh conditions. Bricks do not quickly expand, shrink, or crack.
Ans: The most affordable shed skirting option may vary depending on your location. However, gravel is arguably the cheapest as it does not require mortar to bind it, nor is it labor-intensive. It is also easy to maintain by relaying the gravel when it spreads too far.
Ans: The ease of removal will depend on the skirting option and the fasteners used. Clips and joiners are easy to dismantle and remove. However, skirting options that retire mortar is more challenging to remove.
Ans: Shed skirting requires maintenance to enjoy the protection and aesthetics the skirting brings. The level of care will vary depending on the skirting option.
Conclusion
Shed skirting is vital for aesthetics and protecting the shed’s bottom area from moisture, UV rays, pest attack, rodents, infestation, and rot. Different skirting options deliver varying levels of appeal and protection. The idea is to determine the most suitable for you and follow the plan to complete your shed.

 By
By


