

Chainsaws are vital cutting tools used to cut wood down to size, but they can prove difficult to store when not in use, especially if space is a concern. Keeping the chainsaw requires much consideration, including its power, size, atmospheric temperature, air quality, saw casing, and safety precautions.
There are so many ways to build a chainsaw storage area and ensure the safety and preservation of this essential cutting tool. Depending on your space, style, and number of chainsaws, some ideas will better suit your needs than others.
Follow this guide as we discuss some chainsaw storage designs and ideas while also including short descriptions of each concept so it is easy to replicate.
Chainsaw Storage Ideas
Chainsaws deserve all the care they can get when not in use, considering how much work they do to cut down thick wood logs. Storage designs are special sections to keep the chainsaw till it is required again. Here are some of the most intriguing chainsaw storage ideas:
1. Cedar Beam Chainsaw Storage
Due to its balance and thickness, you can store several chainsaws on a beam like this. This beam is from a cedar tree and can hold up to four chainsaws toward its top. Ensure the wood beam has lost most of its water content before starting, as this will reduce its weight and prevent rusting of the saw’s blade when placed inside.
Decide the best position to place the beam in your workshop, as you want to choose a location where the saw blades face a wall. Making the saw blades difficult to reach will prevent many accidental cuts. This storage plan aims to stand the beam on the ground while securing it to the ceiling and storing the saw through the wood.
Start by measuring the beam and marking the points to cut. You also want to measure and trace the depth and thickness of the chain bar on the wood so the cut fits the chainsaw. Instead of using a saw to cut out the marked point, the plan uses a hack chisel and a hammer for a more controlled cut. However, this process is quite tedious and takes more time.
2. Tree Log Chainsaw Storage
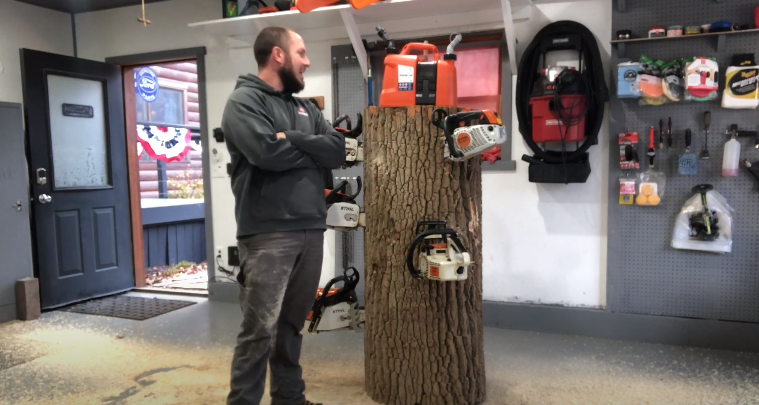
This is similar to the previous storage idea but utilizes a tree log without any processing. Moving the giant log may prove challenging, but the final result will be worth the effort. And as usual, the fresh-cut tree can lose some moisture by being left in the workshop for a few days.
The tree’s sheer width creates balance, so you don’t need to secure the log to the ceiling. Choose a location in your workshop and stand the log of wood there. Depending on the size of the tree log, the chainsaw can store four to five different chainsaws. Even though the log of wood is not the tallest, its size means you can hang chainsaws on both sides.
Drill the storage areas into the log using the chainsaw you want to store. Using the particular chainsaw will remove the need for precise measurements and markings. It will take a lot of effort to cut out a small chamber inside the log for storing the chainsaws.
3. Chainsaw Rack
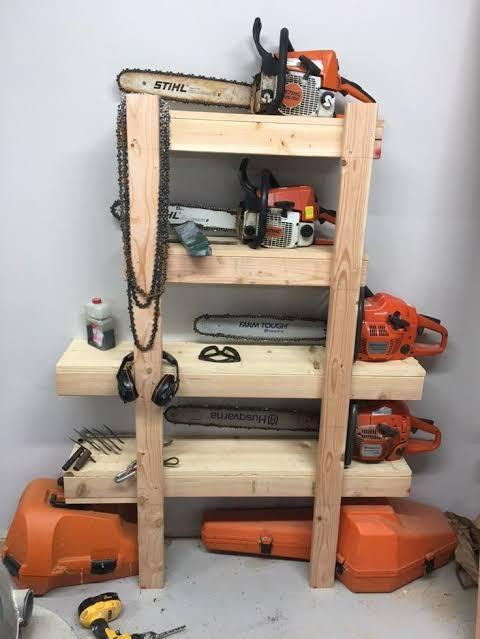
Here is a chainsaw storage rack with the saws facing down, which is an ideal storage position for vertically kept chainsaws. The stand uses two pine wood boards glued together to get a more robust surface that can carry the weight of up to seven chainsaws. The rack is supported on the wall using several brackets.
Mark out the position of each saw on the rack and drill a hole at three-quarter depth at each point. Next, you want to cut out the saw’s hanging hole from one end of the frame to the pre-drilled holes. Sanding the cut section will keep the project clean and attractive as you finish with a nice coat of aesthetically pleasing paint.
Select a position in your workshop to hang the rack, ideally over a large table, so the saw blades are far away from accidental cuts. Hang the shelf with the help of several wall brackets to keep it upright. The plan includes cutting wood pieces on the frame to keep the chainsaw upright and prevent the teeth from pressing into the rack.
4. Chainsaw on Mounting Brackets

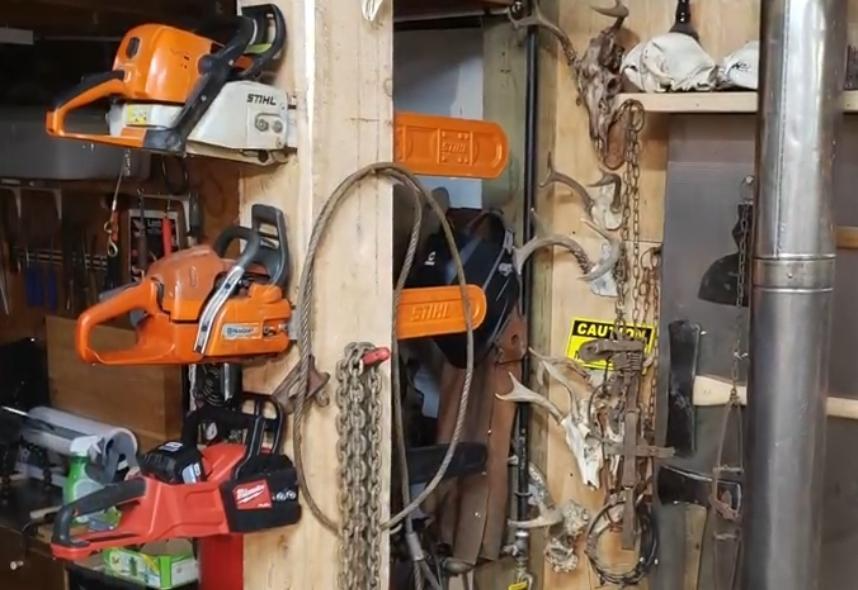
Using mounting brackets or hooks, you can easily store chainsaws vertically with the saw facing down. These hooks are easy to find in stores like Amazon at great prices. The key to this idea is to select a decent height to hang the holder. Ideally, if you have kids around, you want to raise the hooks slightly so they are harder to reach but not out of reach for you.
This idea is best when you have a lot of wall space to hang the chainsaws. Nail a long wooden board on the wall and each book on the board, giving enough room for the saw to hang comfortably. This is an easy-to-build project that will be relatively inexpensive to set up.
5. Chainsaw Storage Shelves
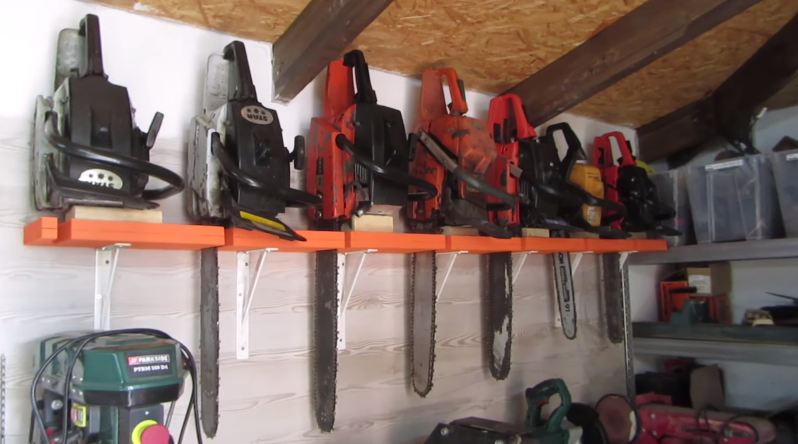
Instead of hooks or hangers, you can build simple shelves and comfortably store your chainsaw on its sides. This idea is a small project with three layers built with thick lumber for more stability. The project is small, and the shelves are even smaller, so it is best to let the shelves overhang the sides so you can store large chainsaws.
Saws are easy to grab when stored on shelves, which is great when working, but this also means kids can easily reach for the tool. Only use this storage method in places where kids are unlikely to visit. This idea is not the most space conservative due to its horizontal storage design. However, since the top can also function as a table, if you’re not storing chainsaws on top, you get more use out of the project.
6. Tool Chest Chainsaw Storage
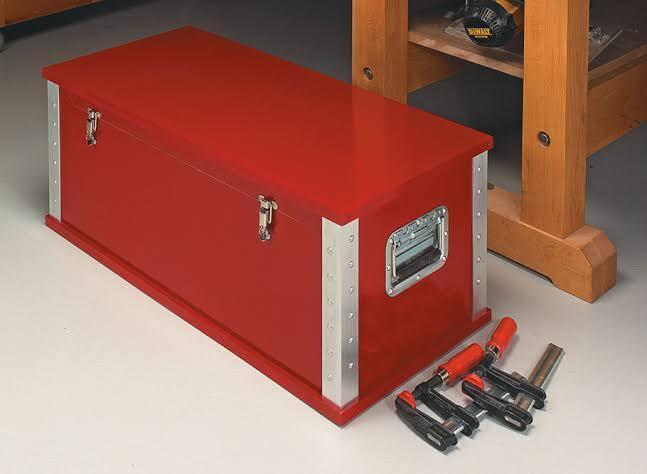
Tool chest storage is a typical storage box for simple tools; however, the chest can also house other devices like the chainsaw when not in use. You can build a toolbox or buy one from a store for this idea. It is best to make the chest so you can customize the box with the best features, especially the blade corner, so the covered chainsaw blade can stick out the sides of the toolbox.
Add a lock to the chest to prevent kids from accessing it. Building this box is a straightforward process, depending on the style and level of finishing. You can also make a long box to carry the full chainsaw without any parts sticking out.
7. Locking Cabinet Chainsaw Storage
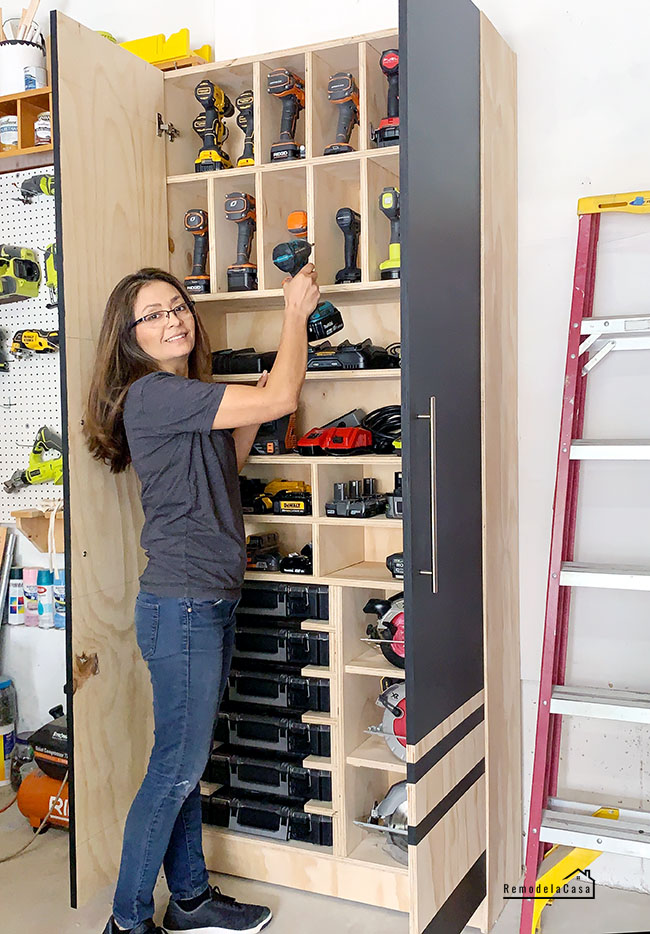
Locking cabinets provide a secure location to store your chainsaw when not in use. The cabinet size you choose to build depends on your needs, available space, and the number of chainsaws and tools you want to store. Unlike most other chainsaw storage ideas, this design locks the saws away so kids don’t get injured.
You can build the desired cabinet out of wood or utilize any available cabinet already in your possession. Customizing the cabinet is easy, as you can add as many hooks or shelves as possible. Add cabinet lights to the space for better visibility, especially in deep cabinets. You can build a wall-mounted or free-standing cabinet; however, this depends on available space.
8. Chainsaw Shelf With Wooden Braces
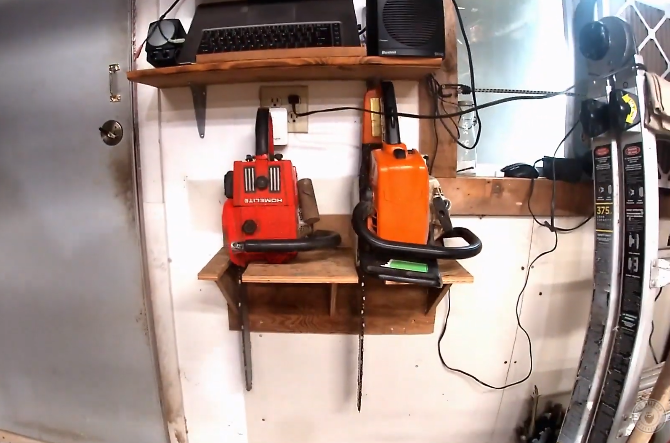
This design features a small chainsaw shelf with wooden braces supporting the lumber. With two chainsaw chambers available, you can place this shelf on a small wall area, which is especially vital for people with reduced wall space in their workshop. Ensure to utilize quality lumber for the shelf and brace to prevent breakage.
Take the chainsaw measurements and mark them on the lumber, which will guide you while cutting and ensure the saw is safely hanging on the shelf. The next step is to measure and cut all the pieces for this project, including the shelf board, support sheet, and angled braces.
9. Overhead Workshop Storage Racks

If your workshop has room above, you should consider overhead storage racks for storing your chainsaws. These racks are lightweight but can hold a lot of weight and are located in a part of the workspace with a lot of room. Instead of building these racks, buying pre-built racks sold in stores will be more affordable.
The manufacturer’s guide contains detailed steps to assemble the rack pieces. This video shows you an even more detailed approach to assembling and hanging to the ceiling. Use bungee cords to hold the assembled shelf up while installing the brace underneath. You may need extra helping hands to complete this part of the process, which includes installing the supports.
10. Wall-Mounted Lumber Storage
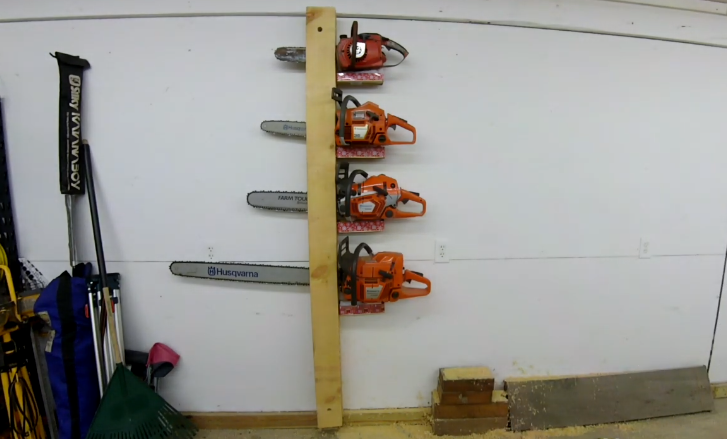
This plan is ideal for small spaces as the lumber storage is mounted on the wall, taking up as little space as possible. With the chainsaws stored vertically, it only needs a small wall space to keep up to four saws, depending on your wall length. The lumber is fastened to the wall, supporting it and ensuring the chainsaw weight does not push the wood down.
Purchase the desired lumber and cut it down to the required length before cutting out the chainsaw chambers inside the wood. Measuring each chainsaw’s size before cutting and adding support lumber is essential to keep the projects stable.
Summary
Store the chainsaw properly when not in use to prolong its lifespan and prevent damage. Oil leaks and dust damage are common problems during storage and can be prevented by following simple storage tips.
With several storage ideas for your chainsaw, you can rest assured that the saw will be ready when you next need it. Typically, the best idea should carry all your saws, fit your space, and be easy to build.

 By
By


