

A step stool is vital when you need that extra height to reach places or perform tasks not too high that you would need a ladder. Step stools are lower than ladders and often feature one or two steps. Their expansive base offers stability and prevents injuries.
Building step stools is a small project DIYers can complete using scrap lumber, making it an affordable project too. The simplicity and effectiveness of step stools have made them a popular project among DIYers. Suppose you’re interested in getting a step stool for the extra height in your kitchen, garage, or workstation. In that case, you should understand these design tools vary. The designs and size determine the time, resources, and skill level required to complete the stool. However, most step stools need only beginner-level skills to complete.
To make it easier for any DIY enthusiast to build a step stool, no matter their experience, we’ve compiled a comprehensive collection of step stool design with detailed plans. With this collection, you can easily choose a design that suits your need and follow the procedure, which often includes diagrams, videos, and sketches for easy understanding.
DIY Step Stool Plans
Before you start building any step stool, you should determine the height you want to reach, as this will dictate the best choice of a step stool. Typically, the higher the step stool, the wider the base is required to create balance. Find out some of the most attractive and practical step stool designs and plans here:
1. Two-Step Scrap Wood Stool
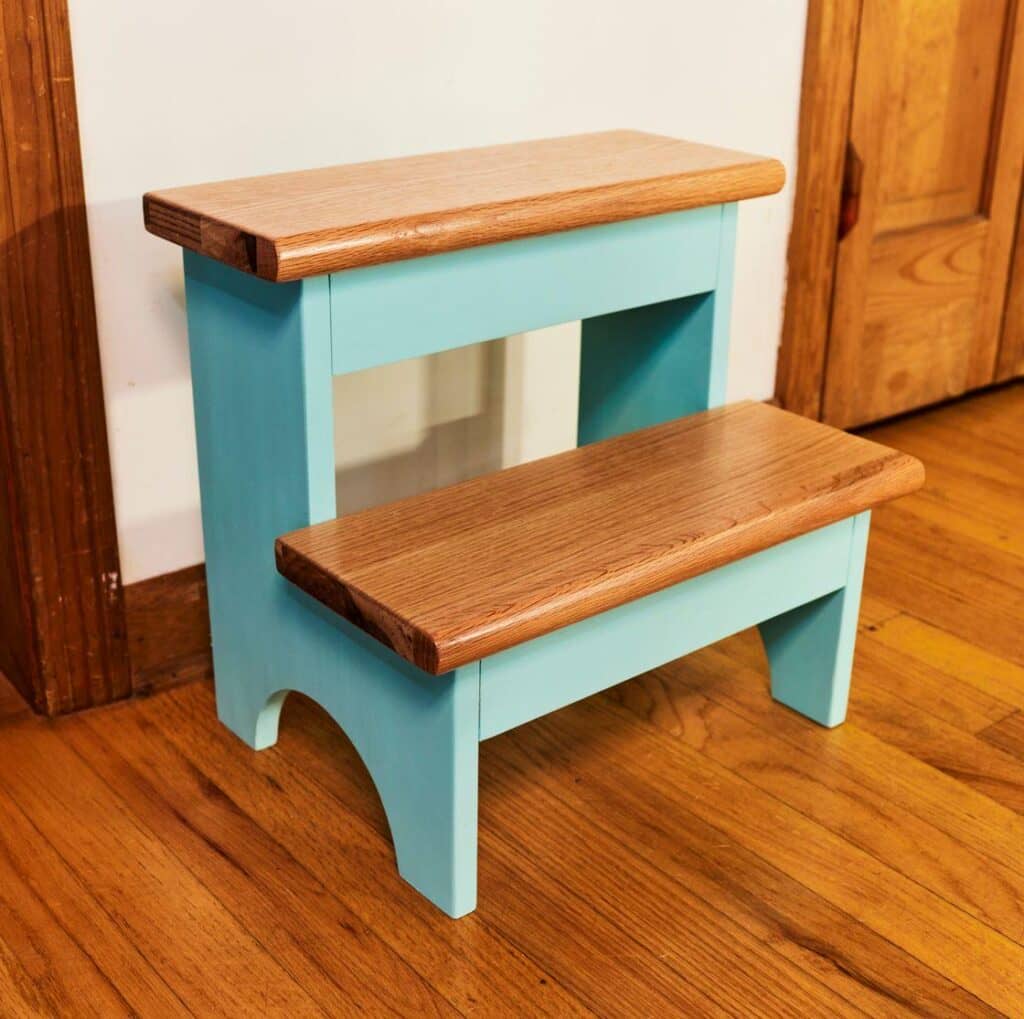
If you have scrap wood pieces from a previous project, you’ll find building this step stool much more affordable. Its design features two distinct colors between the stepping lumber and the other parts of the furniture. Arcs cut on the legs using a jigsaw help beautify the stool.
Before you start building, you’ll need supplies like primer, miter saw, jigsaw, satin polyurethane, top coat, pocket screw jig and screws, cordless drill, and tack cloth. These materials, alongside your scrap wood pieces, will build this two-step stool. The miter saw will help you make accurate straight cuts while the jigsaw cuts arcs.
First, sketch the design on the wood pieces before cutting with the required saw. Make pocket holes on the back of the details before painting each part separately. The final process for building this stool is assembling with pocket hole screws helping to hold the lumber together.
2. 16″ Wide Single Step Stool
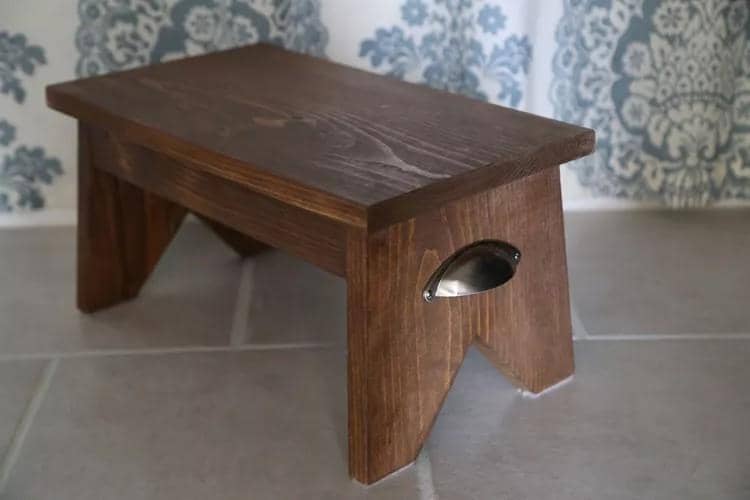
Here is a step stool that is among the easiest to build in this list while maintaining an attractive look, primarily due to its dark wood stain. It is only 8″ off the ground and 16″ wide as a single-step stool. Apart from the leg design, the other parts feature simple straight cuts across the board to divide the wood.
This beginner-friendly stool features small handles by the leg sides, making it easy to carry around. You can complete this project in under one hour, cutting the most time-consuming. Pine board is the preferred lumber for this stool, but you can utilize other quality wooden projects.
You’ll need to cut 3 feet of 1×10 boards, 3 feet of 1×3 boards, handles, wood glue, filler, stain, and pocket hole screws with typical woodworking tools like a miter saw. The plan includes a video guide and a written description of the process.
3. Basic Step Stool Design

Simple designs can be attractive without all the complicated processes, as this step stool will prove with its basic but attractive style. It is a Two-Step stool wide enough base to get a stable footstool that will not fall over. It is an easy project built with 46″ long 1×8 lumber and 96″ long 1×2 lumber. Other materials include 11/4″ pocket hole screws, wood glue, and 11/4″ grabber screws.
The Kreg jig is one of the most critical tools besides standard cutting tools like a miter saw and tape measure. You’ll need to cut 16″ long 1x2s for the front and back frame, 5″ long 1x2s for the small frame sides, 10″ 1x2s for the large frame sides, 13/14″ 1x2s for the back legs, 9″ long 1×2’s with ends cut 10 degrees off the square for the middle support, 6″ long 1×2’s cut at 10 degrees off the square for the front legs, and 17″ long 1×8’s for the steps.
The first step to building is creating the frames for the actions; before adding the legs with the 10 degrees off cut off, I’ll ensure the base opens up, providing more balance. Attach the second step frame and the step boards before the final finishing, which can involve stain or paint.
4. Bar-Style Step Stool
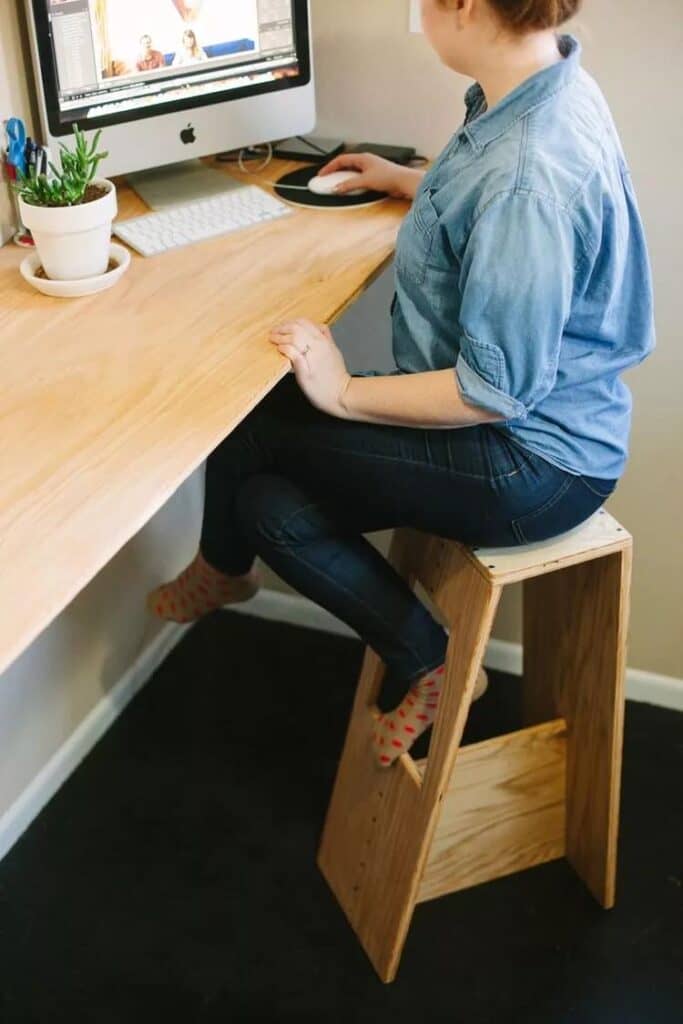
Here is a step stool to reach far-reaching heights in your home, including your kitchen, toilet, and bedroom. Its design offers less balance than most others but more height and covers a smaller area. It can also serve as a bar stool, making storing it easier as you can leave them beside your table.
Before you start, you should prepare all the materials, including three shelf brackets, wood glue, 1⅜” long wood screws, ¾” thick 4’x8′ hardwood plywood, and other measuring and cutting tools. Measure and mark the plywood so it is easier to cut while ensuring you follow the cut guide in the plan.
Aside from the cutting list, the plan contains concise processes for building this step stool, all arranged under steps. Glue and screw the pieces together to develop your step stool/bar stool.
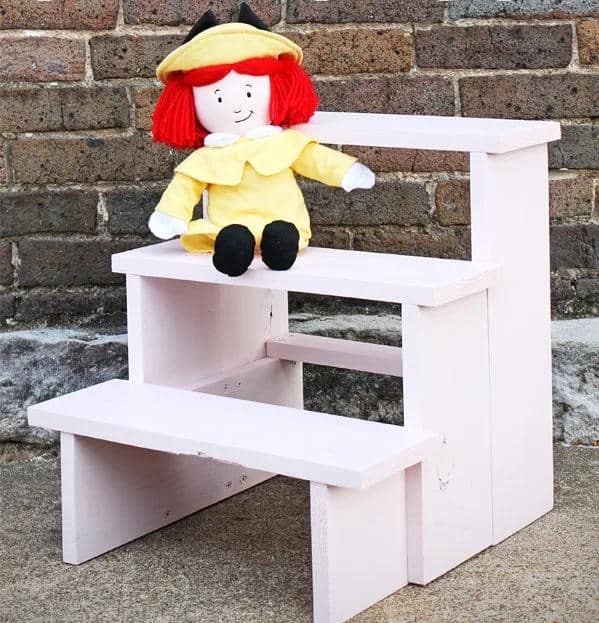
5. Stylish Kid Step Stool

Kids find it difficult to reach the top of shelves, toilet seats, kitchen sinks, and more, so a step stool for kids is an essential piece of furniture in your home. Building this stool becomes much easier with this stylish kids’ step stool with an attractive combination of white frames, legs, and brown step boards.
The color combination for this project ensures you get a stylish build that will not look out of place in your modern home. Getting wood glue, board, lumber for the legs, sandpaper, and pocket hole screws and assembling all the tools will cost you a small amount of money, especially if you already own the devices.
It is essential to first build the frames for this two-step stool to set the stage for adding the boards for the step. The design features legs that act as support lumber on the frame sides that hold the legs of the steps together.
6. Stable Vintage Step Stool

The depth of the footstool helps the stability of this vintage step stool. The footstool is spread over a wider area with a deep base to create balance and minimize the chances of stumbling on the step. It is also a two-step stool with a vintage, rugged look.
It is a beginner-friendly design you can complete quickly, like most others on the list. Because the plan was to get a vintage look that portrays a well-used stool, uneven jigsaw cuts and painting make up the project’s entirety.
A power sander is used on areas that would naturally get stressed and fade to get the patched painting on the stool after building. Exposed screws and nails will also leave the vintage look the design craves. Follow the guide for this stable vintage step stool’s materials, cut list, and processes.
7. Quick DIY Step Stool
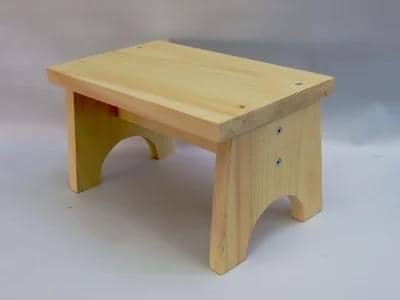
If you’re looking for a step stool, you can complete quickly, this simple single-step stool should be at the top of your mind. Its simplicity is evident by the time it takes to build it. With a basic style involving a broad base and leg boards, it is a project even new DIYers with minimal experience can complete.
The arc cut out from the leg board bases helps create a simple step stool you can complete in under an hour. With three power tools and basic woodworking skills, this step stool will prove easy to build. This plan is crucial when you want to use the footstool immediately.
Finishing the project depends on your needs. A short piece of 1×3 and 1×8 pine board is the primary material for the simple step stool. The top lumber is 12″ long, while the legs are 6″ long each, all cut from 1×8 boards. An interior with a natural wood stain is ideal for maintaining the wood hue and making its grains more visible.
8. Modern Step Stool

Modern and stylish combinations like this step stool remain in fashion with its bright and attractive color combinations, making it a unique design. The design differs from what is mainly obtained with step stools as it features full boards on three sides of the footstool.
With handles cut into the leg top, it becomes easy to move the step stool. The step arrangements and design allow this furniture to act as a stool and a chair while serving kids and adults.
Get ½” thick 24″ x 48″ MDF lumber, 1″ wide interior stair thread, wood glue, mineral oil and wax, paint and primer, pencil, ruler, paint roller, and 120-grit sandpaper. Cut all the pieces, including the handlings, at the top end of each piece. The jigsaw provides ways to beautify the stool by cutting arcs and curves.
9. Trendy Fluted Step Stool
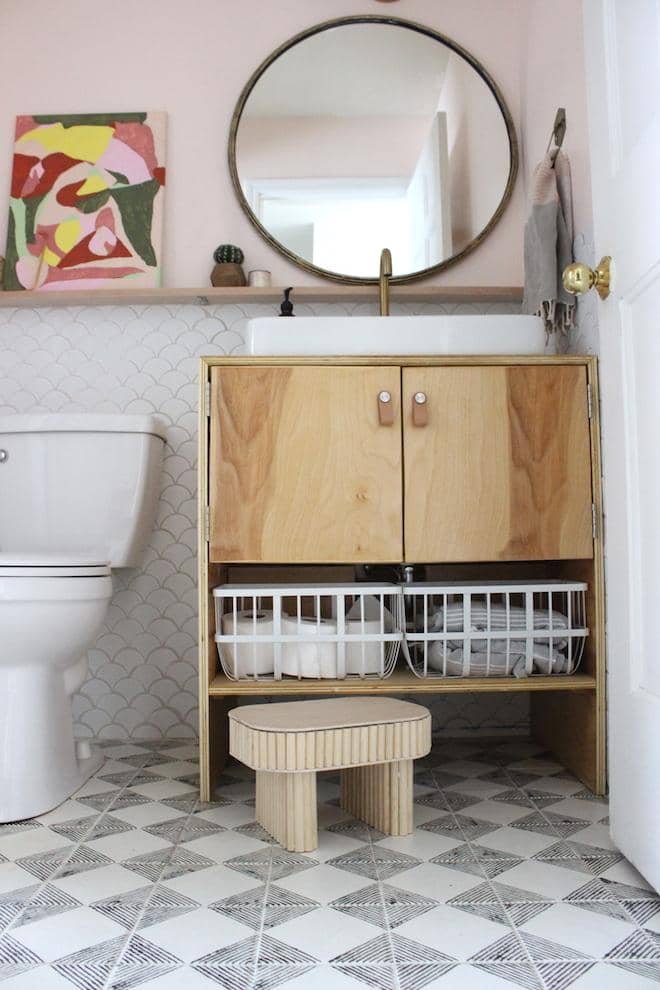
Fluted designs are trendy and modern, with this step stool featuring an easy-to-follow, non-time-consuming step stool. However, building this stool will require several power tools, especially for cutting, so it is best to borrow from your neighbors if you want to keep the cost of this project low.
A wide range of tools for this project includes brad nails, polyurethane or stain, table saw, miter saw, jigsaw, drill, screws, construction adhesive, sanding block, ⅝” half-round donut, ¾” thick 2×4′, ¼” thick plywood preferably, 2×4′, 2×6 board, and 1½” dowels.
A printable template will help you trace the top shape on the wood and allow the jigsaw to make accurate cuts. After making the cuts, including the dowels, you can move to attach the pieces with the help of the dowels. Glue each fluted piece to the stool leg to create that fluted design.
10. Large Three-Step Stool
Step stools are usually small and low, but this large step stool has shown how vital having a large footstool can be. It is a Three-Step stool that means more height for people looking to reach higher places. Often, such heights have less stability, but this design has shown you can create more balance by expanding the base.
The plan contains a cut list and required materials while featuring a video process for a more visual method. It is crucial to sand each piece well before assembling it to make it smoother.
Building each step before attaching the three phases using two support beams at the foot of the legs will ensure faster and more durable furniture. While sanding is best done before assembling, spray painting, as used in the plan, is better left after building the stool.
Summary
Step stools are helpful for adults and kids in reaching high places in the toilet, kitchen, bedroom, store, and more. These furniture pieces are easy to build with most beginner-friendly projects. You can also make several stools using scrap wood from previous projects.

 By
By


