
Quilt racks are effective hangers for blankets, clothes, and even towels while helping display your quilts. They offer quick access to quilts while keeping the area clean and decluttered. Building racks for storing these items can be straightforward with the proper guidance.
Most quilt racks are built using wood or metal, with the two materials offering varying advantages. While wood is excellent for its style and ability to blend into the home’s interior, metal offers a more durable rack. Nevertheless, they are all effective materials for building quilt racks.
Do you want to build a rack for storing quilts, clothes, and materials you want to reach quickly, the quilt rack provides a practical storage and display area. Typically, quilt racks come in different forms, including wall-hanging racks, ladder-style racks, and quilt racks that stay on the ground. The choice rests on your needs and resources. This guide will highlight various quilt rack designs and plans across different quick rack styles.
DIY Quilt Rack Plans
As a DIYer, building a quilt rack is not only a means of saving costs but a way to make the perfect rack for your space. Here, you’ll find a collection of quilt racks designs from which to select. You can adjust the frame based on the area, materials to hang, position, and more.
1. Simple Standing Quilt Rack
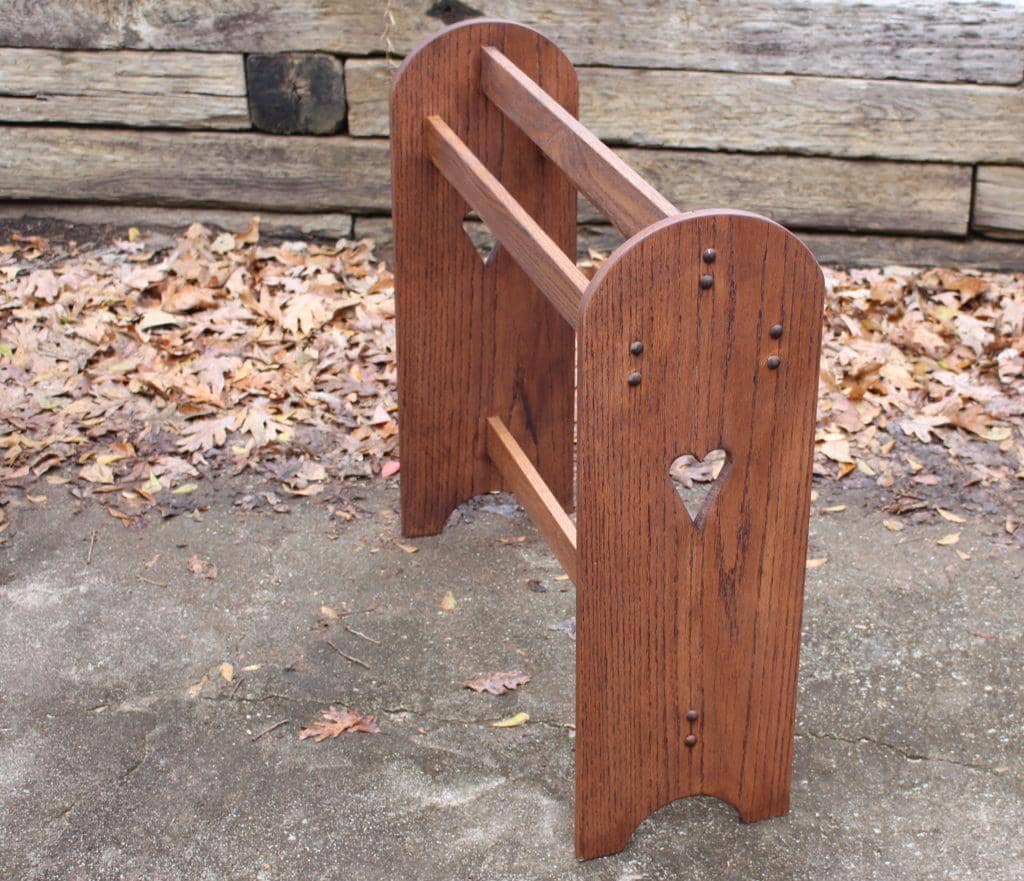
Standing ladder-style quilt racks are popular due to their simplicity, as they do not need unique processes to hang them. This rack features three hanging bars at the top with legs with heart designs cut out from each plank. It is made using oak boards because of their durability; however, their cost has also made other wood types like poplar and pines worthwhile.
This standing ladder quilt is a small rack, so it only requires a little material to complete. Ensure the wood you choose is at least ¾” thick for stability. Other tools and materials include a tape measure, jig saw, hand drill, stain, Forstner bits, wood screws, wooden buttons, and sandpaper.
While making the cuts, you can utilize paint buckets and cans to mark the curves before cutting using a jigsaw. Sanding is an integral part of the process. The project stores fine quilts, which can see their materials damaged by rough wood edges. Stain with the hue of your choice to finish the project.
2. Modern Quilt Rack With Table Top
Here is a modern quilt rack design built with a tabletop so you can use quilt storage and a table. It has a beginner-level difficulty and is affordable to build with lumber, paint, and screws, the primary materials required for the project. This versatile design lets you display your quilt and blankets on the hangers.
This modern quilt rack is 72″ long, 29.5″ high, and 9.25″ wide. The design does not feature circles or arcs that require a fussy cut, so it is easy for beginners to replicate. Cutting the boards, pre-drilling holes for screws, and joining the pieces will take a few hours with the right tools.
The best way to attach the dowel is by screwing the two end boards first and then attaching the dowel by passing it through the middle board before screwing it. The legs are short 3×3 lumber, providing stability and raising the rack above the ground.
3. Affordable Quilt ladder
Ladder racks offer a simple tiered storage system for your blankets, towels, or quilts. This design is easy to build and is affordable since the ladder uses limited lumber. It is easy to move and can be placed on any wall. With four rings and their hooks providing tiered hangers for your quilts, you get a simple and effective rack.
Use 2x4x8 and 2x6x8 pine board or framing lumber, wood glue, pocket hole screws, and your desired finish for this project. Follow the cut list in the plan to cut the lumber to the desired sizes. It only requires a few tools, as only a drill, Kreg jig, and a miter saw are enough to complete this rack in under two hours.
The idea uses pocket holes and screws to join the pieces together for a more robust, cleaner ladder. Start by attaching the ladder rungs to a single lumber 12″ apart. While securing the rings, ensure the Kreg holes face the ladder’s back to get a clean design.
4. Recycled Quilt Rack
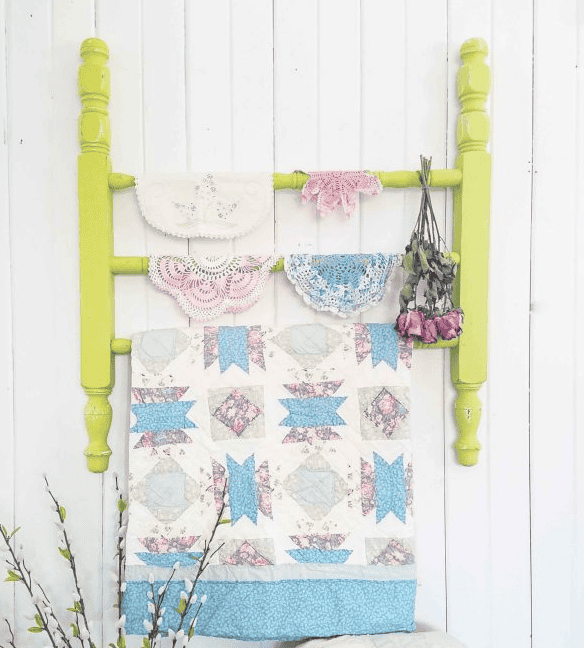
Using parts of other projects to build your quilt rack can provide a unique and affordable design. This recycled quilt rack uses misfit table legs and bed posts to make an attractive storage hanger for your towels and tablecloth. Since bed posts come with intricate designs, building a beautiful rack without needing delicate cuts is easy.
With the help of a drill and spade, you can chip off unwanted parts and create pockets for joining the pieces together. Attaching the wooden pieces using screws and wood glues to hold the rungs to the bed posts is easy.
Finishing the project depends on your needs. However, the plan utilizes a bright green color that pops on a white wall and draws attention to the rack and its materials. Nail into the wall at a decent height. Reaching the materials on the rail is possible.
5. Double Blanket Floor Rack
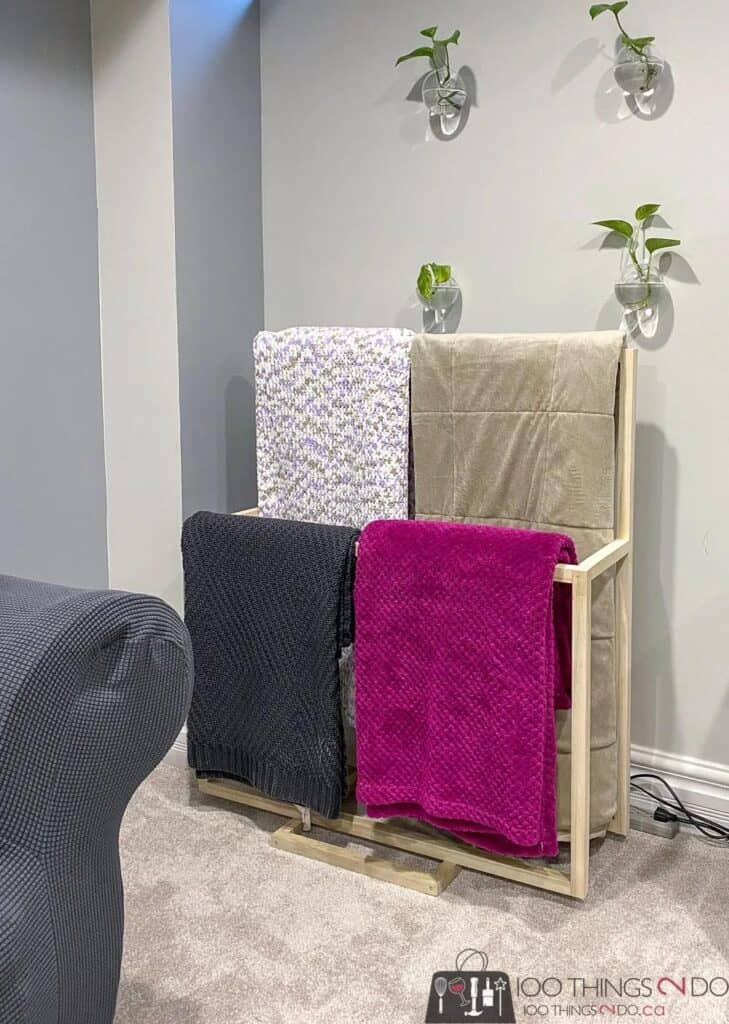
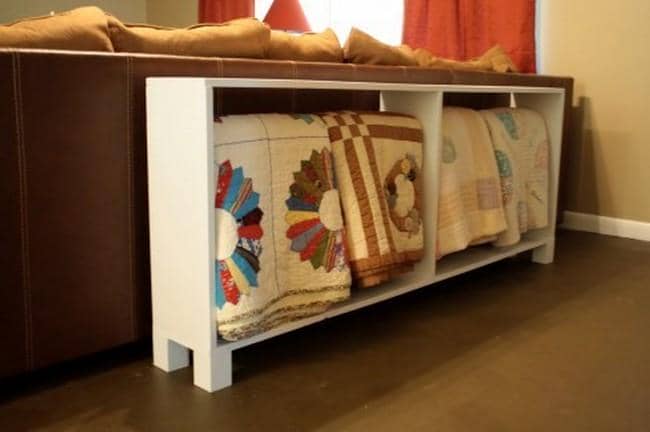
Here is a two-layer quilt rack with a solid base on the floor. It can hold up to 8 blankets or towels if you pile them with the width providing room to store more materials on the rung. With just a skeletal frame required to build this rack, it is easy to make within a short period, typically under two hours.
Sanding the wood after cutting is an important step considering the stain is a light coat and a natural wood finish. A flat base keeps the rack off the ground but maintains a stable look as it remains close to the floor. The idea to build this rack easily is by creating rectangular pieces of varying sizes for the base, first, and second hanger.
Adding short braces between two hanger pieces will maintain the same distance and improve the build’s stability. 2″ wood screw and glue hold the rectangular hangers in place as you display and store your blankets.
6. Easy DIY Quilt Rack
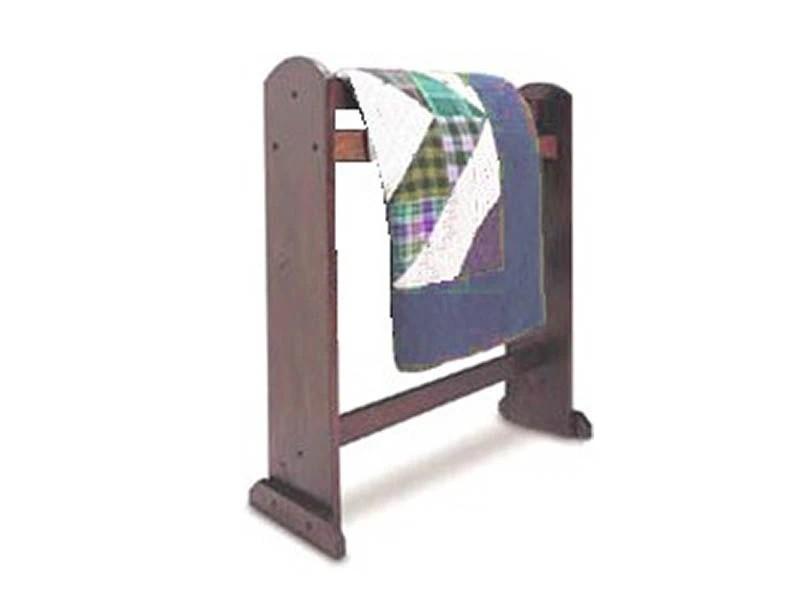
Here is a simple quilt rack with an even easier plan to follow. The rounded top gives a more classy design but requires a more meticulous cutting process, with the jigsaw or band saw the ideal choice for such cuts. The ease of the process is evident in the short program that features the materials, cut list, and assembling processes.
All you need for this rack is ¾” to 1″ thick lumber, screws, plugs, a band saw, a table saw, a compass, a pencil, a screwdriver, and a power drill. You can hang the blankets and the bars on the rack and position the frame in free space by the corner of your area. You also want to choose a location where it is easy to display your precious materials.
Start the assembling from the top members by screwing through the recessed holes already cut into the wood. Before tightening the screws, attach all members and the feet while ensuring it fits. Depending on your needs, you can stain, paint or leave in its natural finish. Bear in mind that adding a finish will improve the durability of the wood.
7. Blanket Ladder With Perfect Lean Angle

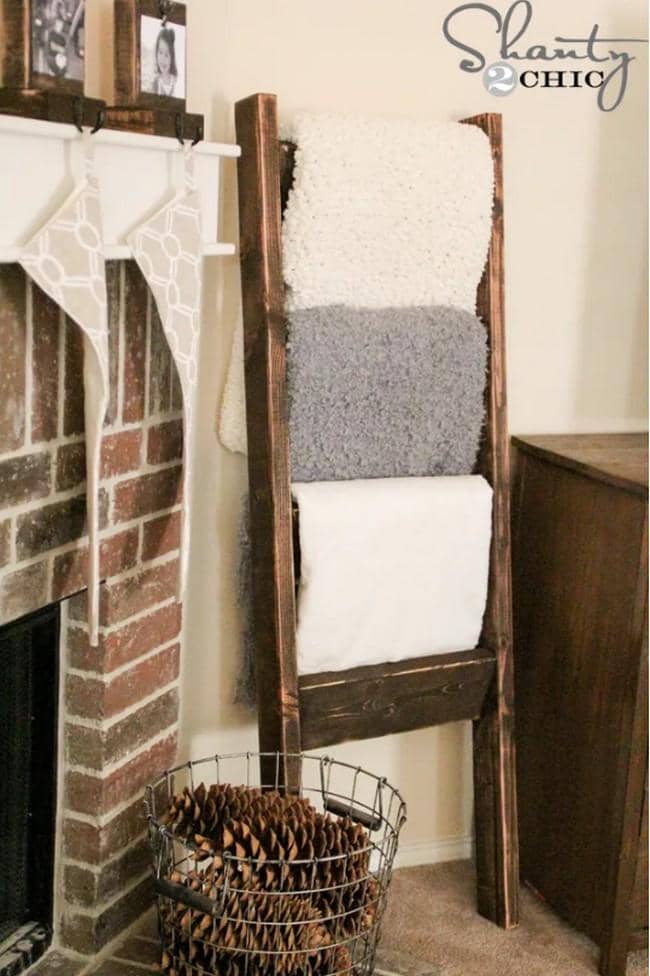
Here is a blanket Ladder quilt rack with legs cut to an angle that makes it possible to lean on the wall without wobbling. This way, you can place the frame on a wall and get a stable project that will not fall when you add heavy blankets.
The 5 feet tall ladder features four rings to hang your materials. With this idea, getting a quality board is essential, utilizing a 1″ x 6″ x 10′ board, wood glue, 6′ long ¾” dowels rods, ¾” bit with a drill bit, and nail gun with nails. Start by measuring the correct angle to cut the ladder so it can lean comfortably on your wall while holding the quilts.
After measurements, cut the leg angles and the dowels acting as the rack rungs. Always utilize pilot holes when attaching dowels as they are prone to splitting when you make a mistake in assembling – this is where the drill and bits prove their value.
8. Quilt Rack With Dowel Rungs
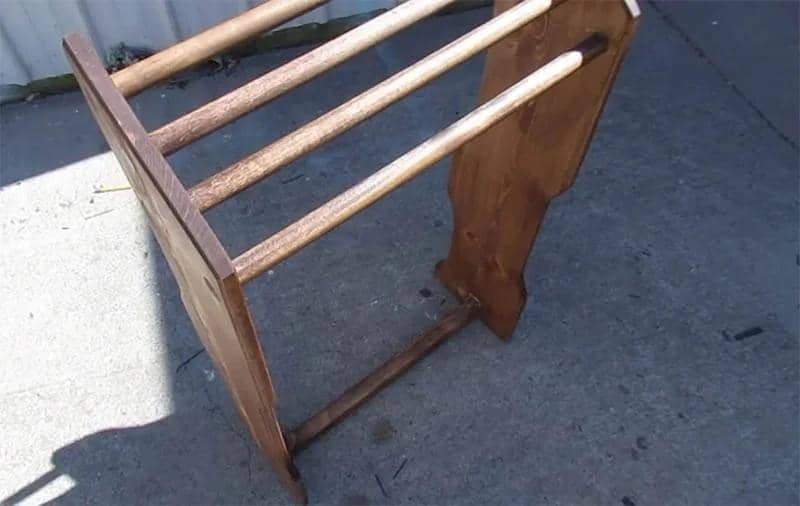
The dowel is the best material to get a quilt rack that’ll allow you to hang several materials in different rungs on the same plane. Dowels are simple to use and provide an effective hanging platform due to their smooth round surface.
This plan uses glue to attach four dowels between the rack end boards. Space the dowels adequately to make it easy to store your materials. Pine boards, 1″ dowels, scrap 2x lumber for the support brace at the bottom, glue, finish, and screw are the materials for this rack.
Aside from the support brace at the bottom of the two end pieces, wood glue is the material used to hold the pieces together. Stain with a darker wood finish and dry before using the rack. Follow this detailed instruction, including a video, to get the processes to complete the quilt rack.
Summary
Storing blankets, clothes, quilts, and bedsheets does not have to be boring, as you can utilize practical and attractive hangers to draw attention to your beautiful pieces. With so many varying ideas available, you can make it more unique by combining more than a single idea.

 By
By


